From Buffet to Rustic Kitchen Island

by
Roni
(IC: homeowner)
6 Materials
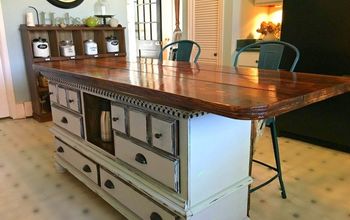
We were asked by some very special people to make them a kitchen island. They just finished renovating their entire kitchen and needed a table and island in one. Since we knew them I knew exactly what her style was...rustic! I knew she would love a barnwood top and I was going to find some! Look what happened next...
We were asked to make a kitchen island with a long list of needs that went along with it. We knew it wouldn't be an easy task but we were sure up for the challenge.
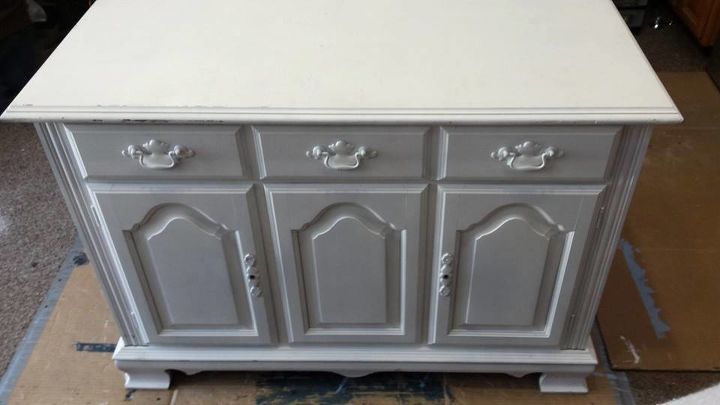
My husband and I took it all apart. The top is off because we will be adding a new one. The back is off too because that will have wainscoting. The middle door wasn't functional...the 2 side doors opened and there was 1 shelf going across the entire piece that needed to be taken out. Next the dividing "walls" will go up to separate into 3 individual spaces since the middle will be opened up all the way through.
Now the dividing walls are in place.
The panels to the doors were removed for the chicken wire! You can see one of the previous owners just spray painted it white...notice where the handles were...lol
The wainscoting was added to the back and sides and it's now painted too!
I always like to paint the bottoms of pieces too,just so it's clean! ;)
We added wheels on the bottom and you'd never know it...it's barely off of the ground! :)
Working on the barnwood top....LOVE the edge on this one...purposely picked this board because of it! :)
I'm totally in love with this top!!! Now the boards are all put together and cut to the right size, next it needs to be polyurethaned...with the good triple thick stuff! lol
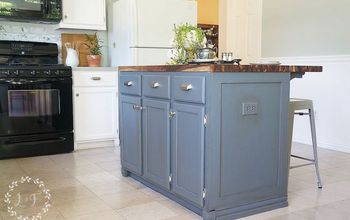
Well the top is finished...chicken wire doors done...my husband put dividers and a liner in the drawer. I painted it, sanded it to give it a distressed look and then glazed over it. We added new knobs too. The frame around the table is also barnwood and we added hooks on the sides to hang towels or potholders. Did you notice the shelf....yes barnwood too! :D
Well, we nailed it! To see more of this fabulous makeover head over to Roni's Rescued Relics on Facebook.
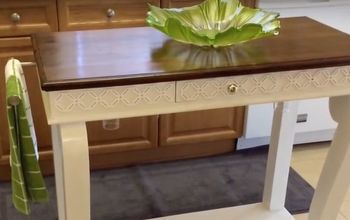
We made a pedestal to support the back part of the table.
Enjoyed the project?
Published May 25th, 2015 5:15 PM
Comments
Join the conversation
2 of 258 comments
-
 Diana Deiley
on Aug 25, 2022
This would be perfect in my tiny coastal decor dining room. I LOVE this and appreciate all your hard work. It's so awesome. Stunning job.
-
-










Frequently asked questions
Have a question about this project?
What color paint or stain and glaze did u use on the top it looks amazing
How did you remove the top?
Is the pedestal on wheels also or is it removable? Nicely done!!