How to Update a Builder-Grade Kitchen Island With Trim and Paint

by
Lost & Found
(IC: blogger)
12 Materials
Medium
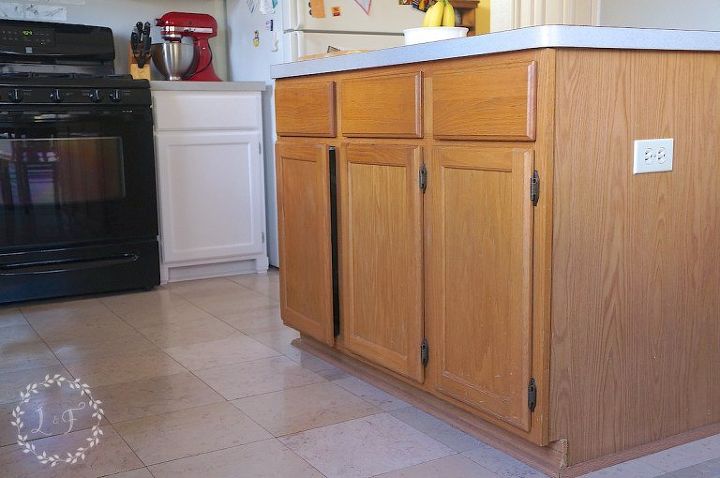
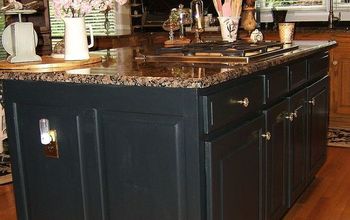
I've been working on making over my kitchen cabinets for some time now, and I've made it to the part of my renovation where it was time to tackle the kitchen island! Here it is--nothing special, just your basic, builder-grade island with laminate countertop.
My plan was to change out the laminate countertop for a new butcher-block countertop that is wider, to accommodate 2 bar stools.
Removing the countertop was a simple project! Just watch out for those nails :) I also wanted to add some custom wood trim work to dress up the basic island frame.
I used all basic materials you can find at Home Depot and made the few simple mitre cuts (for the baseboards) using just a mitre box and hand saw. I did have a nail gun to attach the trim, but if you don't have one of those, you can use Liquid Nails and a few finish nails--that will work just fine!
The key to professional-looking trim work is to caulk and fill every nail hole and seam before you paint! You can see more of the step-by-step plan for how I installed the trim on this post: Click HERE to see the process of installing the trim
After installing the countertop and trim, the next step was to paint the island. I wanted a two-color, distressed finish, so I started with a deep brown.
This color is called Chocolate from Fusion Mineral Paint. Fusion is a fantastic paint to use on cabinetry because it will cure up to be waterproof, stain-proof, and highly durable! I walk through more on my process of prepping cabinets to paint on my blog, so please check that out! Click HERE to see the full prep process
Using a wax block in between colors helped me create a great, layered finish--you can see more of the step, by step photos in my post.
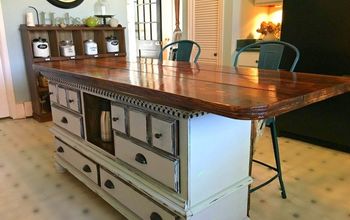
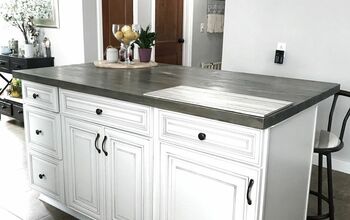
Here is my island all finished!! The paint has been on for a few months now and is holding up fantastically!
I really love the extra seating we got by extending the countertop, and the farmhouse warmth the butcher block top adds to my space.
Please visit my blog to see ALL of the step by step details for the trim I used, how I installed it, and how I got that great, layered finish--plus more all about Fusion Mineral Paint. Thank you!!
Enjoyed the project?
Resources for this project:
See all materials
Any price and availability information displayed on [relevant Amazon Site(s), as applicable] at the time of purchase will apply to the purchase of this product.
Hometalk may collect a small share of sales from the links on this page.More info

Want more details about this and other DIY projects? Check out my blog post!
Published April 7th, 2016 9:24 AM













Frequently asked questions
Have a question about this project?
How did you attach the poplar strips? I'm doing something similar in my kitchen but they keep warping.
How was the butcher block top on the island treated, or finished? It looks like wood burning, maybe?