Dresser Hutch Makeover

by
Sandra Villarreal
(IC: homeowner)
4 Materials
$80
1 Week
Easy
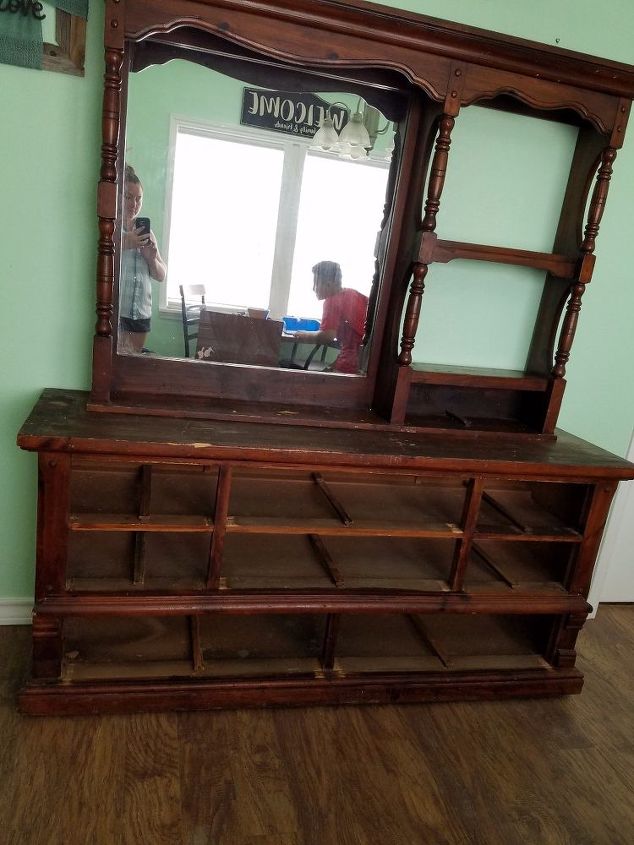
Old Dresser Hutch gets a makeover.
First I removed the mirrior, wooden panel, all hardware, and drawers. Since I used chalk paint, I didn't need to do any prepping or sanding. I gave it a good wipe down to remove any dirt.
I found this dresser hutch on my local sales app. for $80. I knew instantly what I wanted to do.
So then I painted away. It took about 3 coats of white chalk paint by Wavely. I don't know about you but painting is so therapeutic for me. Having 4 kiddos, I sure need something to relax me.
Once paint was dried, I then distressed all corners and in between the cracks and sealed it with clear wax from Waverly. I really love that rustic vintage farmhouse look and it was turning out just as I imagined.
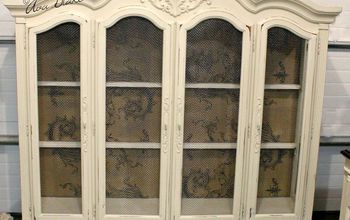
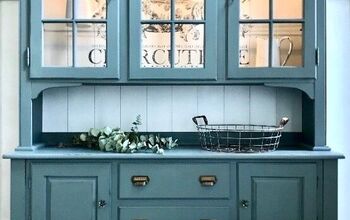
All done. I replaced all hardware and chalked painted the wood panel behind the mirrior black. I also left 2 drawers out and made them into shelves. It definitely turned out better than I thought it would be. I debated wether to keep the piece for myself but I decided to resell. I paid $80 and resold for $275. Not to bad being that I had almost all my supplies on hand already. Now on to my next project.
Enjoyed the project?
Suggested materials:
- Old dresser hutch (Local sales app.)
- Black/white chalk paint
- Sanding block
- Clear wax sealer
Published June 6th, 2017 1:44 AM
Comments
Join the conversation
2 of 41 comments
-
 Necee Marie
on Jan 25, 2019
I want one!
-
-
 Yvette Mozol
on Nov 24, 2021
I love it too. You had a great vision for this piece. I love looking at all these furniture transformations on this site, which in turn give me some great ideas on how to refinish my own projects.
-












Frequently asked questions
Have a question about this project?
Came out beautiful. Is it the angle of the picture or is the left drawer handle crooked ?
very nice love it, can you use wood colors?