Step-by-Step Buffet Makeover Idea: Giving Old Furniture a New Look
Are you ready for some buffet makeover ideas to give your old, dark buffet table a fresh and natural look?
In this step-by-step tutorial, I'll guide you through the process of transforming a dark and outdated buffet into a stunning, lightened centerpiece for your home.
With a bit of patience and some supplies, you'll achieve a beautiful makeover. Let's get started!
Tools and materials
- Buffet table in need of a makeover
- Soap and warm water
- Paint stripper
- Glass jar
- Chip brush
- Mineral spirits
- Orbital sander
- 220 grit sandpaper
- Gel stains in your choice of colors
- Misting bottle with water
- Cloth for wiping
Buffet makeover
Step 1: Clean the Buffet Table
Begin by cleaning the buffet table thoroughly with soap and warm water. This step is essential to remove any dirt, grime, and old finishes that might hinder the makeover process. Wipe it down and allow it to dry completely.
Step 2: Apply Paint Stripper
Take your paint stripper and pour a generous amount into a glass jar. Use a chip brush to apply the paint stripper evenly, creating a thick layer over the entire surface of the buffet.
Allow the stripper to sit for about 15 minutes. This will help loosen and soften the dark finish.
Step 3: Remove the Old Finish
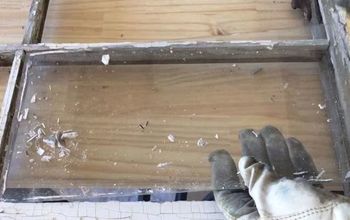
After 15 minutes, use a scraper to remove the loosened finish. Be cautious and thorough, ensuring you remove as much of the old finish as possible. To clean up any remaining residue, use mineral spirits and wipe the surface clean.
Step 4: Sand the Buffet
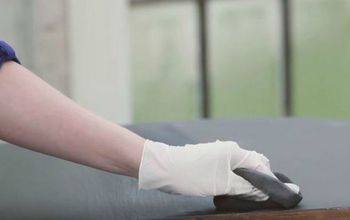
To achieve a smoother surface and remove any remaining finish, use an orbital sander with 220-grit sandpaper. Sand the entire buffet table evenly. This step is crucial for creating a perfect base for your new finish.
Step 5: Apply Gel Stains
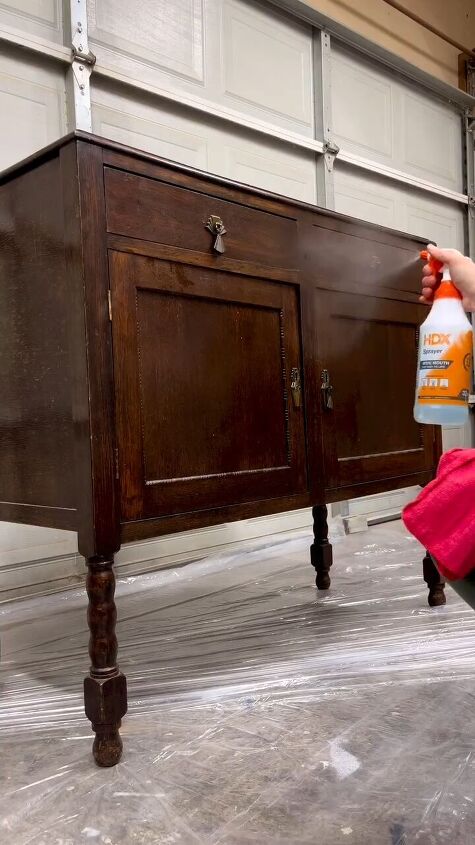
Now, it's time to give your buffet table the natural look you desire. Begin by misting the surface with water to create a slightly damp environment. This will help the gel stains absorb evenly. Apply your chosen gel stains using a brush or cloth, making sure to blend the colors to achieve your desired effect.
Step 6: Let It Dry
Allow the gel stains to dry completely. This may take a few hours, so be patient. The stains used in this process typically have a built-in top coat, simplifying the finishing step.
Step 7: Optional Touch-Ups
If you're not entirely satisfied with the results, you can lightly sand certain areas to achieve your desired look. This step allows you to fine-tune the finish to your liking.
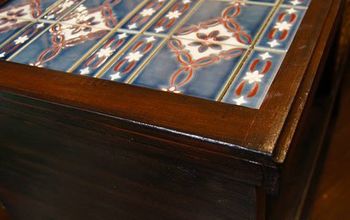
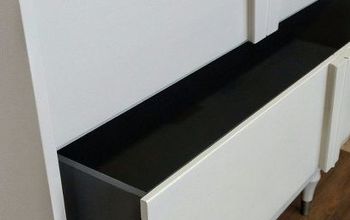
Buffet makeover
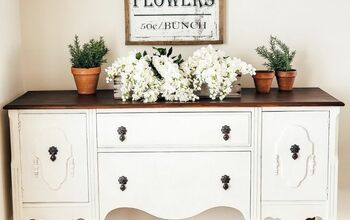
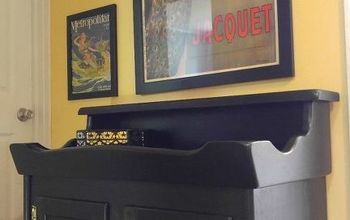
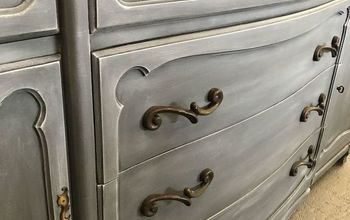
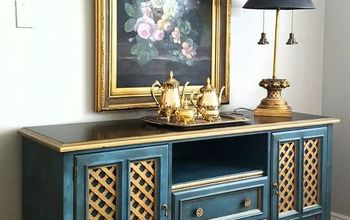
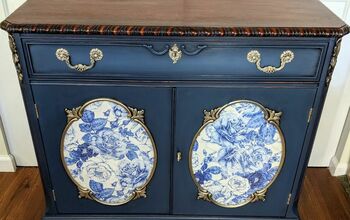
There you have it! Your once dark and outdated buffet table has been transformed into a fresh and natural piece that will surely impress.
This makeover project may take some time and effort, but the results are well worth it. I'd love to hear what you think about this makeover in the comments. Enjoy your beautifully revamped buffet!
Follow @rhettsrefinishes on Instagram for more DIY ideas.









Frequently asked questions
Have a question about this project?