How To Make A Tiered Tray

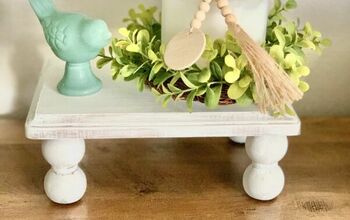
Tiered trays are growing in popularity. People are styling them with beautiful items for holidays or displaying yummy things for coffee bars and more. Here is how you can make your own tiered tray.
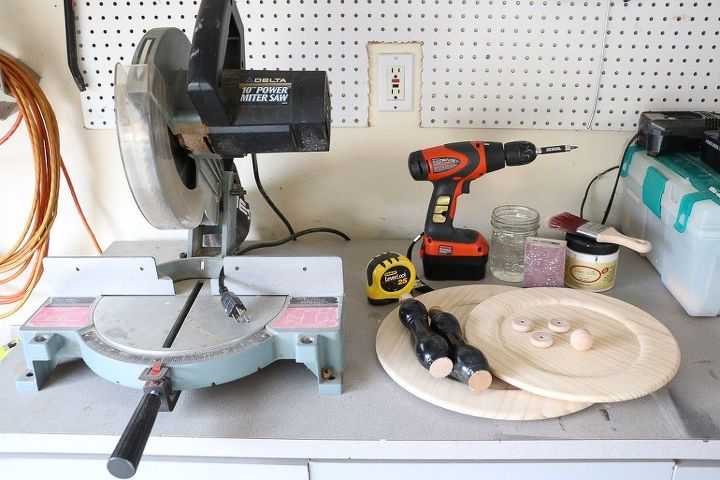
With all projects you will need to gather your supplies first. You will need
- 2 or 3 wooden plates in different sizes
- 2 or 3 dowels at least an inch thick
- wooden ball about same size as dowel
- 3 wooden feet
- measuring tape
- saw
- drill
- chalk paint
- paint brush
- sanding block
- 1 screw about an inch for the bottom dowel
- 1 or 2 double sided screw for the center dowels
- 3 screws about half an inch for the feet
- wood glue
Begin by screwing the feet to the bottom of the largest plate. Space them evenly close to the edge like in this photo.
Next drill a whole in the middle of the plate big enough for the double sided screw to fit into.
Now drill a hole into the center of the dowel and screw the dowel to the bottom large plate.
Next drill a hole into the top of the first dowel that has been set.
Then drill a hole in the next plate and bottom of the next dowel.
Screw in the double sided screw into the dowel. I used some vice grips to help screw it in but you may can use your fingers.
Sit the plate onto the double sided screw like in this photo.
Drill a hole in the bottom of the top dowel and screw it onto the double sided screw.
Last take some wood glue and attach the wooden ball to the top of the tiered tray.
You are almost finished.
Give it a nice coat of chalk paint. If you need some chalk paint directions go check out my how to paint with chalk paint post.
Yay! You are all finished!
If you want more detailed instruction check out my post below.
If you need some tiered tray styling ideas try my Farmhouse Rae Dunn tiered tray ideas or many more by simply typing tiered tray in the search on my website.
Enjoyed the project?
Resources for this project:
See all materials
Comments
Join the conversation
-
-
 Corine Mapes- Junk to Gems
on Jul 19, 2021
You did a great job Linda, I am working on a similar one. Great minds think alike!
-







Frequently asked questions
Have a question about this project?
did you seal the chalk paint to prevent staining, etc.?
What size screws did you use? Thank you!