Steps to an Unfinished Attic Part 2 The Finished Product.

by
Melissa W
(IC: homeowner)
$50.00
Medium
I posted about a year ago my steps that lead to an unfinished attic. Someday I hope to finish the attic for a master bedroom. But for now I wanted the stairwell to look pretty.
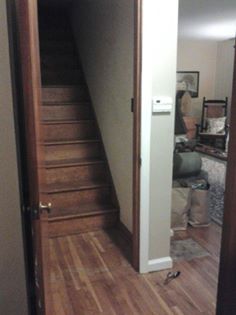
As you can see it's drab and just didn't wow me.
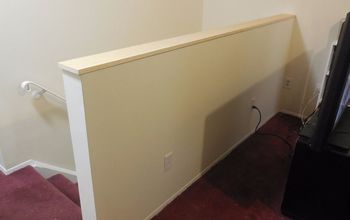
This is my attic. I think it will make a great space for my bedroom someday.
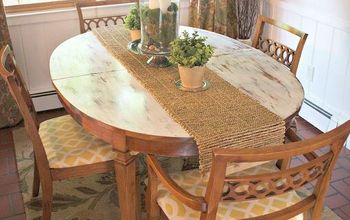
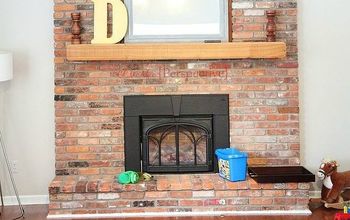
I included a picture of my living room to give you a feel of how I like my space.
So the work begins. I started with cleaning and sanding the steps. I only sanded the tops lightly.
Lots of finger prints on this never before 1952 walls.
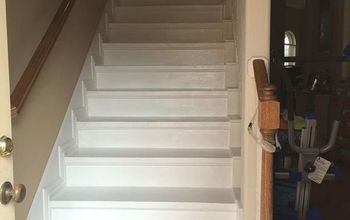
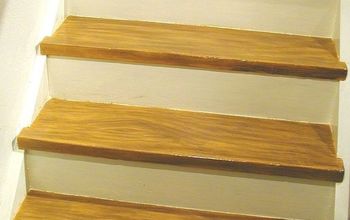
As you can see I decided on a light yellow for the walls. And white for the risers. I stained the tops of the steps.
I also filled all the cracks with painters caulk. This gives them a really nice finished look.
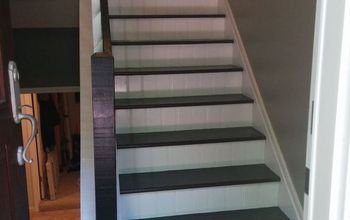
Finished! At last I have finished my steps that lead to an unfinished attic. They might not lead to a room but at least I can look at them and dream. Here you can see I used a wall transfer I bought at Hobby Lobby. I cut the pieces and placed them on the steps. This takes a while but with all the work I have put into these steps it was well worth it.
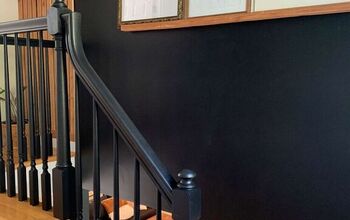
This door is not my door. I found this on Google search but I am using this to show you what I am thinking I will replace my attic door with. I think it will look wonderful at the bottom of the steps and will allow me to see my work.
Enjoyed the project?
Published October 5th, 2014 9:38 PM
Comments
Join the conversation
2 of 11 comments
-
 Spi15872845
on Mar 23, 2018
Absolutely gorgeous! And, YES on the door! =)
-
-










Frequently asked questions
Have a question about this project?
Do the wall transfers just stick on or are they stenciled ? You bought them at Hobby Lobby, do they have a large assortment to choose from? Thanks ! Love what you did with your stairs.