Removed Old Nasty Carpet From Stairs

The old carpet on my stairs was worn out and stained. It's time was up and it needed to go. I'd seen other projects of people painting their stairs, so this is what I did with mine.
Best nail puller!
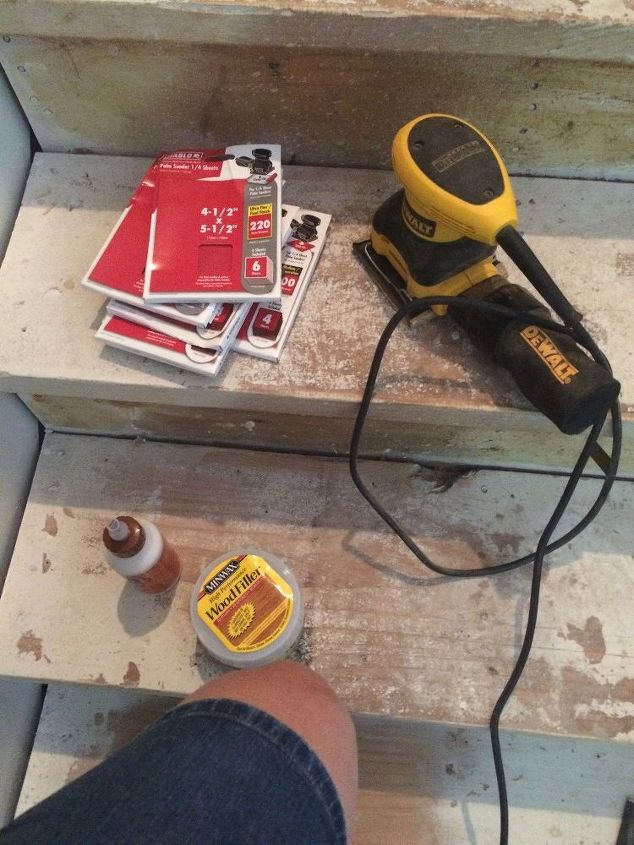
Only tools I used for this job was a palm sander, a small nail gun, assorted pry bars/nail pullers, hammer, a putty knife, a coping saw, caulk gun, and a paint brush.
I hung painter's plastic sheeting at the top of the stairs, along the banister arches, and at the foot of the stairs to help control the dust from getting all over the house. This kept it confined to this area but I did have to wear a face mask, several as they got clogged, in order to breathe.
Underneath the old carpet was standard builder's grade pine stairs. These were not cut perfect, have nail holes, hammer dings, knot issues, and other assorted markings or imperfections all over them. They needed some love. I had originally hoped to strip them down and just stain them, but seeing all the issues made me decide on painting them as I needed to do some putty work to repair a busted out knothole and lots of large nail holes.
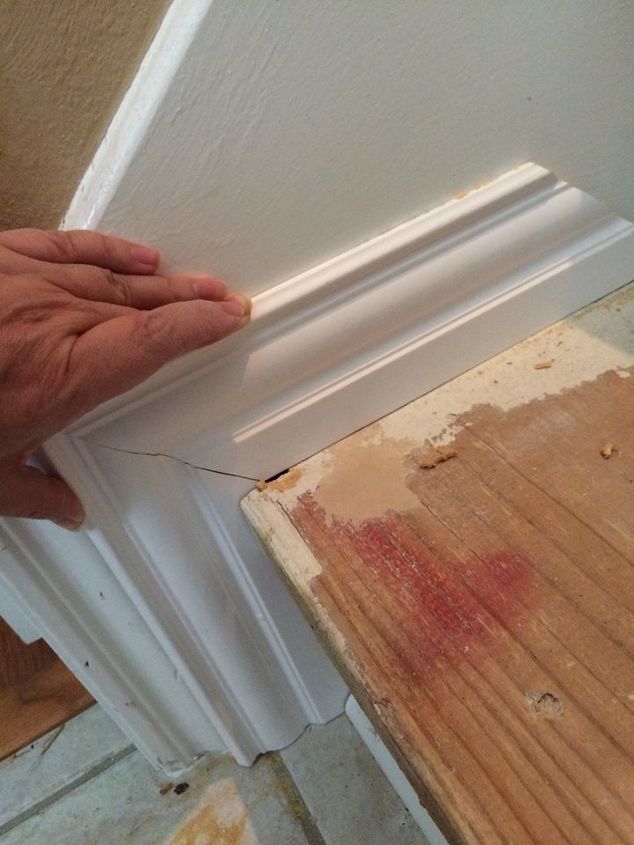
At the edge to the left which was covered with carpet, the gap was varied. I had to notch it a bit on most of the steps in order to slide the molding into place. It cut very quickly with a simple coping saw. The pine wood was easy to saw through.
Here you can see a dry fitting of the molding being fit into place in that notch. All the angles were simple 45 degrees. No complex compound miter cuts.
As I progressed up the stairs, I would use my small nail gun to nail each piece in place before measuring and cutting the next piece. A lot of cuts were slightly different from each other because of the imperfect placement of the original builder's grade stairs.
I added an extra bit of quarter round underneath each tread edge to give it just a little more finished touch. For my staircase, I have 15 steps, It took 4 1/4 tubes of paintable caulk to seal all the edges.
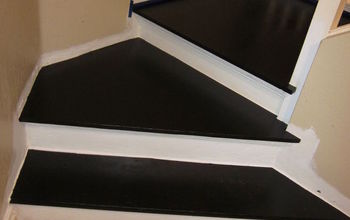
At the suggestion of the sales clerk at Sherwin Williams, I went with their Extra White Satin finish Porch & Floor Enamel. My son has asthma and I didn't want to risk an oil based paint triggering any breathing issues with him. I was pleasantly surprised with how low the smell was with this paint. I was expecting a lot more odor. I highly recommend it.
Here is how the stairs look all painted up with the first coat. I will put a second coat on.
I found these little tread carpets at Home Depot. They are 9 inches by 26 inches. I ordered 15 to put on for a decorative finish.
This is my test layout of the tread rugs, also to let them uncurl from the shipping box.
Looking at the tread rugs from the living room. This shows the original trim on the outside of the stairs that the builders placed.
This is the inside view of the right side of the step. I only had to put a bead of caulk to address this side.
The stairs are all finished. The tread rugs are nailed in place. I used a string line going from the top step to the bottom step to help me align the design with the center graphic.
My total cost for the entire project, including buying the nail gun to keep for future projects, was $327. What do you think?
Enjoyed the project?
Comments
Join the conversation
-
-
 Chi140716009
on Mar 25, 2025
The stairs look great! White looks so much nicer. Brightens the room. I'm debating on my cellar stairs. My dad put on Formica or some sort of tile on them. The tile is cracking. I thought of painting mine. But that's a project for later. I'm currently remodeling my kitchen.
-














Frequently asked questions
Have a question about this project?
What do you suggest for stairs made with MDF- other than covering the risers and steps with pine ?
What thickness crown molding did you have to use with all gaps and spaces for it all to be same.
I really like the idea and the way it turned out, we had laminate wood put on ours and I loved the wood floors, was why I didn’t want carpet