String Light Posts and Planters

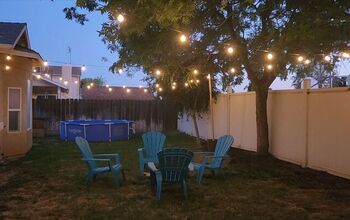
As part of our little patio makeover, I really wanted to add some lights for all the cozy ambiance.
Best string lights!
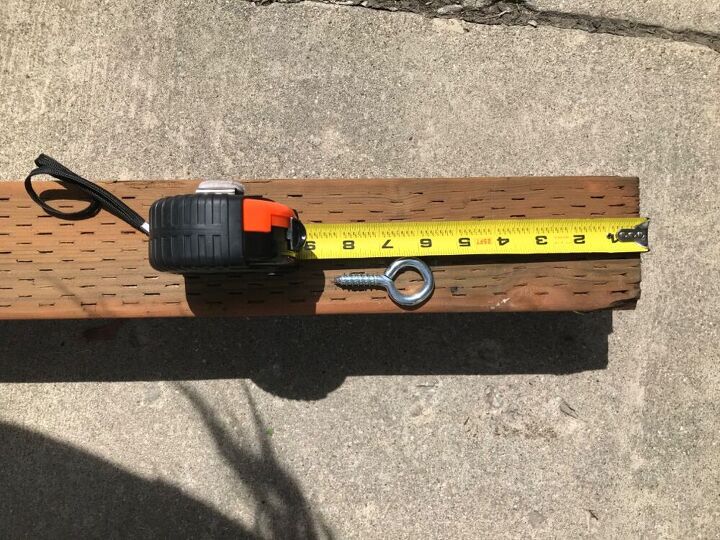
To start off this project, we got 4- 4x4x8 pressure treated lumber posts.
4” from the top and centered on the post, we drilled a hole and then inserted a metal o ring.
We placed one half of a cinderblock into the bottom of the pot to help the post to stand. In retrospect I think it would have been simpler to just use 4 L shaped brackets and secure them to both the post and the pot. Live and learn I suppose!
Build a wood brace
Next, Nate built a brace out of 2x4’s to hold our post straight and level while the concrete was poured/set.
if you were to use L brackets to secure the post to the pot, you may be able to skip this step. As we didn’t do it that way I can’t tell you for sure.
Make sure your post is level
Mix your concrete
We used quickest concrete and mixed it in an old wheelbarrow. Just add water to the powder and mix according to directions. Once it was mixed, Nate scooped it into the pot using a shovel. To help keep the post level, I held it while he first packed concrete into the cinderblock and then filled the rest of the pot until it was about half full.
Once the concrete set, we used a carabiner to attach our wire to the ring in the post. You could hook the wire directly to the ring, but by using the carabiner we can Easily take the wire down during the winter.
We ran the lights around the perimeter and attached each light to the wire cable to keep them from sagging.
We attached them using black zip ties.
I then decided to add some canvas flags that I made. I strung them across the center to help the space feel more intimate and cozy.
i know they may not be everyone’s style, but I love them.
Plant your flowers
After the concrete set, we filled the rest of the pot with potting soil and flowers.
we planted marigolds because of their vibrant color, but they also help keep bugs away. (Bonus!)
The lillies are a beautiful shade of pink, and all of the colors look great with the navy blue cushions of our patio furniture.
note: you could also fill the pots with decorative gravel if you want something low maintenance.
Before
Here’s a before shot, because it makes the after SO MUCH BETTER.
After!
Needless to say we are over the moon with how this project turned out. I can tell you already, we will be spending many nights out here with family and friends!
Before
After!
Enjoyed the project?
Resources for this project:
See all materialsComments
Join the conversation
-
 Susan Grekso
on Apr 21, 2024
Beautiful
-
-
 Eli120034615
on Apr 08, 2025
What a fantastic transformation! To have the vision to take it from where it was to what you made it into is really inspiring. It's a beautiful spot. I really like the wood stump and lights. 😀
-












Frequently asked questions
Have a question about this project?
The mountains in the background make it an even more inviting patio! Thanks for the great ideas!
Why didn't you repair/fix/paint the concrete blocks?
How to stop water leaks in my hose. I have used numerous seal in the hose and it still leaks?