Cover an Ugly Ceiling Light

by
Amanda C, Hometalk Team
(IC: paid contributor)
4 Materials
$10-20
3 Hours
Easy
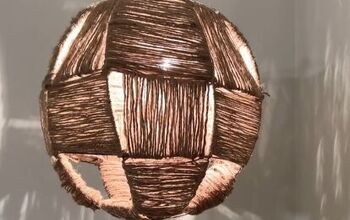
Here is another great option for someone looking for a quick fix, or for a renter friendly option. If you have an ugly ceiling light this is a fun and cute way to add some style and charm! With some wire hanging planters and yarn you can make a custom ceiling light cover. You can make a sort of chandelier effect without changing out the light fixture itself or even thinking about messing with the wiring!
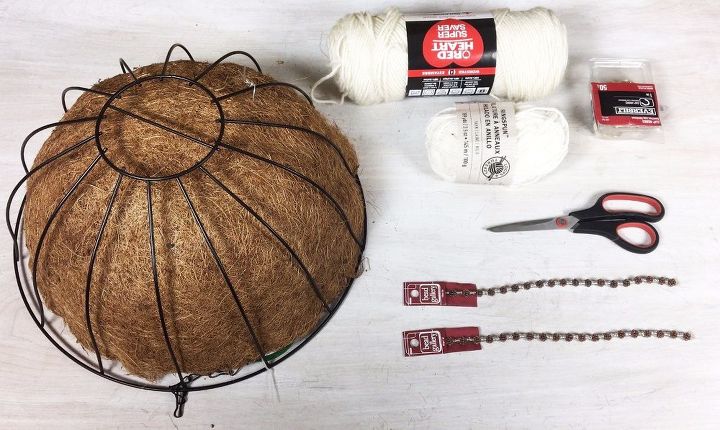
SUPPLIES: -Wire Hanging Planter Bowl -Yarn -Beads -Scissors -Cup Hooks
STEP 1: Remove all the chains, hooks and lining from the hanging planters so that just the wire frame remains.
STEP 2: Cut LOADS of long doubled up strands of yarn. I believe I cut 140 for each of the covers I made. *Be sure to cut them double the length that you want them to hang from the basket.
STEP 3: Grab your first piece of yarn and keep it doubled so that one end is looped and the other has the two loose ends. Place the strand next to the top circle of the wire basket. Feed the raw ends of the strand of yarn through the loop on the other end being sure to catch the wire in between the two. Pull the loose ends all the way through so that the strand is tightly attached to the wire.
STEP 4: Repeat all the way around the top circle of the basket until it is entirely covered. I used about 10 strands of yarn between each vertical wire bar.
STEp 5: Once all your strands are attached you can add some beads to sporadic strands throughout to add a touch of fun.
STEP 6: Now it is time to secure the bottom of the yarn strands to the bottom circle of the wire basket. Grab all strands of yarn that rest between two vertical wires and feed them up through the bottom of the basket. Make a split between the middle of the strands of yarn and feed the yarn you just pulled up through the bottom out between the strands so that it drapes down and is secured in place. Do this for every other section between the wires. (See step below for how to handle the strands in every other section.) STEP 7: For the other sections you will pull the yarn up through the bottom of the basket, but instead of feeding it back through the middle of the strands you will simply drape it through the middle and let it hang in the center.
STEP 7: For the other sections you will pull the yarn up through the bottom of the basket, but instead of feeding it back through the middle of the strands you will simply drape it through the middle and let it hang in the center.
STEP 8: Now your covers are ready to hang! Place your basket around the light you are wanting to cover and make 3 small marks around the basket being sure to evenly space them around the circle.
STEP 9: Move the cover for a moment and screw cup hooks into the marks you made in step 8.
STEP 10: Now attach your cover around the light by hooking the top circle of the wire basket to the cup hooks. Take some time to fluff out any taut strands of yarn and make sure there aren't any bald spots or empty spaces.
Now take in the cover in all it's glory!
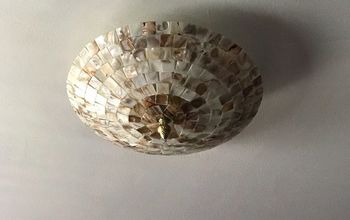
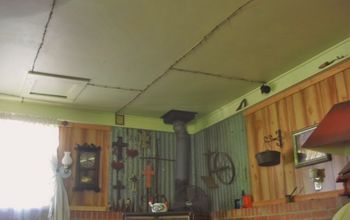
Here is a before and after of the light we covered! Such a transformation!
Look how cute this thing is all lit up! Such a great option! You can customize it with different colors of yarn or different colors of beading to match any room! You could also use chain if you want a more industrial look.
Enjoyed the project?
Suggested materials:
- Red Heart & RingSpun Yarn (Michael's)
- Bead Gallery® Copper Plated Wire Beads (Michael's)
- Patio Life 14-in x 6.25-in Black Metal Hanging Classic Basket (Lowe's)
- Cup Hooks (Home Depot)
Published January 21st, 2017 12:53 AM
Comments
Join the conversation
3 of 49 comments
-
 Diane McGee Raezer
on Jan 21, 2020
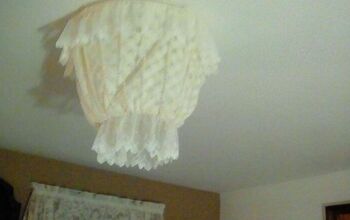
I did something similar in my bedrooms only I used a Dollar tree Wreath form , and material . I also did another one with Crystal beads .


-
-
















Frequently asked questions
Have a question about this project?