3 Quick And Easy Rug Ideas To Brighten Up Your Space
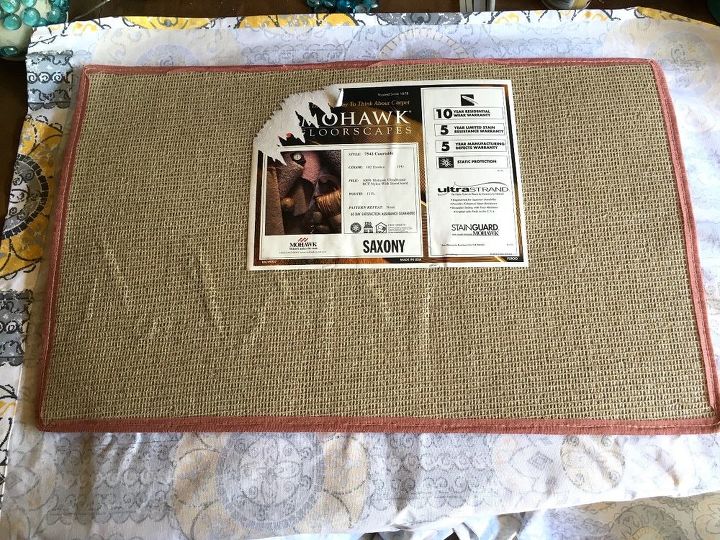
Step 1: Flip rug on a shower curtain
Place rug in the center and measure out where you'll want to cut out Get tutorial here
Step 2: Cut the curtain 1-2" around the rug
Cut the thick(er) piece off of my shower curtain where you would normally hang it Get tutorial here
Step 3: Spray the front
Spray the FRONT part of your rug with tacky spray... Get tutorial here
Step 4: Spray the back of the curtain
Make sure not to leave spots without spray Get tutorial here
Step 5: Iron curtain on
You can also iron your entire shower curtain before you start the whole process of the project Get tutorial here
Step 6: Secure with hot glue
After you've ironed your shower curtain on your rug, flip your rug back over and hot glue the edges Get tutorial here
Step 7: Fold the shower curtain & press down
Fold it over the back of your rug--nice and snug Get tutorial here
Step 8: Turn rug over & seal with Polycrylic
Brush (or roll) on a coat of Polycrylic and let it dry Get tutorial here
Next: Make Your Own Pom Pom Rug
Picking out rugs is sooooo hard, so you might would go ahead and make your own one Get tutorial here
Step 1: Cut the shape of the rug you want
You can also cut it in a shape if you want! You can even make a hexagon rug if you so wish! Get tutorial here
Step 2: Cut string and wrap the tissue rolls
Once you have a nice mound of yarn on the rolls cut the rest of the skein or ball loose Get tutorial here
Step 3: Cut a string and wrap between rolls
Take your yarn strand and feed it between the two rolls of toilet paper and wrap it around the pile of yarn Get tutorial here
Step 4: Tie it together
Tie the yarn together on one side, but don't create a knot just yet Get tutorial here
Step 5: Cut the loop & slide out toilet roll
Slide one of the toilet paper rolls out from the yarn and cut down the center of the loop that is left Get tutorial here
Step 6: Take out other roll & tie the strand
Don't forget to secure the pom pom first Get tutorial here
Step 7: Cut the other loop
Now cut the looped side of the poof down the center as you did with the other side Get tutorial here
Step 8: Trim and shape
Trim the poof so that all the strands are even and consistent with one another Get tutorial here
Step 9: Turn it over
Make sure there are no empty spaces and that they are all arranged in the way you would like! Get tutorial here
Next: From a door mat to wall decor
Get off your door mat, believe it or not, soon you'll be hanging it on the wall Get tutorial here
Step 1: Spray your mat
Do one even coat on the front and sides of the mat Get tutorial here
Step 2: Sand the mat Once my mat is dry
You can apply more pressure in some places to give the mat a more worn look Get tutorial here
Step 3: Hang on your wall
You can hang it vertically or horizontally, whatever your decor need is! Get tutorial here


