Old Fashioned Curio Cabinet Makeover

Sometimes we're handed down furniture that isn't exactly our style, but you don't want to part with it for sentimental reasons. So what do you do if you love the memories, but don't love the looks? You can see the full post about this project and more on the blog here! That was the case with this gorgeous curio cabinet. A dear friend inherited this one after her mother passed away and it just didn't fit her style. She didn't want to part with it, but it needed a good face lift!
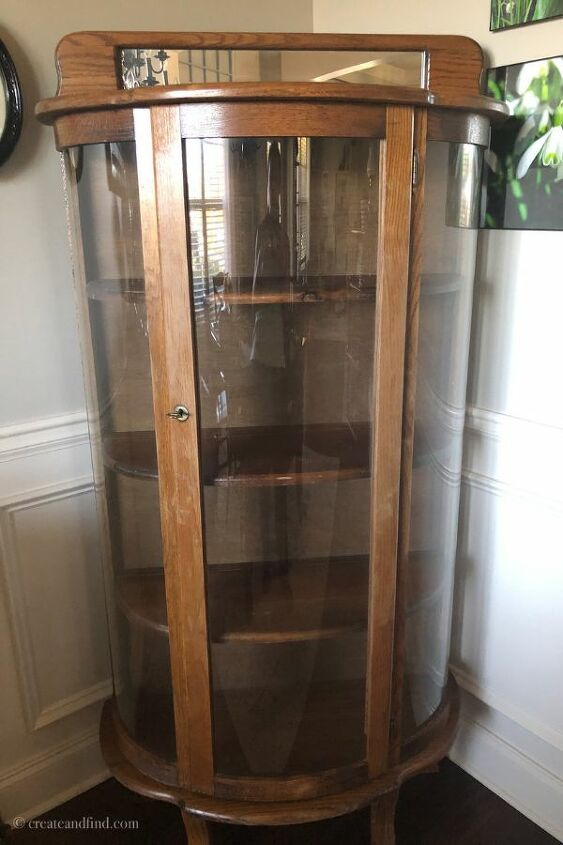
Here's what I started with:
It had gorgeous details and provides great storage, so this piece is a keeper. It had been refinished decades ago with the stain. Stain wasn't at all what my friend was looking for in her house, so we needed to lighten this thing up.
Supplies Needed:
- Sanding blocks or sandpaper sheets
- Lint free rags
- Paint
- Primer (optional, depending on the stain and the finished look you want)
- Quality brushes
- Patience! Painting around all this delicate old glass is not for the faint of heart. It will test your patience for sure!
One thing we experimented with was color choice. Originally she wanted a darker gray outside and a light gray inside. But once I started, it just wasn't right. The gray was too dark and we didn't like the huge contrast between the inside and out.
Steps to Refinish:
- Clean it thoroughly. Especially on an older piece with years of built up grease, wax, oils, or grime. I use a cleaner formulated for removing oils and you can find various brands at home and garden stores.
- Sand - After your piece is clean, sand it lightly with sanding blocks or medium sandpaper. The stain on this one was so old, it wasn't hard to rough it up a bit. You want to make sure your paint adheres.
- Wipe it down after sanding. You don't want any sanding dust in your paint.
- Prime (optional) - I chose not to prime this piece because ultimately I wanted a distressed look and I wanted some of the stain to show through.
- Paint - I did two coats of semi gloss white, letting each one dry thoroughly in between. It was tricky getting around the glass, but a tiny artist brush was my friend during this process! If you get any paint on the glass, keep a damp rag handy and clean it off quickly.
- Distress (optional) - after the paint dried, I used a medium grit sandpaper to lightly sand the edges and different spots that would normally show wear naturally. Go easy at first, step back and look and see what if you want more.
- Leave it alone and let it cure. Let the paint cure for at least a few days before you put the shelves back in and add all the pretty accessories.
This project took me a few weeks, but that's because I didn't have consecutive days to work on it. It was very time consuming to paint around the glass. If you had several days in a row, you could complete it much quicker than me.
And here's the finished project!
I left the feet untouched so she'd have part of this cabinet exactly the way her mother left it before she passed.
Don't be afraid to paint an antique. If you love it for sentimental reasons or it has beautiful lines but you just don't like the finish - you can change it easily with paint! For more easy DIY Projects and lots more, check out Create and Find for inspiration!
Enjoyed the project?
Resources for this project:
See all materials
Comments
Join the conversation
-
 Libby
on Sep 21, 2019
I just completed mine this weekend. I have one more shelf to put in the cabinet but I got in a hurry to post a picture. It was a medium oak and I refinished it with a dark expresso stain. I love it. Thanks Melissa for the encouragement to do this project. Please excuse the picture taking as it has a terrible glare. But, it sure does look good in person.
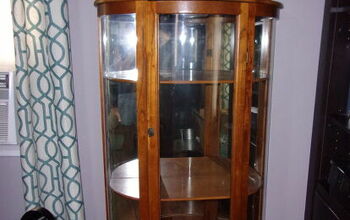

- See 1 previous
-
 Melissa - Create and Find
on Sep 22, 2019
Libby - That is gorgeous!! I'm so happy you changed it up to fit your style. Great job!
-
-
 Bet91323634
on Oct 12, 2023
My mom gave me the same cabinet but with glass shelves. I want to paint a dark blue color. I'll clean it first cause it's really dusty then I'll sand it so the paint will adhere better. Then clean again and tape of the glass. Prime, paint, sand, paint, then seal. Thanks! Now, I feel confident to paint mine. 🙂
-












Frequently asked questions
Have a question about this project?
it seems to be nice and quiet applicable ..the point and the question is ..it has to be plain wood or is is easy to do it in covered wood also ??thanks
Job well done but why does everything need to be distressed? Surely this fad will pass.
Hi, I also inherited my mom’s curio. It is the exact same one. Is there any way you can tell me the measurements of the shelves although moms were glass? I need to replace them because they were discarded by mistake. 🙃Thank you.
Tina