Make Your Pumpkin Look Magical Before You Can Say Bibbidi-Bobbidi-Boo
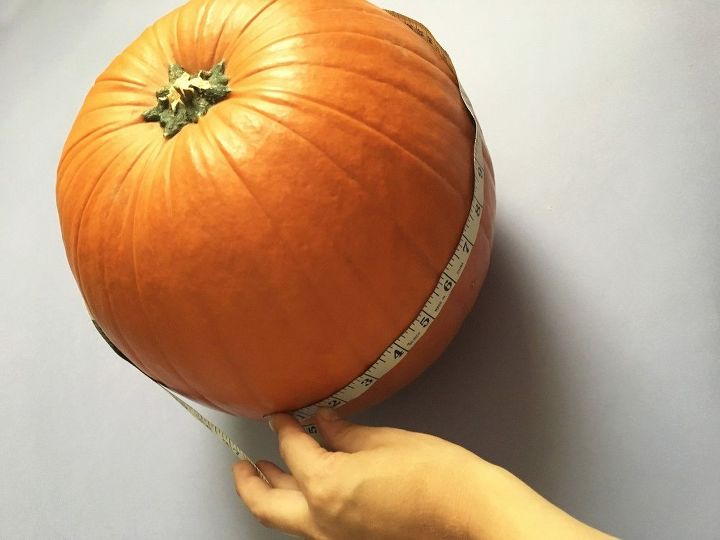
Step 1: Measure your pumpkin
You want to make sure it will be the appropriate size for your bowl to fit within Get tutorial here
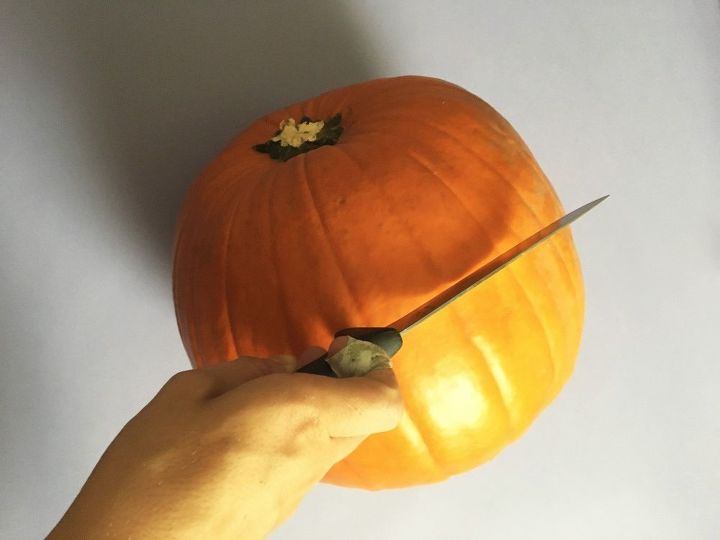
Step 2: Cut the entire top of the pumpkin
Be sure to slice the whole way through Get tutorial here
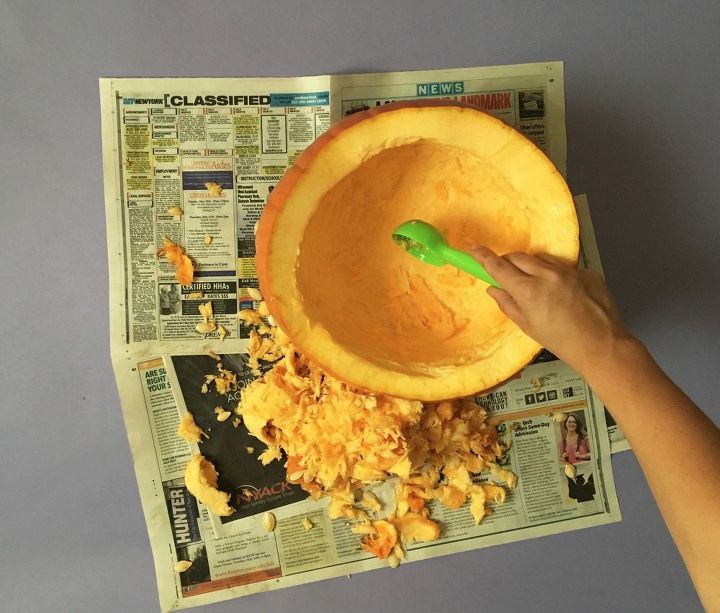
Step 3: Scoop out the insides
Set some newspaper down for a nice and easy clean up Get tutorial here
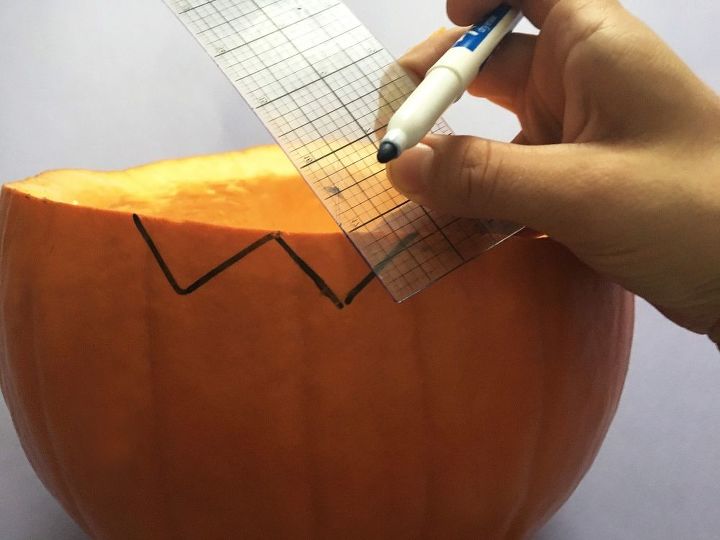
Step 4: Draw a fun edge using your ruler
Draw some fun triangular angles to the top rim of your pumpkin as a guide Get tutorial here
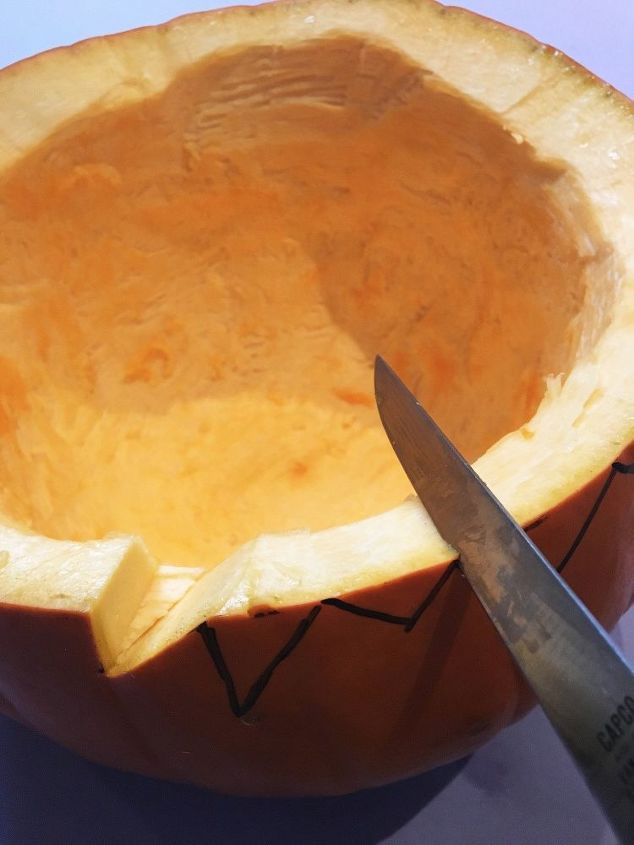
Step 5: Cut triangles
Cut all of your triangular shapes away from the top of the pumpkin rim leaving a fun jagged edge Get tutorial here
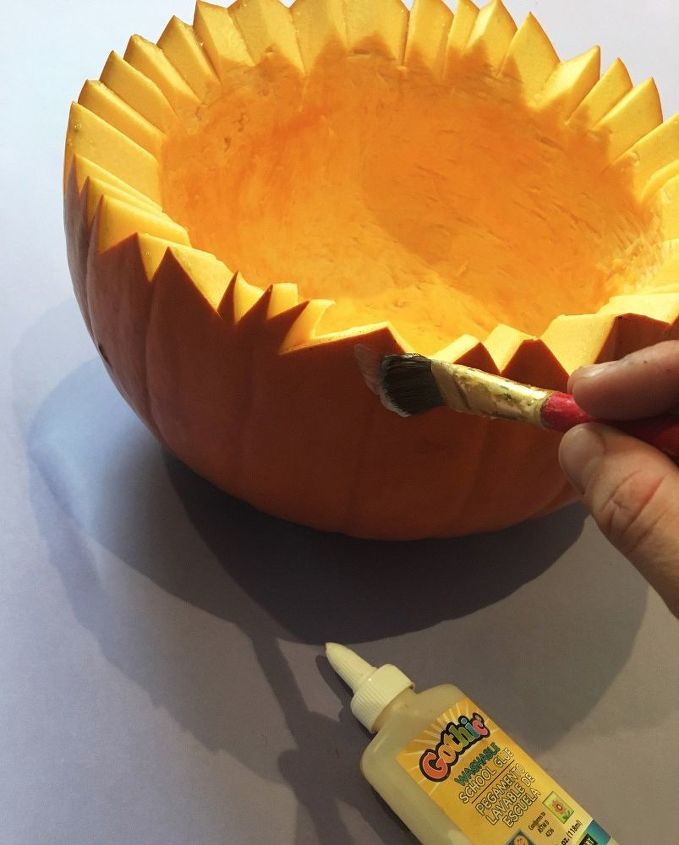
Step 6: Spread glue on the edges
Spread glue with a paint brush along the top edge keeping with the angles of the triangular cuts Get tutorial here
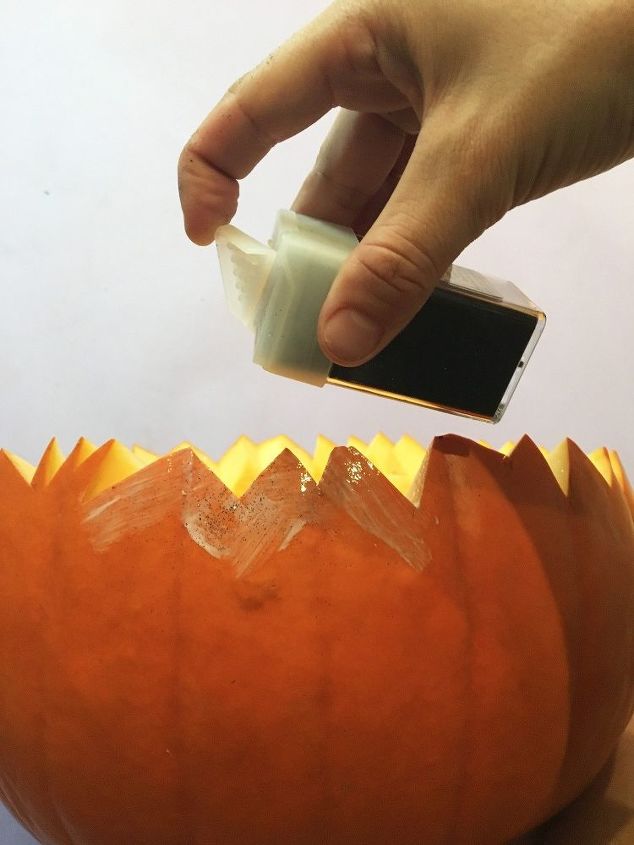
Step 7: Sprinkle glitter on the edges
Make sure you didn't leave an empty gluey spot Get tutorial here
Step 8: Place your bowl
Place your bowl down in the opening of the pumpkin. If it doesn't fit, just scoop away some more Get tutorial here

Step 9: Fill it up with ice & drinks
Put some snacks inside like some popcorn or chips if you want! Get tutorial here
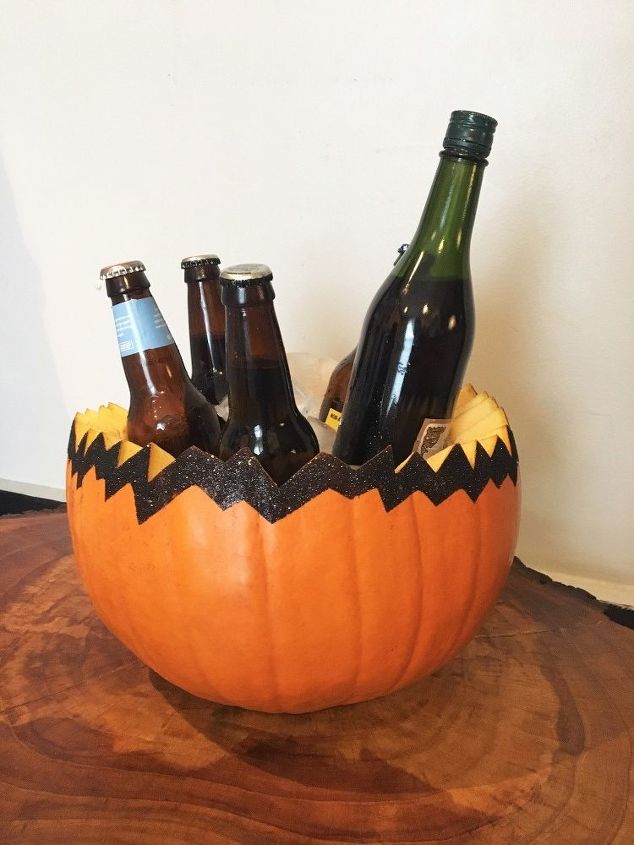
Next: From cheap pumpkins to fancy ones!
A magical way to turn a plastic treat pumpkins to last for ever front door decore Get tutorial here
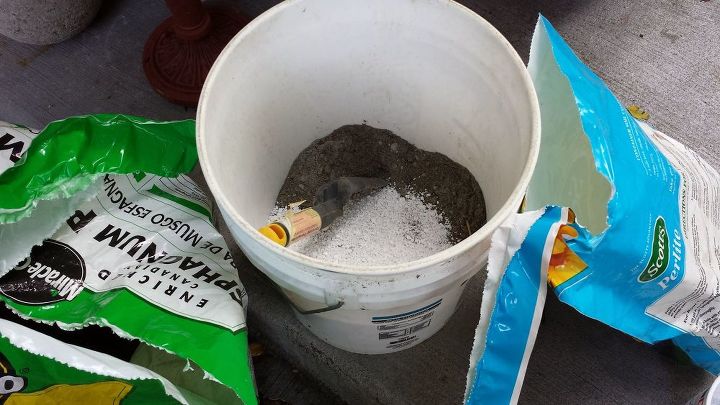
Step 1: Mix cement + peat moss & perlite 2:1
The mix was approximately 2 parts concrete to 1 part each of the peat moss & perlite Get tutorial here
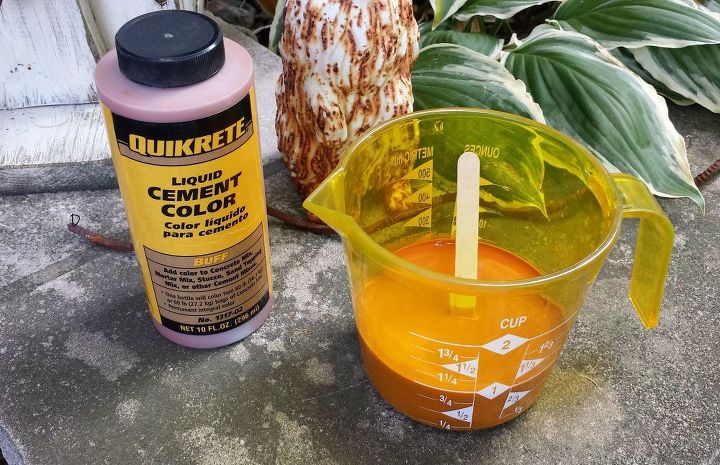
Step 2: Add water and cement color
Add enough water to make a thick cottage cheese type texture Get tutorial here
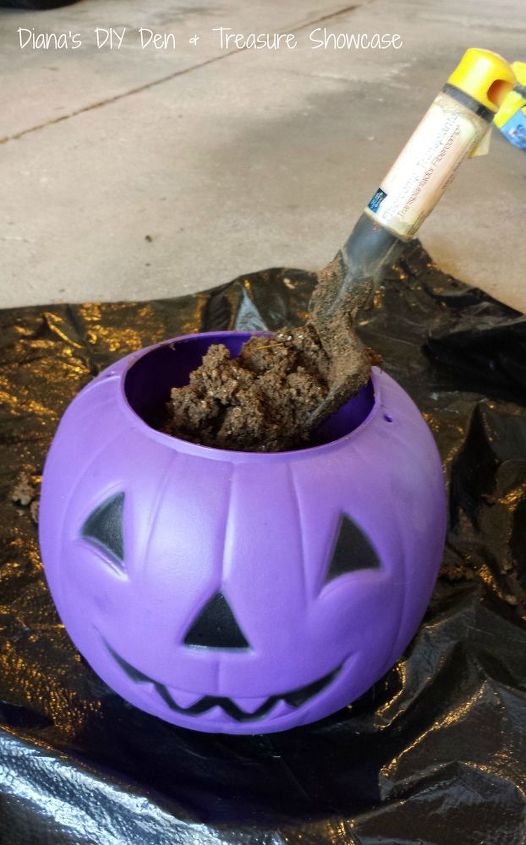
Step 3: Fill the plastic pumpkin with mix
Make sure that it's filled all the way to the top Get tutorial here
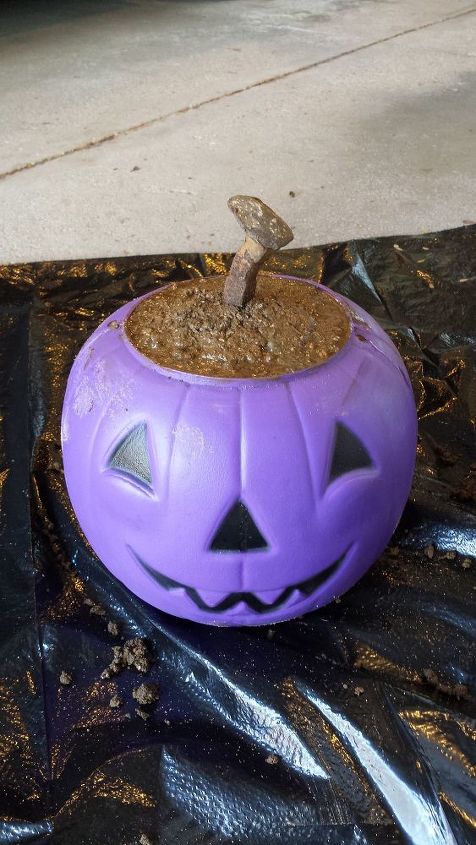
Step 4: Stick a rail road spike for stems
Push the "stem" right down the center Get tutorial here
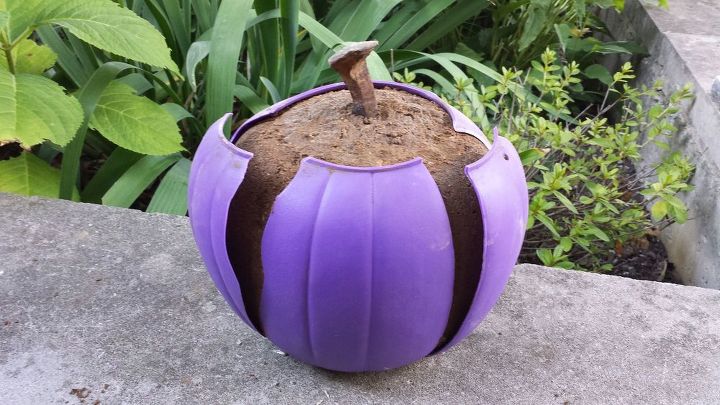
Step 5: After 2 days, remove the plastic mold
Use a utility knife to slice down the sides and peal it right off Get tutorial here

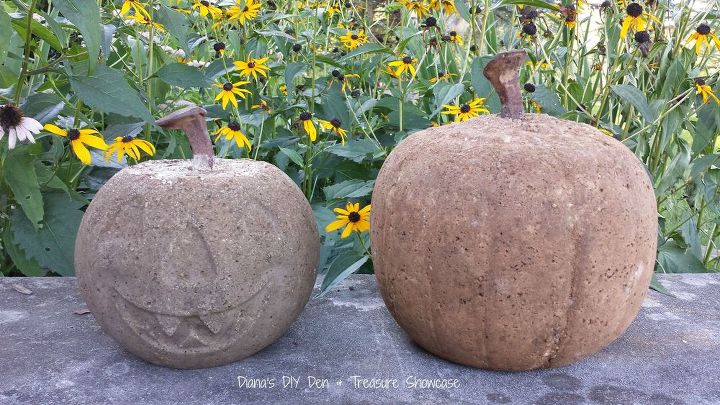
Step 6: Place the concrete pumpkin & showoff
Turned around they work right through Thanksgiving! Get tutorial here
Step 1: Cut the top & scoop out the inside
You may lay a big piece of parchment paper on your work surface to keep it clean Get tutorial here
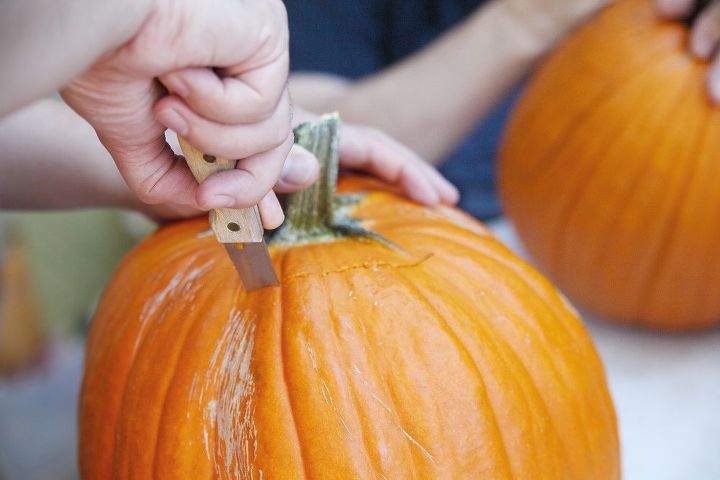
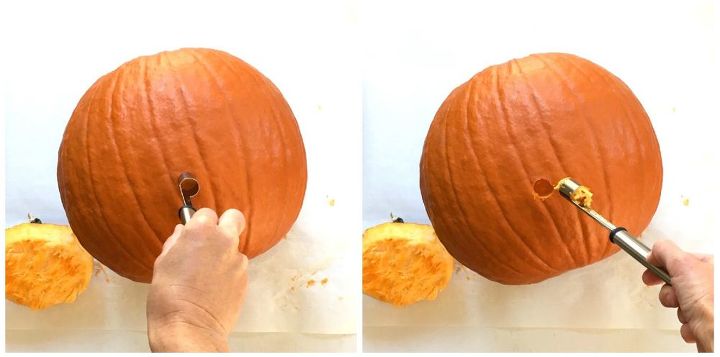
Step 2: Create hole with carving tool
Make sure the hole is clean and smooth Get tutorial here
Step 3: Install shank
Connect two parts of the shank (the outside and the inside) by twisting Get tutorial here

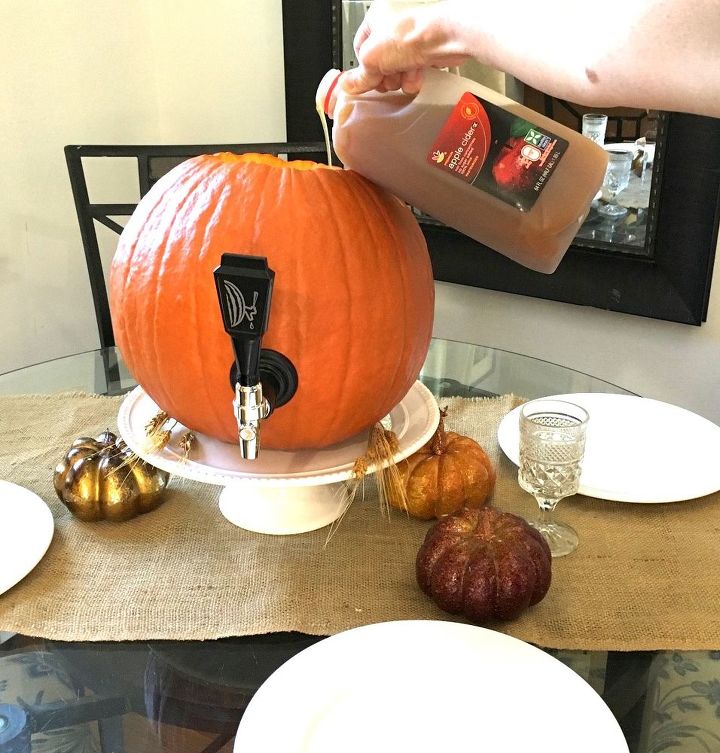
Step 4: Attach faucet
Ensure that the rubber seal was inserted in to the back of the faucet Get tutorial here
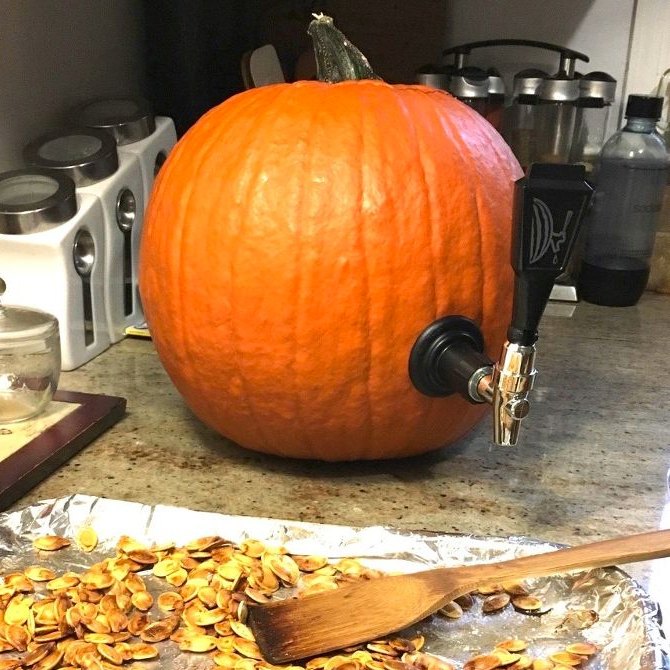
Step 5: Add your favorite drink
Make sure your faucet is in the "off" position--sitting straight up--or you'll have a mess on your hands! Get tutorial here