Blind Oak Cabinet Makeover

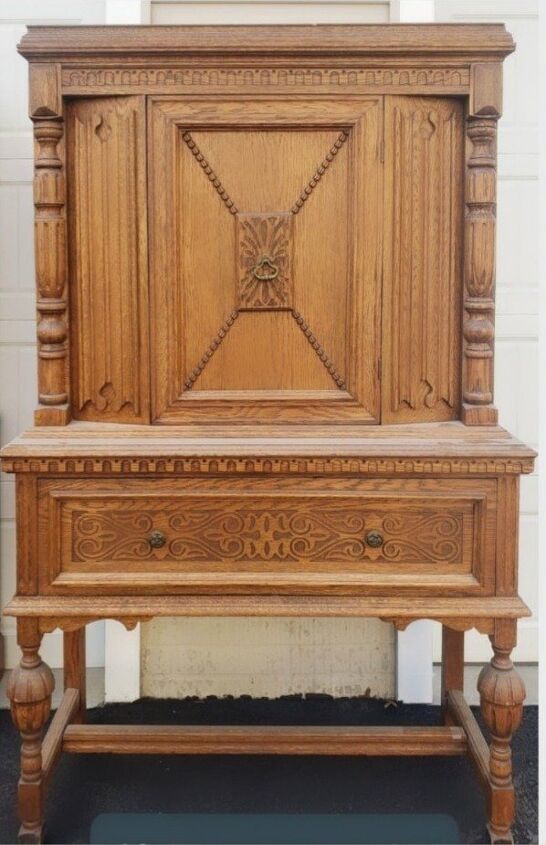
Beautiful antique blind oak cabinet madeover for a client in a beautiful soft blue.
Hometalk Recommends!
Now before I get attacked for painting this piece, WE WERE HIRED to do so. I know people feel strongly about painting antiques so if you would like to learn how we made this antique pretty again, read on 🙂 For those of you that think I have sinned skip MY POSTS BECAUSE THIS IS WHAT I DO!
That being said, this is my FAVORITE style of furniture. Jacobean style pieces truly have my heart, but this makeover was brought to us by a client that wanted a modern update for this piece. Although it was in ok shape, there were many imperfections that needed to be fixed before we were able to put our touch on it. The oak was so dried out from this piece being stored in a garage, so there were cracks all over, a leg was split and the shelving had definitely seen better days. But, before we started on the repairs, we did what we always do and that is clean!
Cleaning
We used our usual Krud Kutter with a sponge and scrubbed. We had to do a few rounds, then rinsed and let it dry for a few hours.
Sanding + Filling
Years of being stored in a climate that is hot one season and cold the next can make the wood swell then shrink, thereby causing the cracks. Also, if wood is not conditioned it can get very dry and weak, contributing to cosmetic problems so out came our favorite sander ever, the Surfprep. Because of all the curves on the legs and the detail carvings, the advantage of using the Surfprep is that it has flexible sanding pads that bend and mold to the shape of what you are sanding. We went over the entire piece, starting with 80 and working our way up in steps to 220. We used plastic wood to fill in the cracks and sanded until smooth as well. For the leg split, we used wood glue and clamps, letting it sit overnight to get nice and tight. In the morning, we used plastic wood in walnut knowing that we were going to be staining the legs so this was the perfect choice of filler. We lightly sanded all of the repaired areas smooth and removed all dust with a tack cloth. Next, it was time to prime. We used Bin shellac based primer in the spray can and lightly sanded between coats. We did three coats to ensure there wouldn't be any bleed through once painted. Now the fun part, painting! But before that could begin, we taped off and covered the legs to preserve their sanded state, awaiting stain.
Painting
We sprayed two coats of General Finishes Milk Paint in Persian Blue using our Fuji Semi-Pro, lightly sanding and removing the dust in between coats. Here it is after removing the protective plastic and tape on the legs. Next we stained the legs and shelves using General Finishes Walnut Stain and applying with a foam brush.
Sealing + Waxing
After everything was dry, we sprayed General Performance Top Coat in Satin, three coats, lightly sanding in between with 500 grit, removing dust with a tack cloth and then used an antiquing wax to age very slightly the recesses of the piece.
The Result
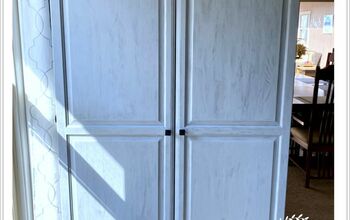
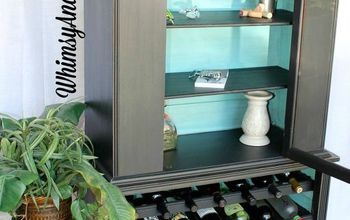
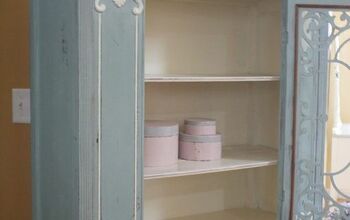
Here it is looking so fresh and updated. Just what my client asked for 💙









Frequently asked questions
Have a question about this project?
It looks lovely. I am so happy that it wasn't distressed after all the hard work. I just personally hate that technique. What happened to that lovely door that was on it originally?
Beautiful piece and very well done. It is beautiful. I have one question only?? Why is is it called "Blind oak"? Thanks
Why are all 4 legs and braces not uniformly black/dark?