


How to Add Farmhouse Cabinet Trim - $15 Character Add to Kitchen
Hello!
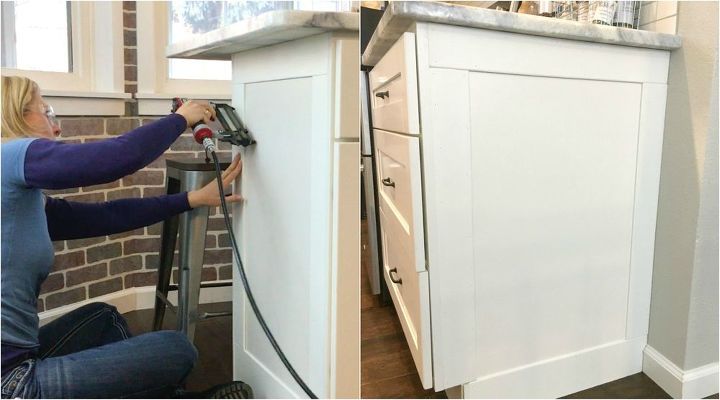
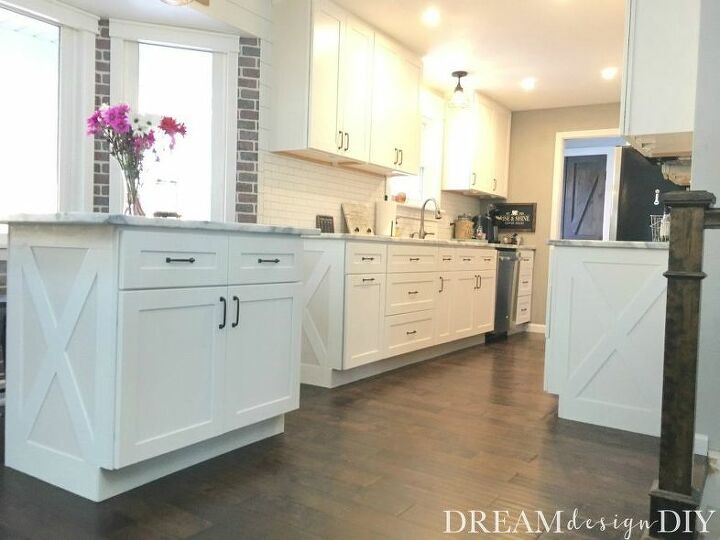
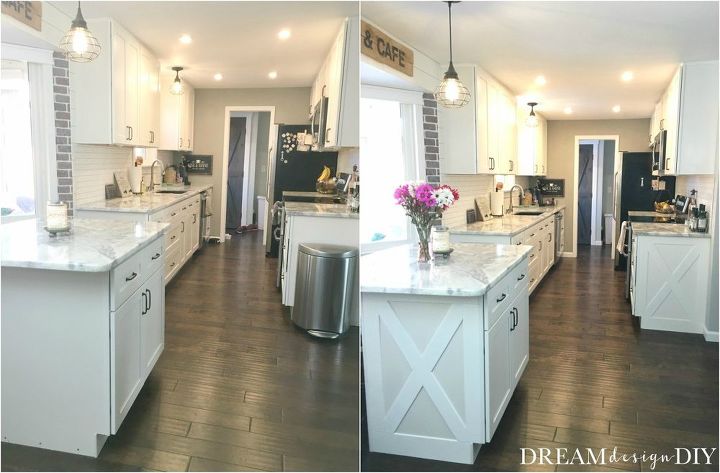
If you are looking to add some character to your kitchen then this budget friendly Farmhouse Cabinet Trim will work perfect! Plus it only costs around $15 to make.
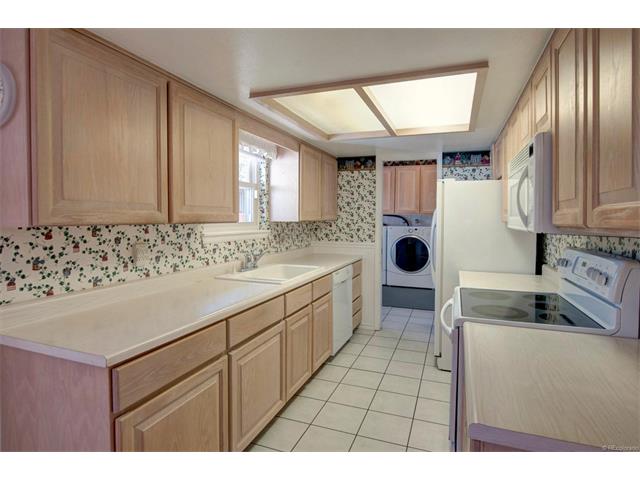
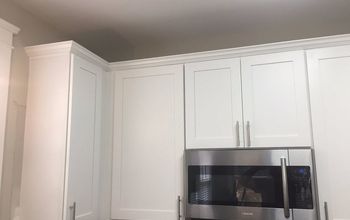
This was our kitchen way before our whole kitchen remodel.
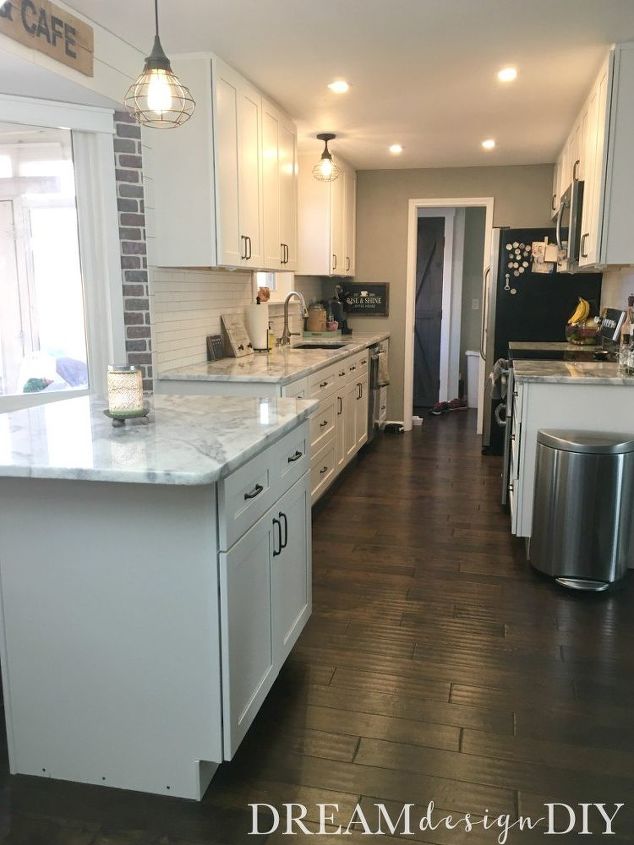
This was our kitchen remodel but before adding the farmhouse cabinet trim.
Hometalk Recommends!
I will not be providing cut lengths for this project due to the variations in cabinet sizes. However the width of the trim were all 3 inches wide except for the bottom pieces at 4 1/2 inches wide.
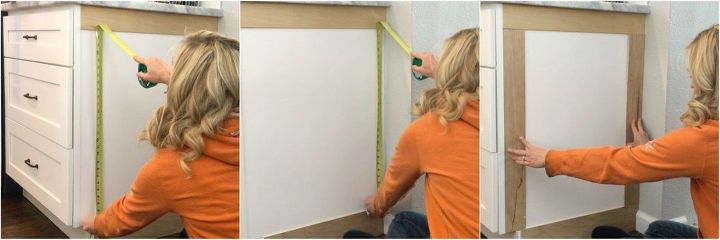
For the cuts I started out by measuring and cutting the lengths of the 4 1/2 inch wide bottom pieces. I also had to use a jig saw (Rockwell Bladerunner) to cut out the space for the baseboard trim on two of the cabinets. To do this I happen to have a piece of baseboard trim that I used to trace. Then I measured and cut the 3 inch top pieces.
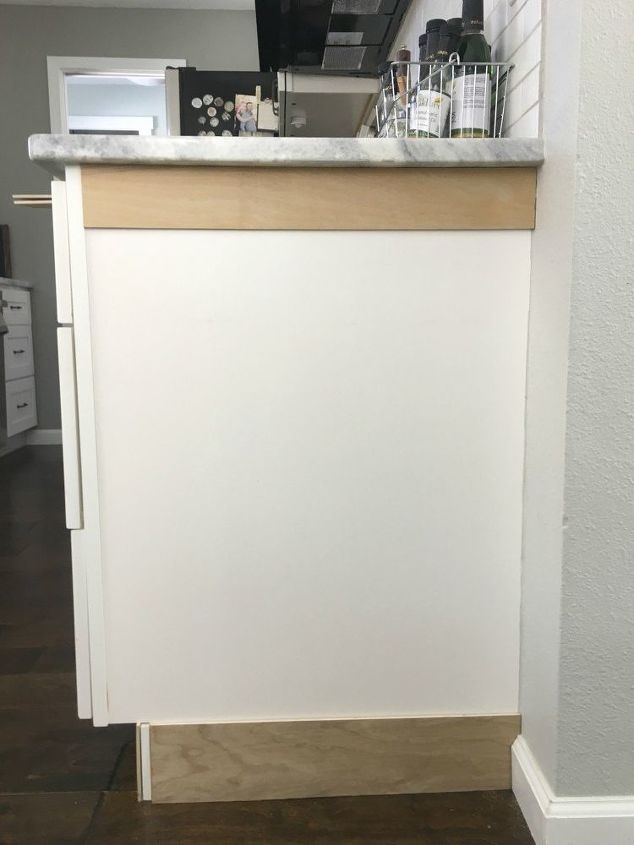
Once I had the top and bottom pieces cut I dry fit them in place (use a clamp if necessary).
I repeated this for each cabinet.
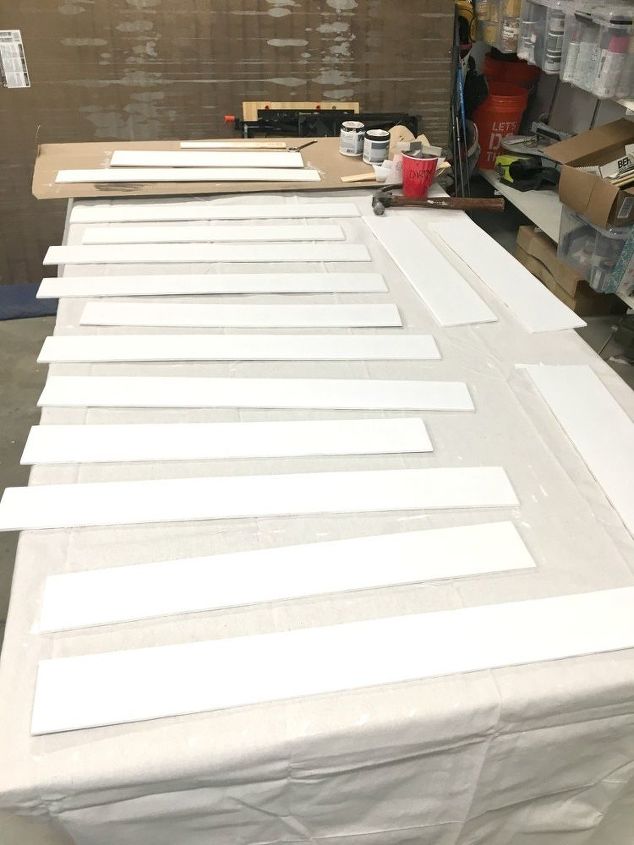
Next I sanded the long sides of all the pieces to soften the edges.
Using a small paint brush for the edges and a roller for the top I added a couple coats of primer and a couple coats of paint and allowed them to dry.
I measured the lengths on both sides where the side trim would go. Then I cut the 3 inch wide side pieces to length and dry fit those in place.
I didn't use any glue as I figured if a future homeowner decides they want to change these out it is much easier without the glue.
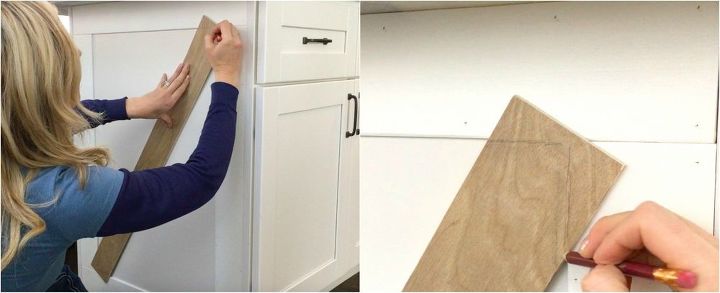
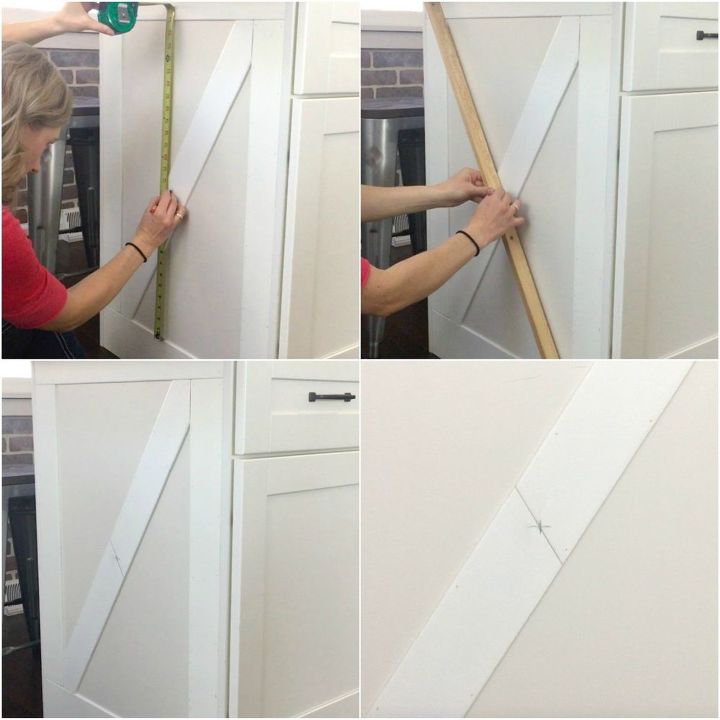
Once all the frames were attached the cross pieces could be traced and cut. I wish I could give you a simple fool proof method for cutting the corners of these cross pieces but from my research I wasn't able to find any. What I did was measure and cut a piece longer than I needed to make room for errors.
Then making sure each end intersects the corners place the board over the corner and trace your corner cuts.
You can use a jig saw for this but I used a miter saw and that worked well. Then to make life easier the first cross piece I made I dry fit it for another cabinet and made adjustments as needed. I repeated this for all four cabinets, sanded the long edges, primed, painted and installed with a pin nailer.
*Note before installing the first cross piece I dry fit it where the second cross piece would go. Then I traced the corner to save time later with my cuts
Next I attached the trim to the cabinet with a pin nailer and 1/2 inch 23G pin nails.
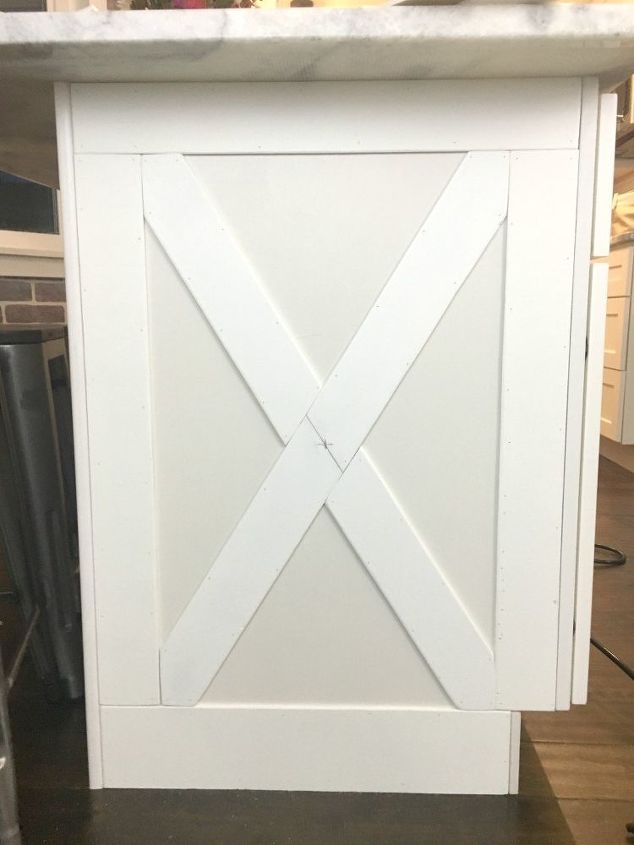
I marked center on the first cross piece of the cabinet, using a scrap piece of wood I created a line crossing center going in the direction of the second cross piece trim.
I made my second cross piece corner cuts by tracing the corner cuts from the first diagonal cuts.
I cut the opposite ends of the corners (where it meets the other cross piece) with my miter saw angle about 22-25 degrees. Leaving a little bit longer length for proper fitting to butt up against the first cross trim piece. Putting the two pieces edge to edge I measured the middle down the length of the board on the second cross pieces and marked with a line.

Next I lined up the center of the cross piece with the intersecting line and traced with a pencil where to cut of the excess trim. I repeated this for each cabinet and second cross trim piece and checked each piece with dry fitting it first.
Then I sanded, primed and nailed as before.
Then I sanded, primed, painted and nailed as before.
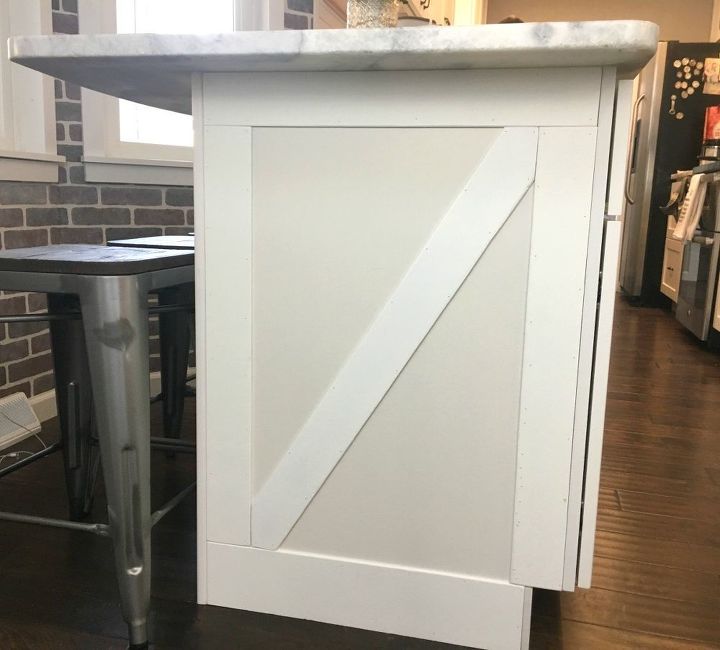
For the final step I added wood filler to all of the nail holes and caulk to all of the edges. This pic is before caulk and wood filler.
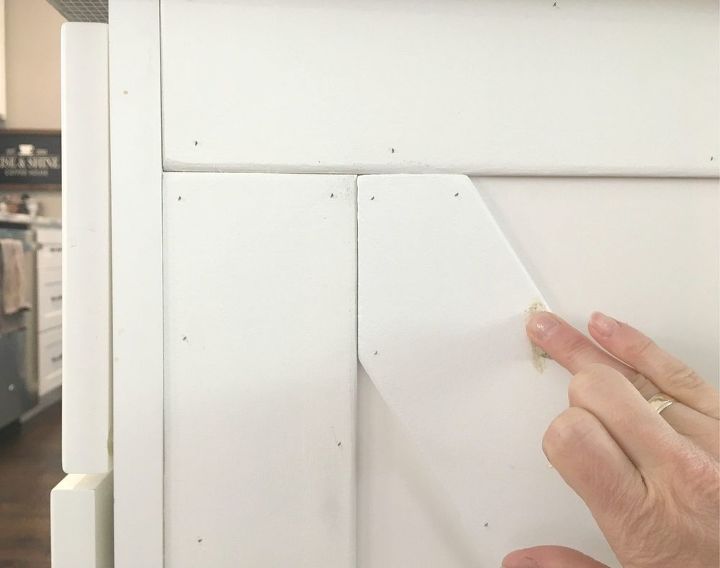
I used the end of a paper clip to smooth out the caulk in the tight corners. It is amazing how wood filler and caulk fixes imperfections.
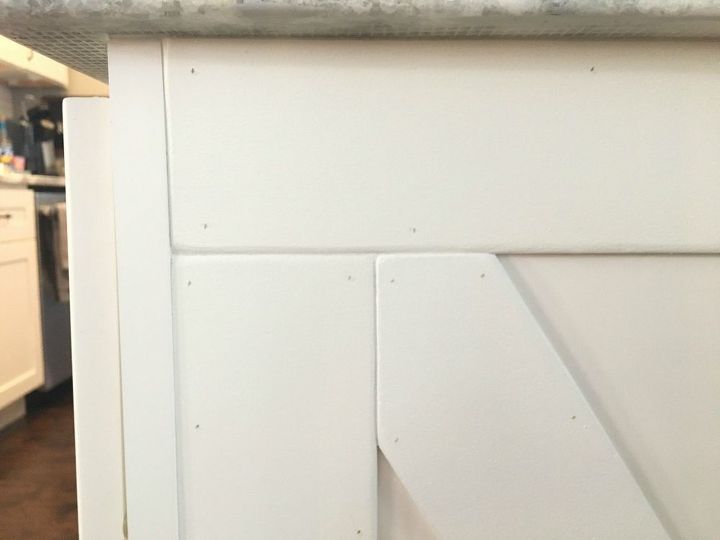
I touched up all the caulk and wood filler with paint as well.
Resources for this project:
See all materials


Comments
Join the conversation
-
Looks very nice. I love white cabinets, not to mention your counters and new lighting! Just beautiful!
-
There seems to be a big difference between the title of “$15 Character added to cabinets” and a $15,000.00 kitchen remodel! Your new $15,000 kitchen is lovely. I searched for 1/4” plywood that you used for just the trim, but could find nothing that would work at the $15.00 price. I’m really confused!


Frequently asked questions
Have a question about this project?
I tried to read all the questions so as not to repeat - is it rude to ask ABOUT how much the original remodel cost? It looks beautiful and your kitchen is almost identical to mine. We are planning a similar remodel (with a floating island, raised ceiling, new lights, counters, cabinets, and some appliances) and it would help to have an idea. You did a lovely job!
I would like to do this but did you replace the doors and drawers? I was thinking that you layered it with the new wood???
What color paint did you use for your cabinets ? I like the way the x on the sides are white over the creamy looking cabinets