Turn the Laminate to High End for Less Than $150...Stunning!!!

by
Sara Aye
(IC: homeowner)
6 Materials
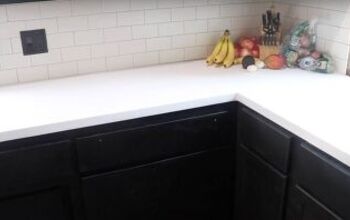
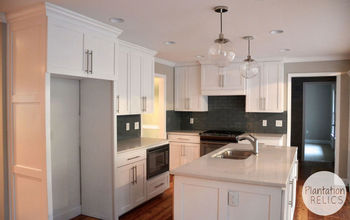
My kitchen was just tacky. Peeling blond cabinets w pink laminate counters! UGLY!! So without much money I did my 1st project and the result is amazing!
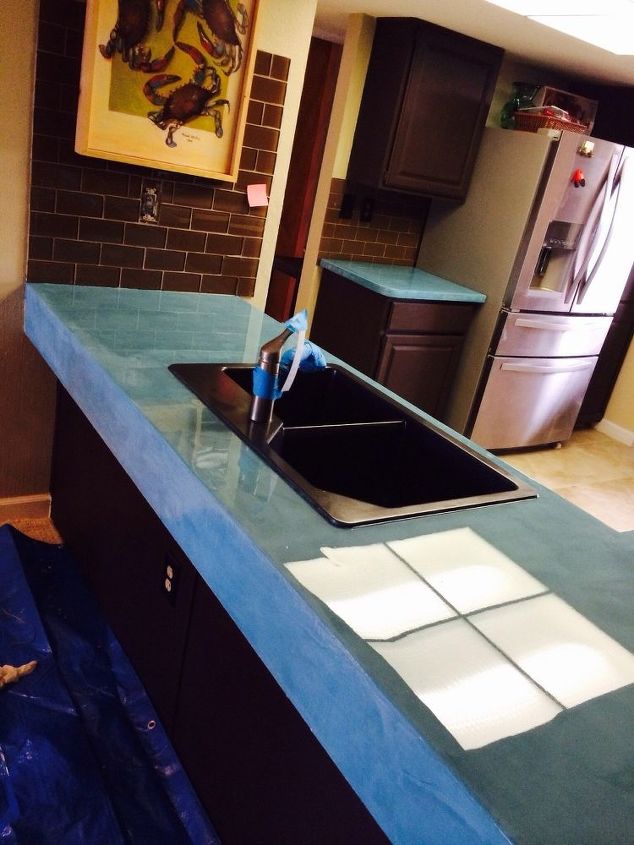
This picture is the final look and after 18 months they still look the same. Everyone who comes to my place fawns all over these counters. Ooh ah. Lol.
This picture is the final look and after 18 months they still look the same. Everyone who comes to my place fawns all over these counters. Ooh ah. Lol.
So in the beginning this was the laminate and color scheme. So I set out to update the look with no money. My research came across ardex cement. You could use a scaper and apply the cement right on top of the counter. Very easy. I mixed the initial cement in very small batches so I could do one section at a time. The ardex feather finish product was grey and I applied three coats. I sanded between each coat.
Once the cement dries you sand it and then the counter feels like soapstone to the touch. The sanding creates imperfections that are interesting and most people will just seal this and deal with the messes of water splashes and staining that occur with cement. And they will settle for grey. Not me...upon further research I discovered a way to color the cement. Btw the bag of cement was $25 and it covered 3 coats on the entire kitchen. Make sure you let each layer dry completely before sanding.
So 1st another bag of $25 ardex cement but this one is called ardex SD-M it's white and can be tinted. It's a concrete topping supposed to be applied over concrete. I used patio paint $2.99 robins egg blue to tint. Comes in a 2oz bottle. I added 2 or 3 tablespoons to each small batch of concrete. I only mix 2 or 3 cups of concrete at a time. Make sure you write down the ratio of tint to concrete. Trust me you won't remember. I applied 2 coats and sanded between each coat to get that amazing soapstone feel. So now I'm thinking how do I seal this so it won't be a pain to keep up? Further research and I discovered self leveling epoxy! Really cool stuff. I watched about 20 YouTube videos on different applications. They are all interesting. There are so many things you can do with epoxy.
Then I ordered 2 containers or clear coat epoxy for $79. I did the wrong prep. Do not use cardboard to protect counters. Boy did I learn. When you pour on the epoxy it travels everywhere ...slowly...and it drips and drips and drips. So I learned this very important point; if you do not want a major mess on your hands then spend $8 on a plastic gutter and tack it under the edges of your counter. If you do this there is no clean up. Also you will brush on a 1st coat so that the pour coat will not have a bunch of air bubbles in it. It will have some air bubbles but using a heat gun they go away really easily. Also make sure the temperature in your home is 75 degrees or warmer. I live in Florida so this was not an issue being that I did this in the summer. Epoxy dries faster the warmer the temp is.
So use gutters be happy. Now when it comes to doing epoxy you must also follow the mixing directions precisely. It's best to have a partner help you with this. One person does the timing of the mix and the other uses a drill with the epoxy stirring drill attachment that clear coat sells to mix the resins. Doing epoxy is fun but not for the faint at heart. Follow The Directions precisely!!! But if you do screw this up. All you do is sand the counter and do another pour. When the epoxy runs off the counter edge you can smooth it with the rubber scraper that comes with the kit. But there will still be drips hanging on the bottom edge when it is dried. So after 10 hours of drying I just used a electric sander to sand off those drips. They came right off.
The outcome after the pour is stunning to say the least. It looks wet all the time. Windex cleans it up and you won't have any scum around your sink. The epoxy adheres right to the sink. No caulking is needed. If the sink has to come out it will probably crack the epoxy but you can then order another batch sand and do another pour. I love that it self levels. Use cutting boards to cut and do Not set hot pots right out of the oven on the counter it will burn it. Epoxy will turn yellow. Finally when cooking something on the stove that may splatter grease on your counter cover the counter with a towel to catch the grease spatters. Otherwise there is a chance for tiny holes to be melted in the epoxy. After all it's just plastic.
Hope you have enjoyed the post. I'm a total amateur but it came out great:)
Enjoyed the project?
Published January 15th, 2016 9:07 AM
Comments
Join the conversation
2 of 178 comments
-
 Tomika
on Sep 07, 2019
This is truly a beautiful set of cabinets. I've used http://liquidglassepoxyresin.com/ several times, but never considered using it on my laminate cabinets. Perhaps it is time I reconsider. Thank you for the project idea! I cant wait to start.
-
-










Frequently asked questions
Have a question about this project?
I see you did not remove your sink. I love this look but is it actually thin enough not to go over the edges of the sink? Or is your sink inset to some degree? I really really really want to do this!
How have they held up? I have been wanting to try the epoxy...and I have ugly countertops, but don't want to spend thousands to change them. I had seen the ardex, but didn't want gray. thanks so much for sharing.
How has it held up?