Epoxy Over Laminate Countertop
by
Mary
(IC: homeowner)
4 Materials
$25
3 Hours
Medium
My daughter wanted her bathroom redone in an industrial theme, so her gray faux granite countertops had to go.
Hometalk Recommends!
Upgrade your countertop with this highly recommended epoxy counter kit that Amazon reviewers swear by!
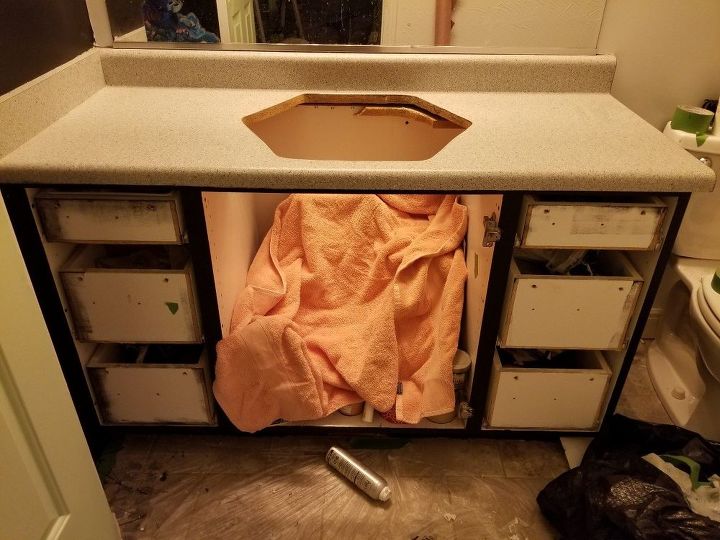
Here is the original countertop. We have already removed the drawer fronts and doors for painting. The laminate is still in great condition, it just doesn't match what we wanted in the room. I removed the sink, so I would not have to worry about protecting it from the epoxy.
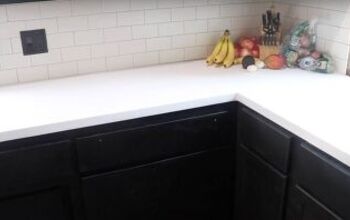
I taped off the entire area and painted a black base coat. It is very important to protect the floors and the front of the cabinet. The epoxy is supposed to run and drip, so you need to be very careful when prepping the area.
I mixed the epoxy carefully, poured out three portions into small cups for accent coloring and then tinted the main container with black. I then poured the black onto the countertop. I used a notched trowel to spread the epoxy on the horizontal surfaces and then used a paintbrush on the vertical surfaces. The epoxy self-levels and in the process it drips down the front and the side.
Now the fun begins! While the black is still wet you start adding your accent colors. First I used gold. I was going for a "river" of color, with just small touches of the colors mixed into the main black area.
Next up was red. There is no particular pattern that is needed. I just kept the majority of the color in one band, and drizzled a little bit in the other areas.
The main accent is silver, so I pored it on top of the other colors and outlined the entire "river" in just the silver.
Once the colors were all poured, I started swirling them together using a paint stirrer. I left the silver on the outer edges untouched by the other colors, I just pulled it out in spikes using a clean paint stick.
I then used a torch to remove the bubbles in the epoxy and to move the color around even more.
As you can see the color starts to drip over the edges, causing a waterfall effect.
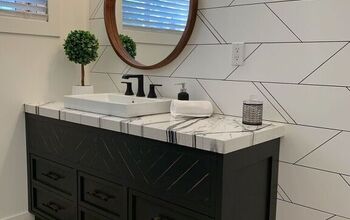
Here is the finished countertop with the sink reinstalled and the new faucet.
Here is the completed room.
Enjoyed the project?
Resources for this project:
See all materials
Any price and availability information displayed on [relevant Amazon Site(s), as applicable] at the time of purchase will apply to the purchase of this product.
Hometalk may collect a small share of sales from the links on this page.More info
Published April 2nd, 2018 12:27 PM
Comments
Join the conversation
2 of 61 comments
-
 Ann53783991
on Sep 19, 2022
Very cool. Im sure your daughter loves it>
-
-












Frequently asked questions
Have a question about this project?
Will this work over a rough countertop?
I’m a novice at working with epoxy. So how do you keep it from all of the epoxy running off the countertop onto the floor? How do you keep it in place.
Love this! How long does this take to dry/ cure? We have a narrow bathroom and we would be rubbing up against it. We only have the one bathroom.