


Vertical "Shiplap" Accent Wall

Vertical shiplap is so popular right now! While this isn't your traditional tongue and groove shiplap, it's an affordable alternative to achieve the same look. Here's what you need for this simple but impactful home project.
Hometalk Recommends!
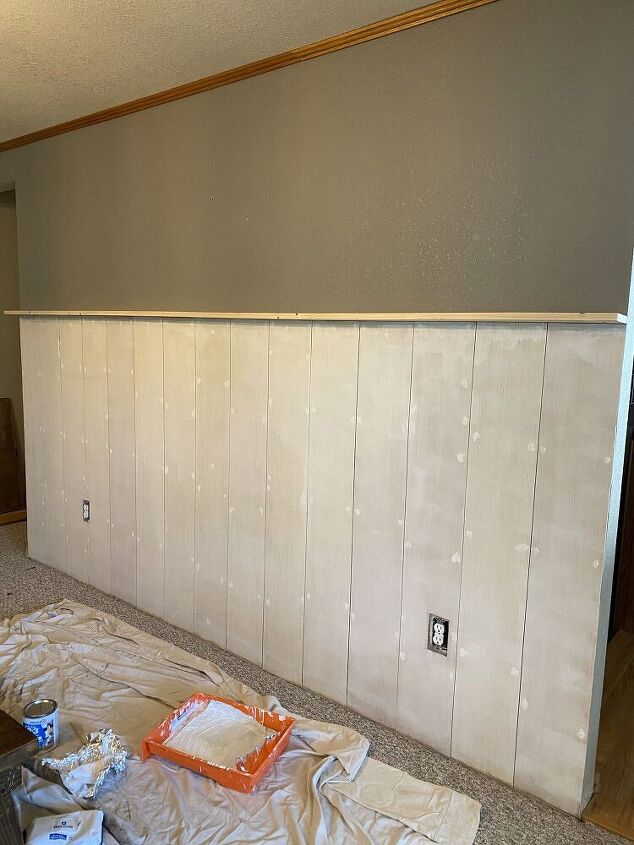
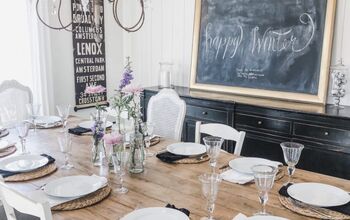
Here is our dining room wall before. Since I stole the round mirror to use in the remodeled half bath, the wall was looking bare and in desperate need of some wow factor. I decided vertical shiplap with a picture ledge to display decor was definitely the way to go.
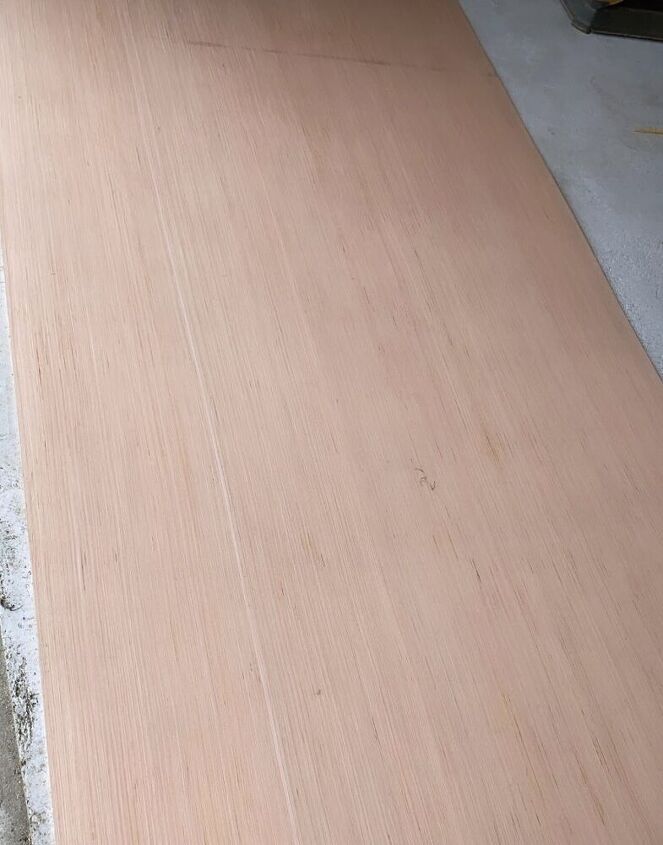
I purchased three of these utility panels at Lowe's for $15 each. Figure out how tall you want your shiplap. Measure your wall. The rule of thumb when adding wainscoting is to divide your wall into thirds. Since I wanted it pretty tall, I went about 2/3 up the wall with my shiplap. I also removed my baseboards but this is optional.
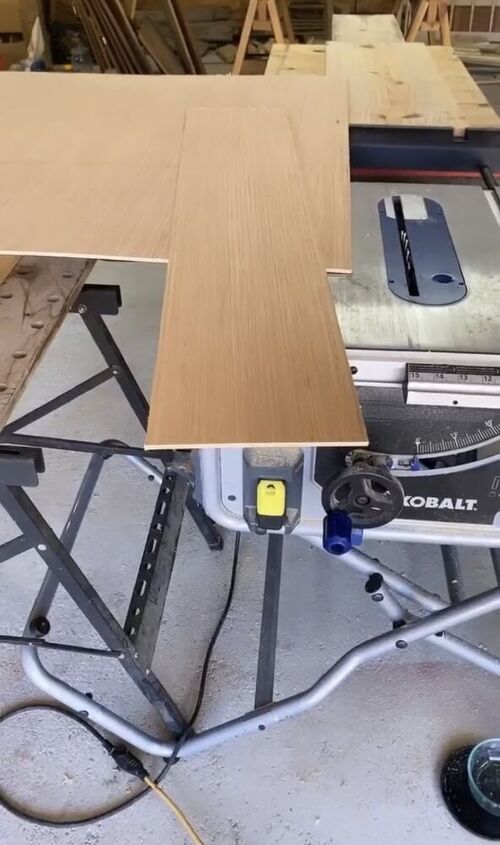
I decided I wanted wide shiplap so I ripped the panels down to 8" wide. These panels are pretty floppy so you can have someone help you hold them or have a table beside you to help support the panel.
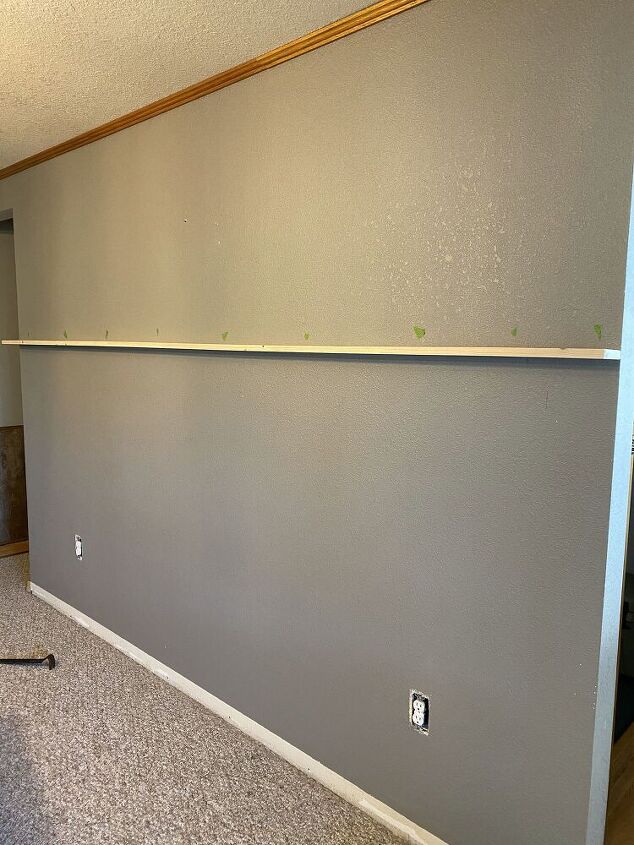
Hang the picture ledge board first. I marked the studs with my stud finder then had someone help me hold the board in place while I marked where the pocket holes needed to go. Drill the pocket holes then attach with pocket hole screws into the studs in the wall.
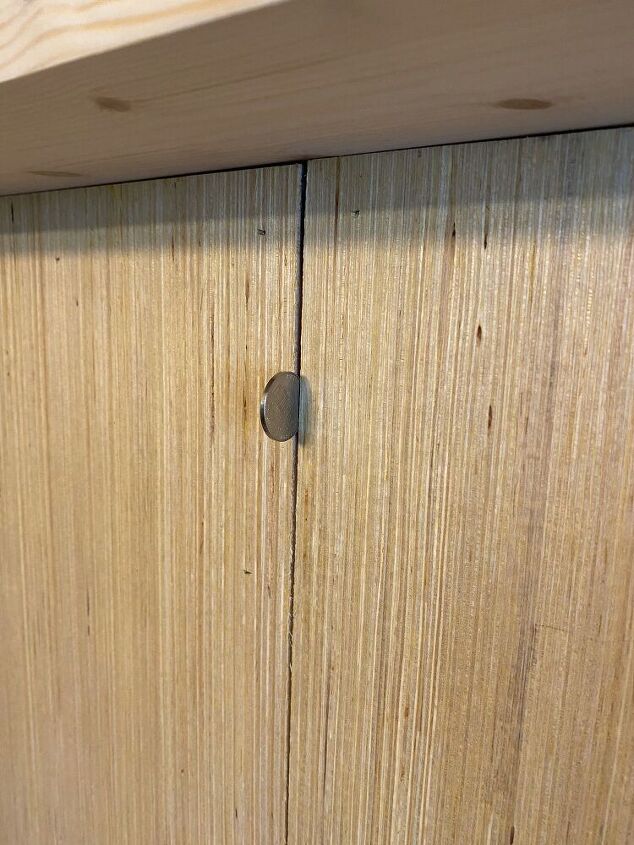
Mark the center of your wall and begin in the middle and work your way out. I attached the boards using Liquid Nails as well as a nail gun. I used a nickel for the spacing between the boards and used a speed square along the way to make sure the boards stayed even. If you have any spots that aren't even you can always fill in gaps and cracks with caulk.

Continue attaching the boards until you get to each end. Each end board may have to be ripped down a bit to fit.
Fill all nail holes and then sand smooth. I primed the boards before painting. I also stained the picture ledge before painting. I used Minwax Early American. The shiplap paint color is Mountain Road by Sherwin-Williams.
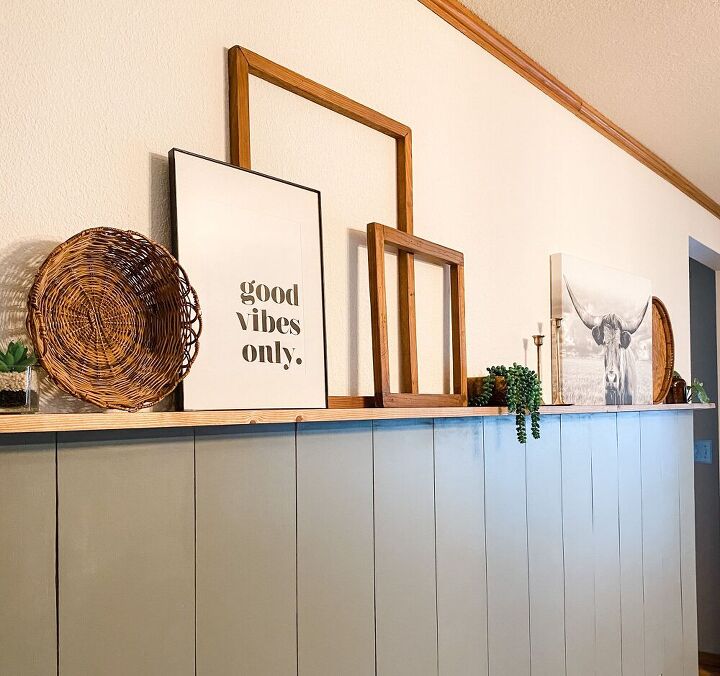
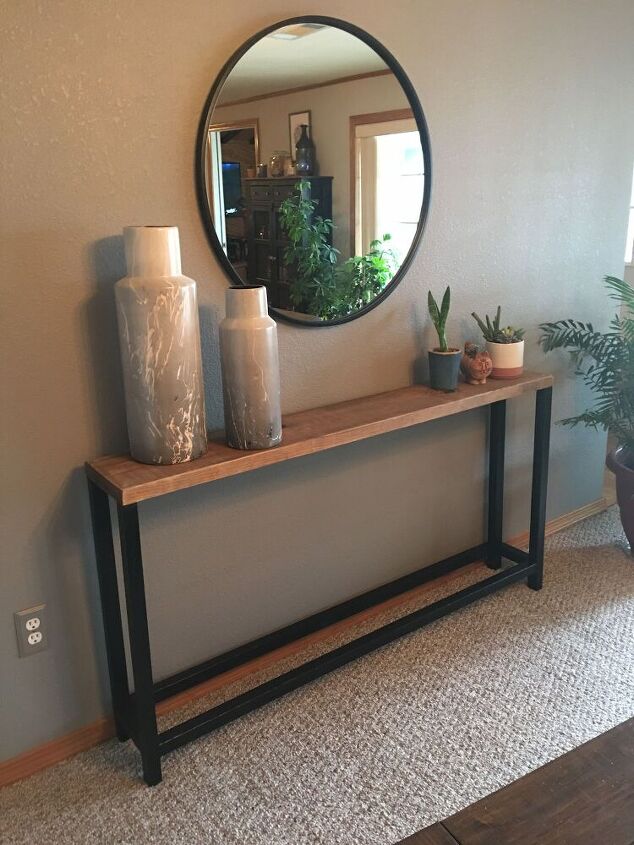
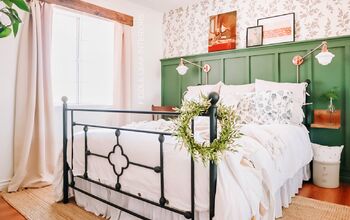
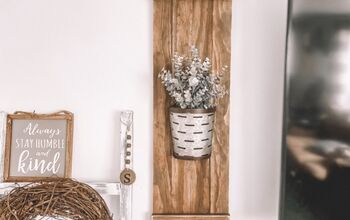
All that is left to do now is decorate your picture ledge! I did a combo of old and new. I'm going for the boho farmhouse vibe these days.
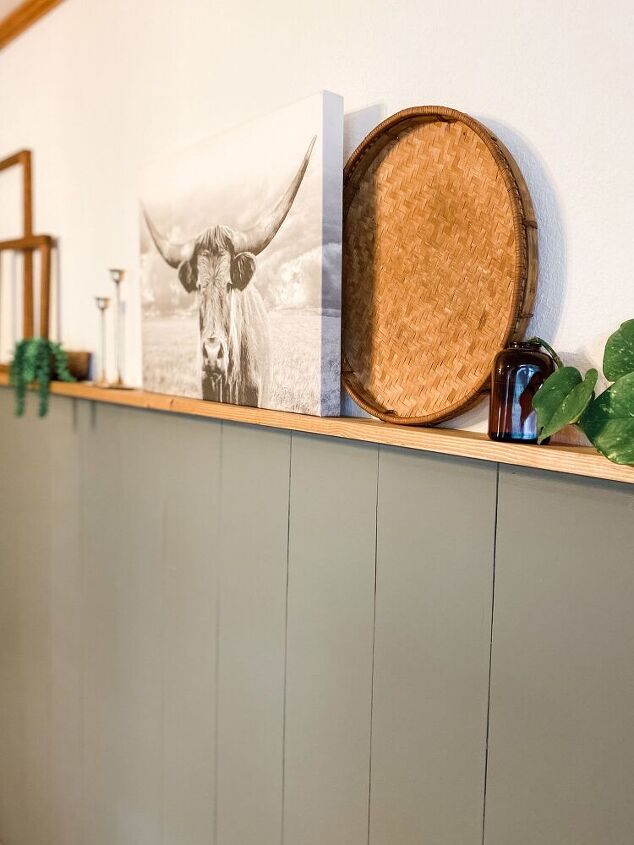
I'm so happy with how this turned out! It was a quick project and it really makes a statement in our dining room!
For more details about this project, click here.
Resources for this project:
See all materials


Comments
Join the conversation
-
I grew up with paneling and none of it looked this good!
-
Amazing job and your step by step instructions make it (sound) easy to follow. Will be attempting this in my living room! Personal opinion… The paneling comment was an insult…


Frequently asked questions
Have a question about this project?
I noticed the final pictures do not show the outlets. Did you run into any problems when you added the covers?
Isn't vertical shiplap just paneling?
It looks like paneling. Could paneling with a picture board above it be used instead? Or maybe bead board?