5 Kool- Aid Dyeing Techniques Most People Don't Know

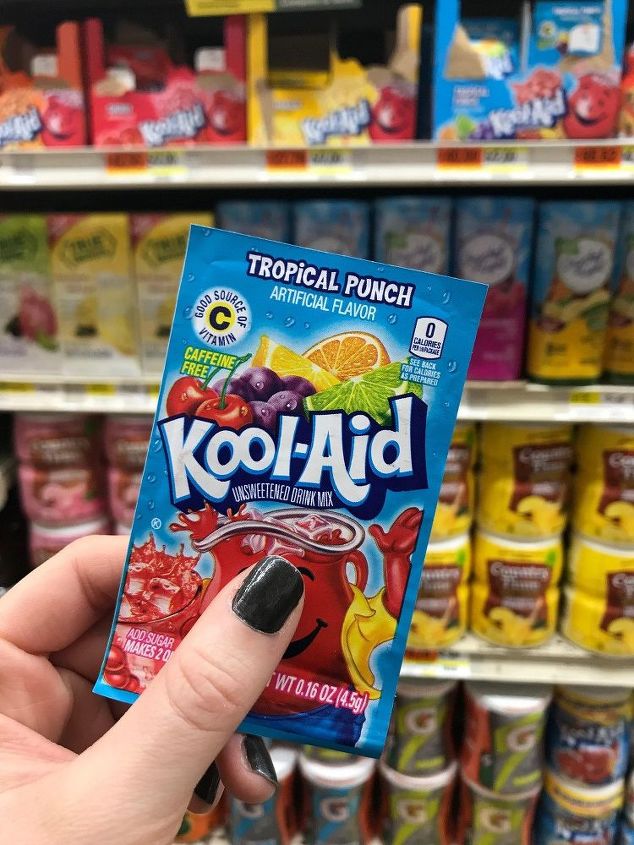
Have some extra Kool- Aid packets lying around? Check out these unconventional dyeing techniques to put them to good use! 
First, I prepared my fabric by placing it in the sink with 1/4 -1/2 cup of Vinegar (depending on how much fabric there was in each wash) & warm water in the sink for about half an hour. Soaking the fabric allows the fibers to open up & Vinegar helps break down the chemicals on the fabric to allow it to dye better. The fabric being wet also allows the fabric to be dyed as evenly as possible.
To get the best possible preparation for your fabric, I have read that Soda Ash works best but I didn't have that on hand.
**For all of these make sure you have newspaper/disposable, or a washable work surface to be able to clean up after. Kool Aid will stain wood, countertops, etc.
Please note that in my experience, red is the strongest color, so if you are wanting a color other than a warm shade keep that in mind!
For the Kool Aid dye I followed directions from:
Sew Jenaissance ( ).
For the Watercolor Painted Sheets:
I first mixed my dye with 2 cups of boiling water & one packet of red Kool- Aid. I then grabbed a craft paintbrush and laid out the wet pre-washed fabric. I then began "watercolor" painting. The more strokes the deeper the color, so keep that in mind while painting.
For the Ombre Dip Dye Curtains:
I first pre-washed the curtains & then mixed hot water, 1/4 cup Vinegar & Kool Aid. This was where I noticed how strong the red Kool- Aid is - I meant to turn it purple by adding the red to the blue Kool Aid I originally mixed. I do like the pink color it turned out to be. Just take note of the strength of red Kool Aid when creating your own!
For the Ice Dye Pillows:
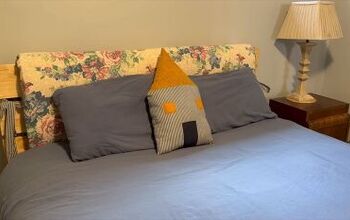
After I pre-washed the pillowcases, I placed a cooling rack over a plastic bin. Then I placed the pillowcases on the rack and placed ice over them. I then sprinkled various colors of Kool- Aid over the ice. Ideally you would let this sit overnight, however, you can use a hair blower to melt the ice as well. Just know that some of the Kool Aid may blow around along with it :)
After the ice has melted unravel ravel the pillowcases and let them dry.
For the Sponge Dye wall hanging:
I originally tried to speckle dye (Fiberartsy) the yarn (but I bought the wrong kind of yarn & it washed out). So after I grabbed a wooden dowel, & tied the yarn on I mixed the regular Kool- Aid mixture (hot water, 1/4 cup of Vinegar & Kool Aid) with a few drops of food coloring. I then sponged on the mixture on the wall hanging. After this, I let the it dry. As you can see the Kool Aid mixture traveled down & also dried MUCH lighter then it went on - although both unintentional, I like how it turned out :)
Just some things to keep in mind:
Please note that red Koolaid is VERY dominant, it will generally cover over any of the other colors - so if you are wanting a red tint - either add very little or add much more of the other color. Please also note that different fabrics take to dyes differently. Natural fibers dye better than synthetic & will often keep better. Washing any of these projects may result in lots of bleeding within the fabrics & color loss. Dyeing is very much an experiment & will often turn out very differently than you imagined - but that can be a good thing! 
Enjoyed the project?
Resources for this project:
See all materialsComments
Join the conversation
-
 Atr53993587
on Jan 16, 2022
I have white cotton curtains I would love to ombre yellow. After a few years if I tire of them can I bleach them back to white?
-
-










Frequently asked questions
Have a question about this project?
Why use Kool Aid???? There are many fabric dyes on the market.
Will it gradually wash out? Fade onto other items touching, or skin if its a sheet I'm slooping on, or my clothing?
what household product can i use to dye my sheets chocolate brown?