Alternative to Those Ugly Eyesore Overfilled Trash & Recycling Bins!

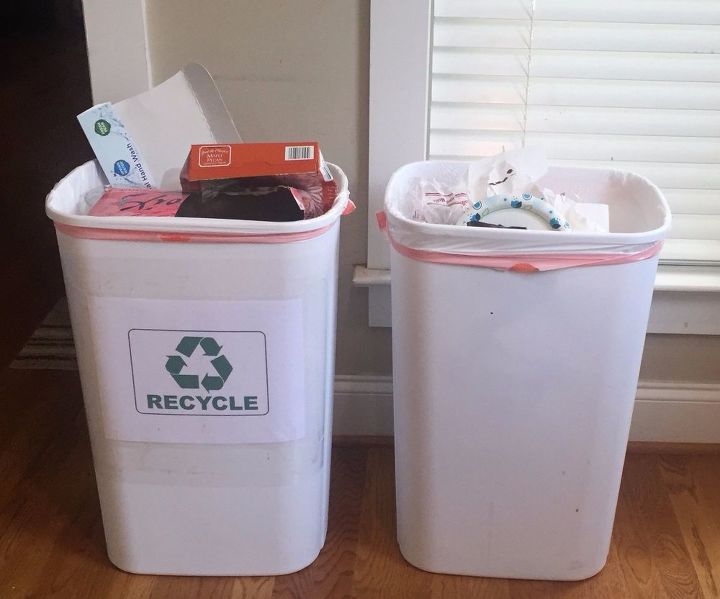
A Tilt out Trash Can to replace those ugly cans!
We all have them... A Bin for Trash and Recycling that sit there for the world to look at. Well. I wanted to hide them while still making it easy to access.
UPDATE:
A few people asked Why I put it in front of the window...and not centered? Check out my other posts to get the answer... here you can see the kitchen redesign and the dog station which is in the corner.
https://www.hometalk.com/diy/craft/pet-stuff/homemade-dog-food-and-toy-station-29359384
Some requirements:
- It had to hold Both Cans which are tall and wide.
- It had to easily open and stay open without holding it.
- I wanted a drawer to hold trash bags and grocery bags.
- It had to look like the rest of the kitchen and be reasonably attractive.
OK... lets get started. I considered buying a simplehuman Double bin... but they are $200 and not very large... plus no drawer!
Looks like I am making them from scratch. (I needed a new project anyway!)
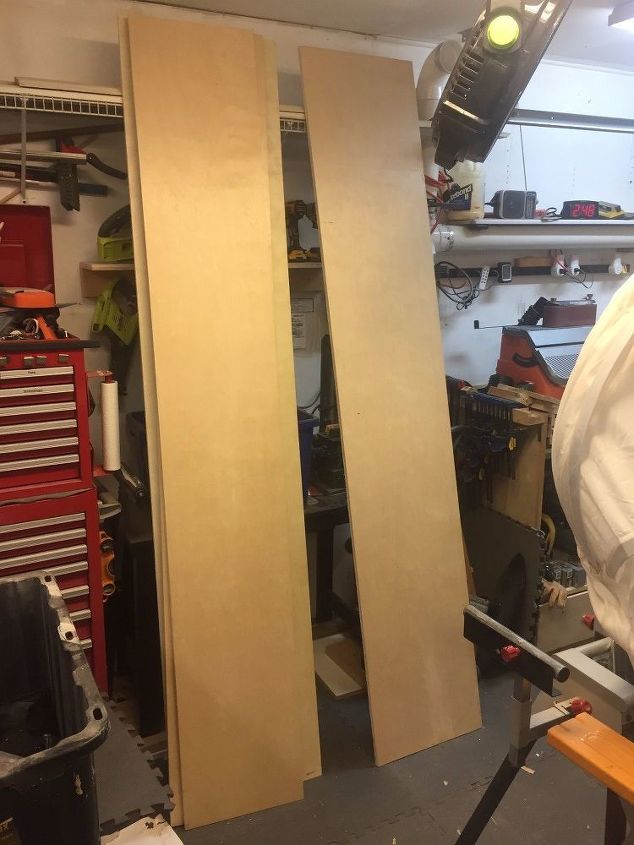
I always have some spare wood on hand.
I always have some spare wood on hand.
I used:
- 3/4" Plywood sheet for the sides and bottom
- 1/2 " Plywood for the drawer and body of tilt doors.
- 3/4" Hardwood for drawer face and top.
- 14" Full extension drawer glides.
- Knobs, Pulls, and Hinges.
I made it 15" deep, 36 " wide, 40" tall.
I built a faceframe using pocket holes and glued it on with biscuits to hold it in alignment.
I built up the bottom just to elevate it and allow me to add some weight to the bottom. I ended up adding some double melemine boards in that open space to make the base even heavier. I also added some glides on the bottom so it was smooth on the hardwood floors.
I built a faceframe using pocket holes and glued it on with biscuits to hold it in alignment.
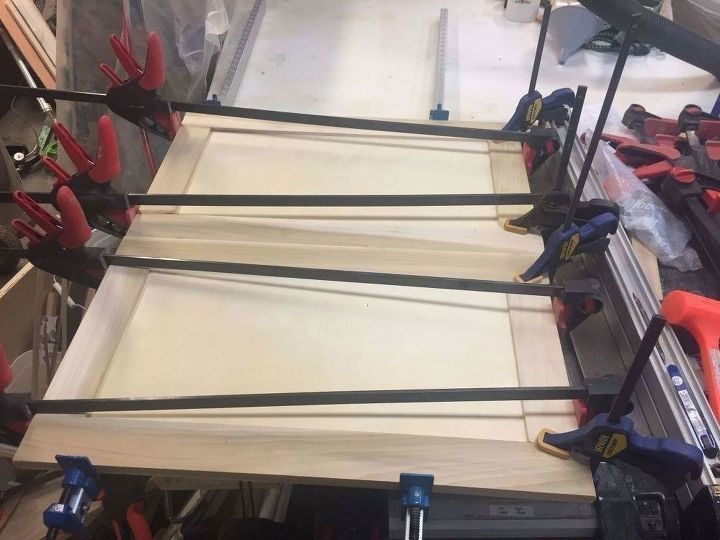
I built the doors with:
- 3/4" Hardwood for the stiles and rails. I used my router to add a groove in them as well as add a tong on the top and bottom.
- 1/2" plywood for the middle with a 1/4" rabbet to allow the edge to fit into the hardwood.
I built the doors with:
- 3/4" Hardwood for the stiles and rails. I used my router to add a groove in them as well as add a tong on the top and bottom.
1/2" plywood for the middle with a 1/4" rabbet to allow the edge to fit into the hardwood.
I glued both doors at the same time
I made some triangle braces to use as the base of the tilt doors.
They will attach to the tilt doors with pocket holes.
I attached the doors to the bases with pocket holes and glue.
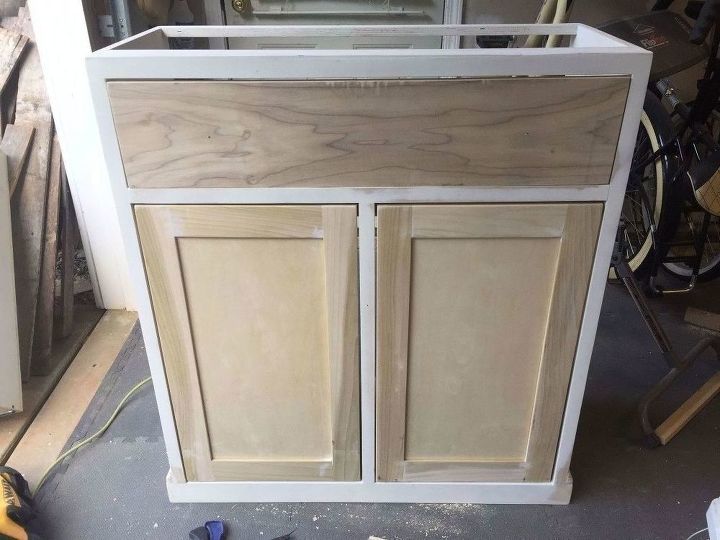
When I attached the door I put a 1/8" shim on the bottom so it gave a reveal gap around the opening. You will see what I mean in the picture below. Basically I wanted a little space all around the door in the opening.
Here is a dry fit of all the pieces. The tilt doors and the drawer face.
I attached the doors to the bases with pocket holes and glue.
After some primer and paint... I started adding the hardware.
I decided to have the hinges on the front face because it was so much easier aligning things, plus the hinges match the rest of the bling I will be adding.
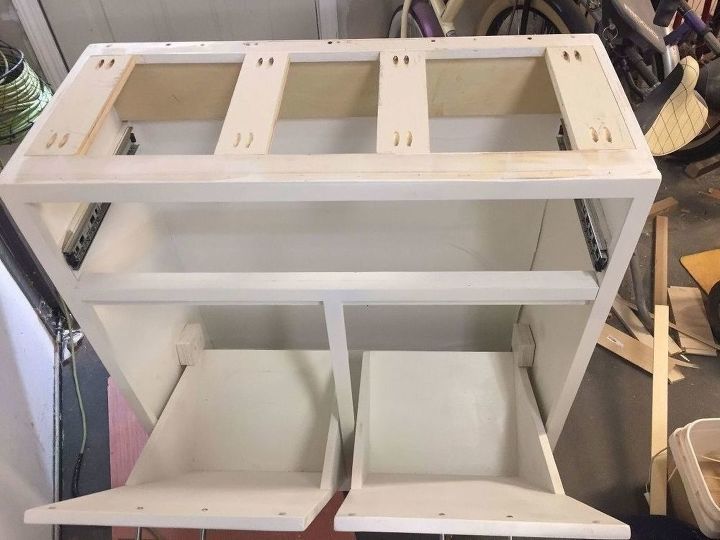
Here you can see I added some more top supports so I could keep the spacing as well as lots of places to secure the top to.
I also added a backer board on the top back in case I ever want to secure this to a wall.
You can also see I added a 1.5" blocks to the sides. (just 2 pieces of 3/4" plywood glued together). These blocks hold the tilt out doors open to the perfect angle for being able to take the bin in and out.
Remember all that extra weight I added to the bottom to keep it from tipping over... well this is heavy to get up the stairs even with a dolly.
With the glides on the bottom, it still moves around easily.
You can see I added:
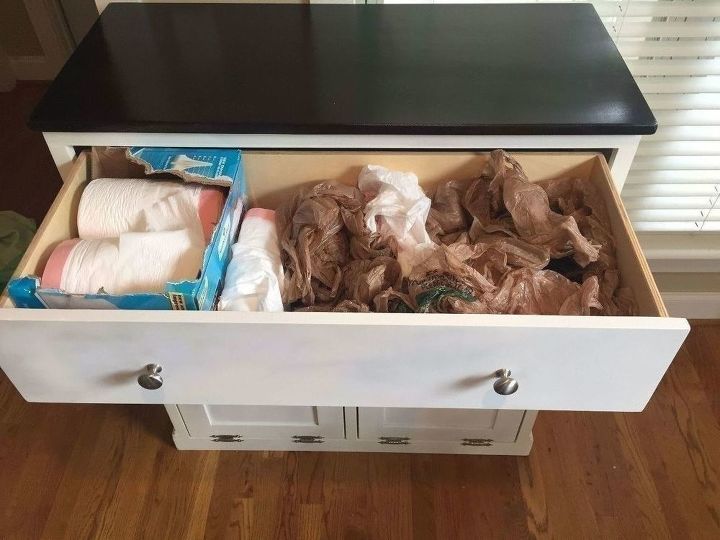
- Knobs for the drawer
- Pull bars for the tilt doors
- Some decorative hinges
- I also added 2x Post Office Library File Drawer Metal Tag Label Holders I got off Amazon. I added some laminated notes in them.. see top right for what they look like up close. Hopefully at parties... people start putting things int the correct bin now.
The drawer fits lots of stuff!
Love it... no more bending down to reach under the sink!
I also don't have to use that ugly grocery bag dispenser/holder anymore.
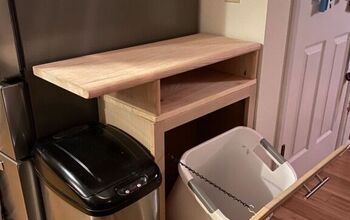
Here you can see the cans stay open when needed.
The bins can easily be removed when they get full.
Overall this came out better than I expected. Wife is happy... so it is a win!
Here you can see the cans stay open when needed.
The bins can easily be removed when they get full.
Overall this came out better than I expected. Wife is happy... so it is a win!
Enjoyed the project?
Resources for this project:
See all materialsComments
Join the conversation
-
 Laurie Lonnevik
on Jan 24, 2024
Bought one similar from the Amish on line during Covid. I love it. It fits nicely near the door where I leave to the garage/car. Tops sits as a place to park my keys and purse . Love your design.
-
 David McIntosh
on Jan 25, 2024
Thanks... I too looked at purchase solutions but in the end, wanted a specific size trash can so I started from there and built around it.
-
-
-
 Kaneci
on Mar 04, 2025
I’m very impressed with your ability, however I would be very happy if could simply modify an old dresser. I would simply add hinges to the bottom of the doors to tilt out and hope for the best. Thank you for the idea!! Great job !
-
 David McIntosh
on Mar 04, 2025
Anything to hide those bins.
I wanted to start with the biggest bins I could find.. And build a cabinet around it. Either way works as long as it meets your needs.
-
-

















Frequently asked questions
Have a question about this project?
Do you have the dimensions for the tilt out doors as well as the drawer?
Do you the dimensions on the tilt out doors and drawer?
Who has room for it?