


Frugal Four Season Burlap Wreath

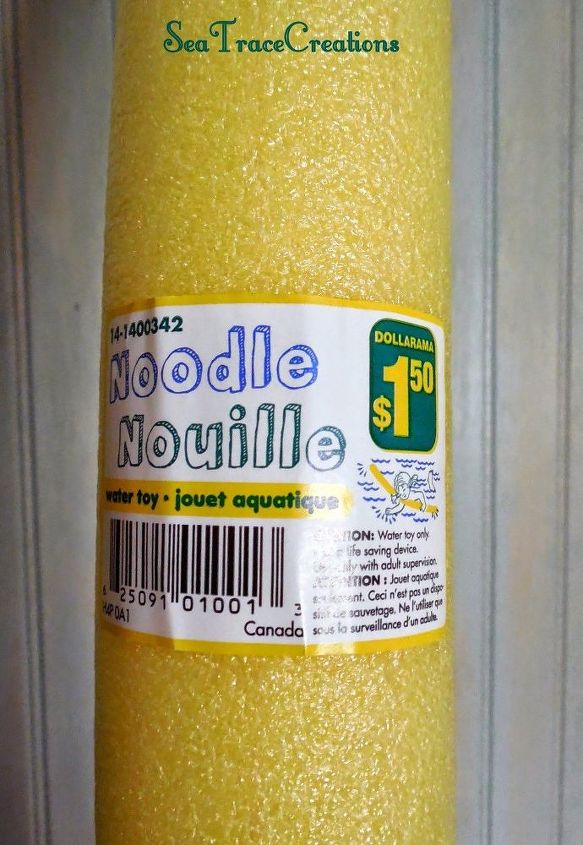
Need a cheap, quick and versatile wreath? This one's for you! All you'll basically need is a pool noodle, glue gun, burlap, and a needle and thread to make a few easy stitches.
Hometalk Recommends!
To create a DIY burlap wreath you'll need:
- Burlap
- Pool noodle
- Wreath accents (feel free to get creative here)
- Glue gun
- Scissors
- Needle and thread
- Twig
- Masking tape
- Gardening wire
- Safety pin
More DIY Pool Noodle Ideas
Measure the Burlap
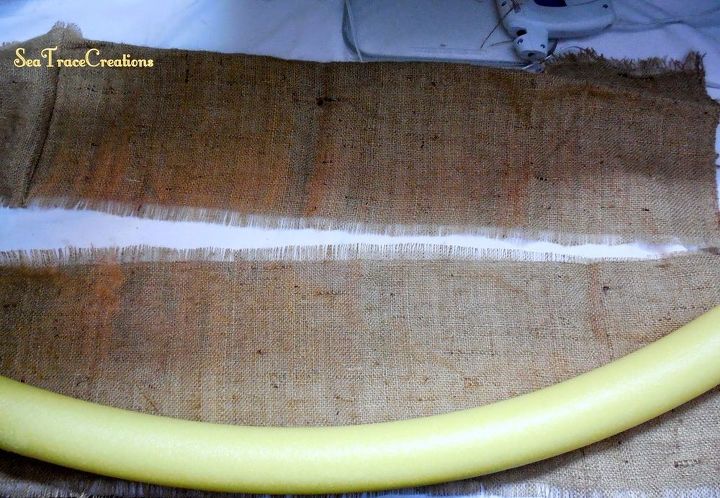
First I measured off the amount of burlap I'd need to cover the noodle, and a little extra width to create a fringed edge as seen below.
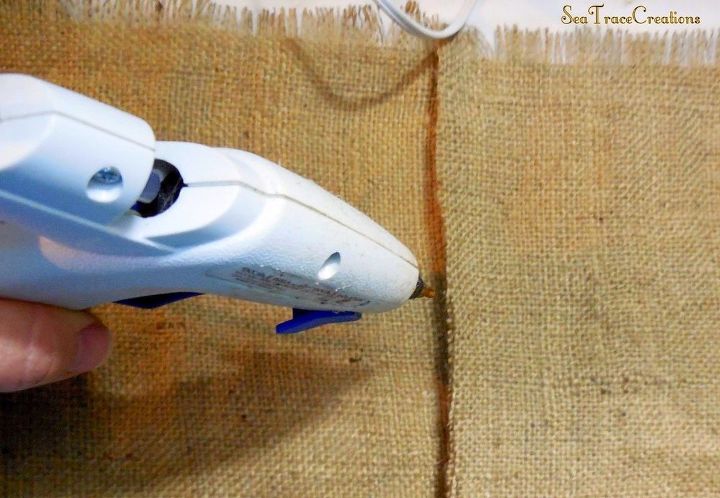
Glue Burlap Seams
Laying the burlap strips end to end I secured the seams with a glue gun to create one long continuous strip. The strip should roughly be 1 1/2 to 2 times the length of the pool noodle to allow for gathering.
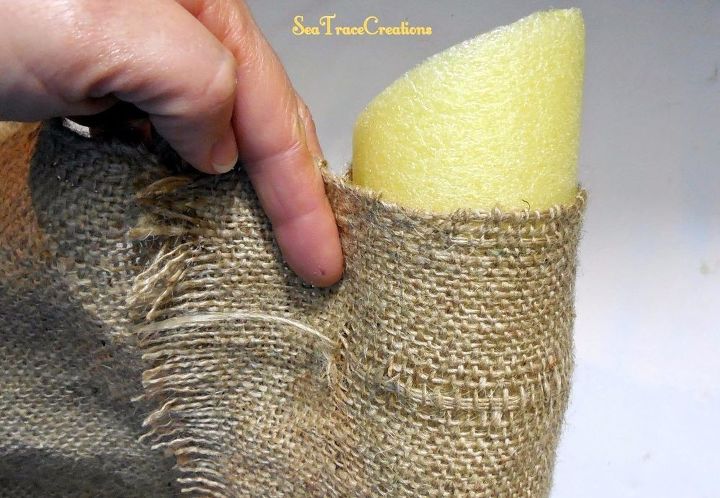
Wrap the Pool Noodle with the Burlap
Next, I wrapped the burlap around the noodle to get the measurement for the seam I would be sewing. This makes a tube shape to slide over the noodle.
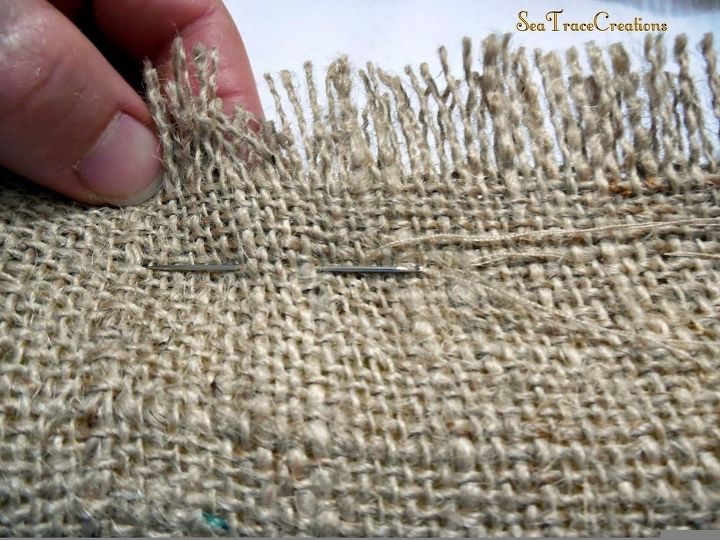
Sew the Burlap Together
I hand stitched with a simple running stitch the entire length of the burlap strip.
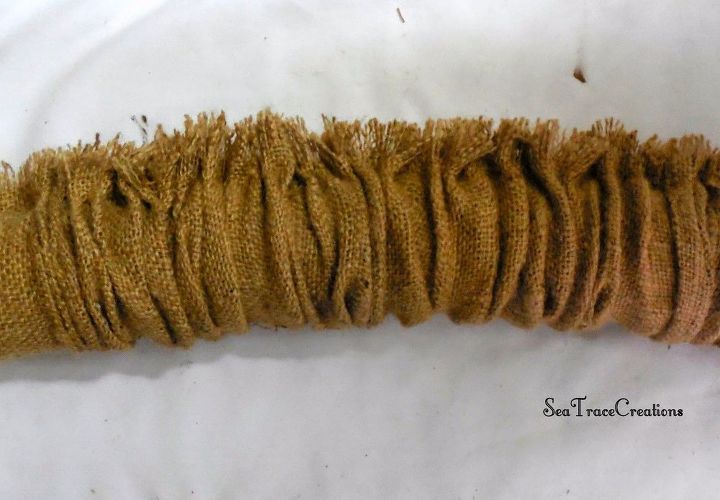
Slide Burlap over the Pool Noodle
Once the seam was finished I could slide the sewn tube over the noodle and give it a scrunched look.
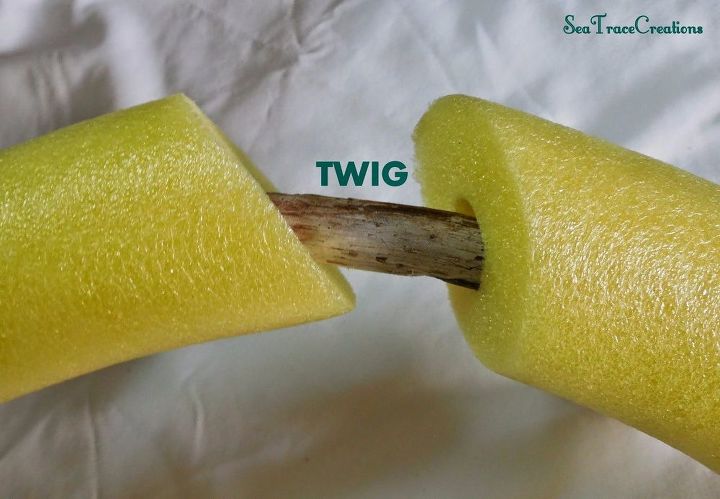
Glue Ends Together
The ends of the pool noodle were cut on an angle for a better fit when joined. I added a twig from outside to the center hole for extra gluing surface and secured all pieces together with a glue gun.
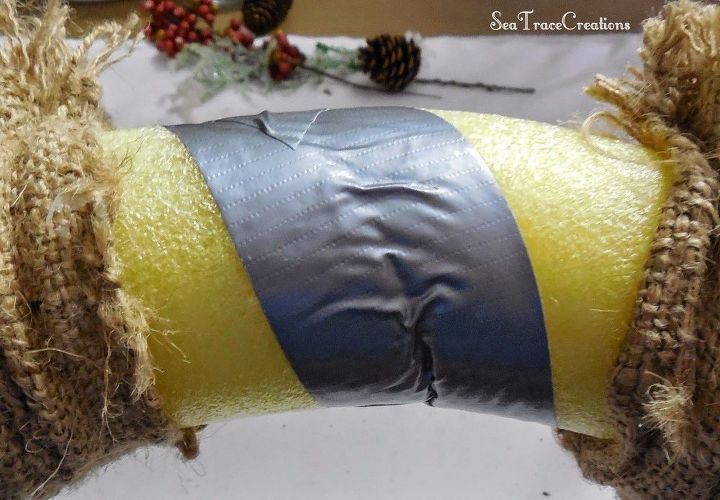
Tape Ends
I used gardening wire to wrap around and create what would become the hanger at the back for my wreath.
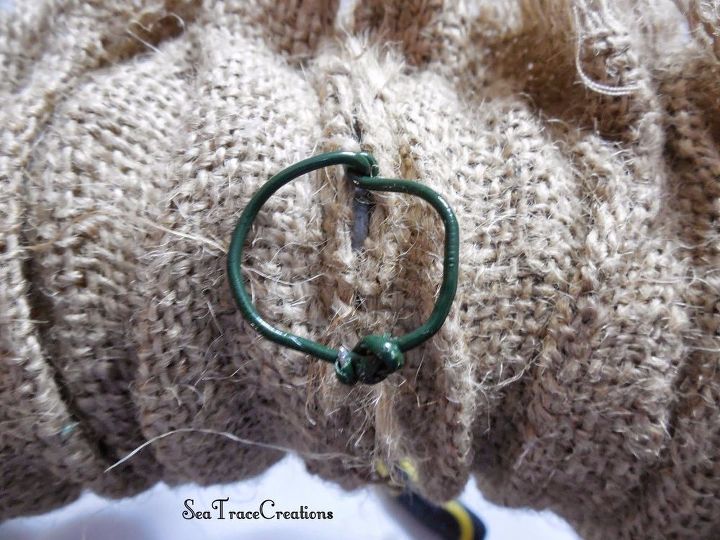
Create a Hanger for Your DIY Burlap Wreath
I used gardening wire to wrap around and create what would become the hanger at the back for my wreath.
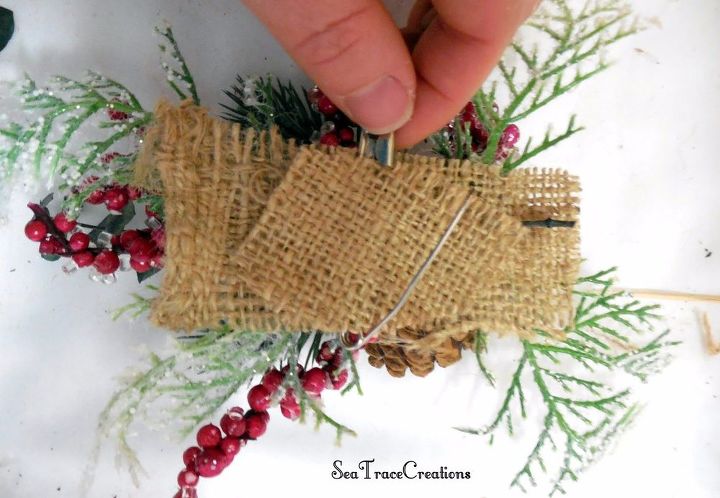
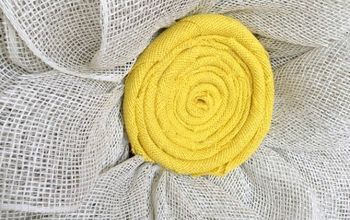
Add Seasonal Decor
I made a boutineer of sorts and added a safety pin to it as a means to swap it out with the seasons.

I made a simple burlap bow and glued it as a permanent look to my wreath but the snowflakes are a temporary seasonal accent as is the boutineer.
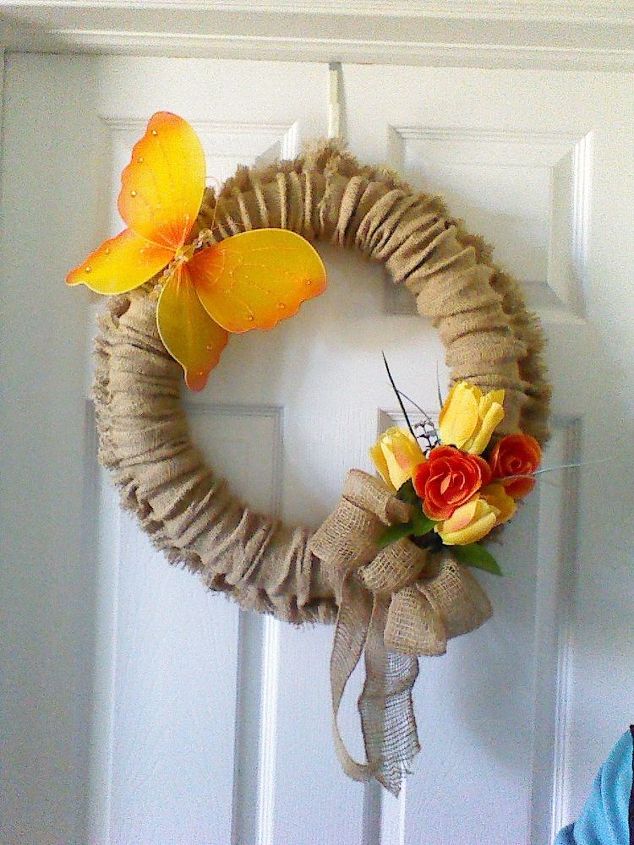
A summer look was a butterfly accent and a bright tulip boutineer.
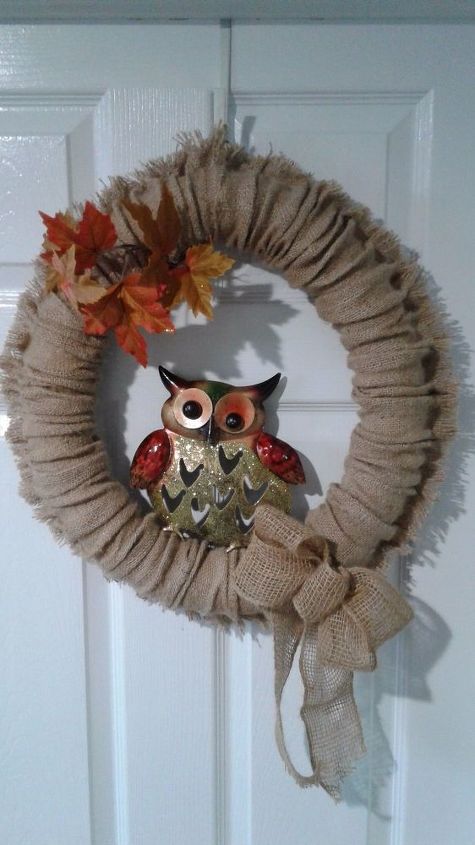
Fall? An owl and autumn leaves of course and spring? I'm thinking....eggs in a nest and tree buds about to burst open. The options are endless...I love the versatility of this project!

I thought I'd share my easy 2017 update! I love trying new looks so here I simply stuck in the winter boutineer again and hung a pair of little girls skates that I purchased for decor purposes only. The DIY ideas are endless when you have a blank wreath to play with!
I've just completed a new 2019 version of this versatile wreath seen here:
I'm sure you have some great ideas for seasonal wreaths. Let me know in the comments below!
Resources for this project:
See all materials


Comments
Join the conversation
-
I have tried something similar in the past. I can't seem to get the pool noodle to stay round despite angling the ends, using a stick, glue and the same tape you used. Any suggestions?
-
I would take a wreath that I already have and wrap it with burlap ribbon and then decorate it any way I want.


Frequently asked questions
Have a question about this project?
So I sewed the strips together but when I tried to pull through the noodle, it tore right up to where the fringe is and fell apart. What an I doing wrong? How did you create your fringe?
So I sewed the strips together but when I tried to pull through the noodle, it tore right up to where the fringe is and fell apart. What an I doing wrong? How did you create your fringe?
Could you show how to make one of the boutineers?