Upcycle Plastic Folding Table

My wife needed a folding table for a sales event.
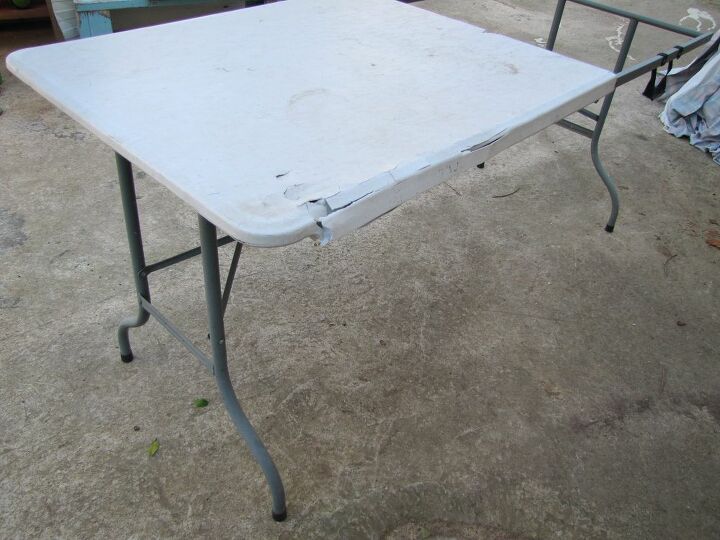
One day I passed by the garbage can, and I saw a folding plastic table with only half of the plastic surface on it.
The iron frame seemed complete to me so I took the table and started thinking about how to make a new surface for it.
I decided to build the new surfaces using dismantled planks from old wooden pallets.
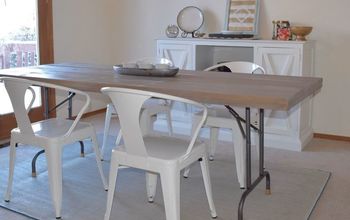
At the end of the process, a folding table was reborn with a beautiful wooden surface, much heavier than the original but with lots of character.
Hope you will like it, and if you have any comments,
I'd be happy if you write in the comments below.
Please subscribe to my channel 
https://www.youtube.com/channel/UCkNrUodcQbCM8FDGpFouOrw?sub_confirmation=1
Facebook:
https://www.facebook.com/kultakaladesign/
Thank you!
I've Dismantled the old plastic from the iron structure.
I checked that the iron structure was straight and steady.
At this specific table, as soon as the plastic surface is removed, the iron profiles are separated, the iron bars are only held together by the plastic surface, so I tied them together with a white String (Video 3:15), that way I could work comfortably without the table breaking down all the time.
I measured the wood panels before cutting and added another 5 cm to each side so the table would have more space.
I sawed the wooden planks to the chosen size, first smoothed them with an angle grinder, And then I used rough sandpaper on Orbit Sander and last finishing touches with a fine sandpaper.
I began to arrange the wooden planks on the workbench and see what surface I would get, noticed that there were different shades of wood and tried a number of options to arrange them.
Finally I decided that the guiding principle would be to arrange the planks according to their color, Bright to dark.
I cut wood profiles for the bottom of the table, which would connect the planks together and give it the structural strength. I put them together with glue and wooden screws.
I made sure to drill preliminary drills to prevent cracks in the wood while screwing the screws. (Video 1:23)
Dimensions
I placed the plates upside down on the workbench and pressed them against each other.
I placed the iron structure on top of it and connected it with wooden screws to the surfaces.
I used the original holes in the same way that the plastic surface was connected originally. (Video 4:22)
1. Drill-impact driver
2. Orbit Sander
3. Angle grinder
4. Circular saw
5. L-Square
6. Pencil
7. Tape meter
8. Drill 3 mm
9. Drill 12 mm
10. Protective glasses
11. Gloves
12. Breathing mask
13. Ear protectors
14. Go-pro session
15. Tripod
16. Drill driver
Materials:
17. Wood glue
18. Wood screws M4x30 approximately 130
19. Clear varnish
20. Painting Sponge
21. String
22. approximately 2 wooden pallets (1.20x0.80 meter)
Enjoyed the project?
Resources for this project:
See all materialsComments
Join the conversation
-
 Ann Baxter
on Aug 11, 2020
I like it . I think I would have staggered the boards
-
 KultaKala Design Studio
on Aug 12, 2020
Thank you. I'm not sure I understand the meaning of the word staggered

-
-
-
 Lin24982333
on Oct 30, 2022
You did a awesome job! I love this idea. Best I’ve seen in some time. Thanks for sharing!
-
 KultaKala Design Studio
on Oct 30, 2022
Thank you 🙏
-
-















Frequently asked questions
Have a question about this project?
Is this table still able to be folded in half for easy transportation?
what are the measurements in inches
Really, really love this! Is it very heavy? We both have bad backs. Thanks!