How to Strip Furniture With Oven Cleaner

Have you heard of this new way to strip furniture that is sweeping the internet? The oven cleaner stripping method?
All you need is some Easy Off oven cleaner (or oven cleaner of your choice) and a piece of furniture that needs to be stripped!
Yep.
You heard me right… We’re now using oven cleaner to strip our furniture and it’s brilliant!
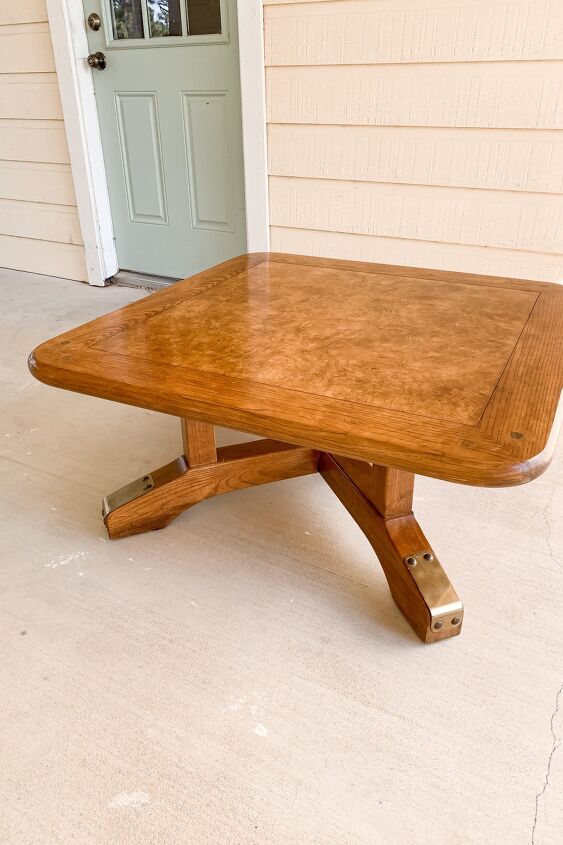
I first saw this technique used by Natalie over at My Vintage Porch and knew I needed to try it on a coffee table I got off of Facebook Marketplace for just $40.
Hometalk Recommends!
This coffee table might not be everyone’s style, but those brass plates on the feet and the details of the wood grain on the top, stole my heart.
here’s how I transformed this 80’s style coffee table with oven cleaner..
The first thing I did was spray the entire table with Easy Off oven cleaner. The nice thing about using this fume free oven cleaner is that it didn’t have that strong, chemical smell that most strippers have. Even though it said it was fume free and that I didn’t need to wear gloves, I decided to be safe and eventually put them on after the first application, just to be safe!
I let this sit for 20 minutes and then scrubbed it down with warm, soapy water.
Next, I hosed it off and then immediately dried it off.
Now, this is where I took a step back to reassess this process.
Putting water on wood furniture is a little scary, but as long as you dry it off quickly, you shouldn’t have a problem, but…
…that being said, I was pretty sure the center section of my table was wood veneer, and water and veneer just don’t mix. I decided to be overly cautious here and leave the oven cleaner method for the bottom only.
Using my orbital sander, I sanded down the top, being careful not to over sand the wood veneer section in the center.
I continued with the oven cleaner stripping method on the legs, three more times, using the steps above.
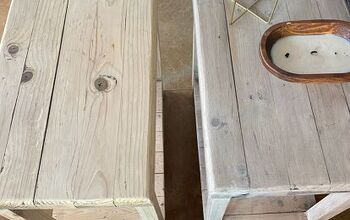
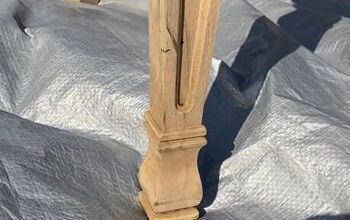
Once I was done, this is what the legs looked like. As you can see in the picture above, the oven cleaner had removed the polyurethane and some of the stain.
At this point I could have continued on with more oven cleaner applications, until it was down to raw wood, but since it was close enough, and it was cold, I decided to just sand the legs so I could be done!
I suspect that I probably would have needed two to three more oven cleaner applications to get down to raw wood without sanding.
Can we just stop for a minute and talk about the outfit I chose to sand in?
Why I thought sanding this piece of furniture while wearing all black would be a good idea is beyond me! I was a MESS by the time I was done!!!
There was sawdust EVERYWHERE!!!
Once I was done sanding, I shined up the brass plates on the legs with some Bar Keeper’s Friend. Check out this before and after:
Finally, I waxed the entire piece with furniture wax from Fusion Mineral paint.
And here is the finished table!!
What do you think?
I love the light wood color so much more than the orangey-brown it was before!
Those brass plates have to be my favorite part of all! In fact, I may end up going back and painting the legs black just so those brass plates will pop a little more!
I’d like to share a few last thoughts on the oven cleaner furniture stripping method..
This method definitely takes longer than typical furniture stripper, but it is so much cleaner and easier to use on things that have a lot of details.
I will probably stick to my usual furniture stripper for things like table, desk, and dresser tops, as they are flat and easy to strip. You can see how I normally strip furniture here.
The oven cleaner method will definitely be my go-to for things like detailed pieces and hard to strip areas like table legs and chair spindles. It would also be perfect for smaller pieces as well!
I would love to know if you’ve tried this method yet or if you have any questions! Let me know in the comments below!
Related posts: The Secret to Buying and Selling FurnitureSpring Furniture FlipsThe Ultimate Guide to Painting Furniture
Affordable Ways to Update Your Home
Enjoyed the project?

Comments
Join the conversation
-
 Emily Harris
on Jul 16, 2025
Looks amazing!
-
-
 Patricia ruffino
on Nov 05, 2025
I love that you left the wood it's natural grain and did not paint it! Although that being said I agree with you on the legs for the brass to show it's natural shine. I think a beautiful satin cocoa brown would look great and pull the color from your area rug.
-









Frequently asked questions
Have a question about this project?
where do I buy it
Great job! Love your Christmas tree as well!! Where did you get that wide “tool” r tule? I don’t care for garland, but love the wide stuff with the bows around your tree!
Wow! It looks amazing ❤️