Wine Bottle Watering Device With Copper Tubing for Container Gardens

by
Wallace Gardens
(IC: professional)
17 Materials
Going on vacation? Put a few of these together for your container gardens to keep them hydrated while you are away.
The concept of repurposing a wine bottle into a container garden “watering device” has been around for a while. I was intrigued at first, because I love to see glass in the garden, and the idea seemed practical as well as pretty. However, after trying several different methods and contraptions I gave up, until recently. After thinking it through, I made a trip to the hardware store with a very specific idea in mind: use copper tubing to make a wine bottle "funnel."
What You'll Need:
One wine bottle
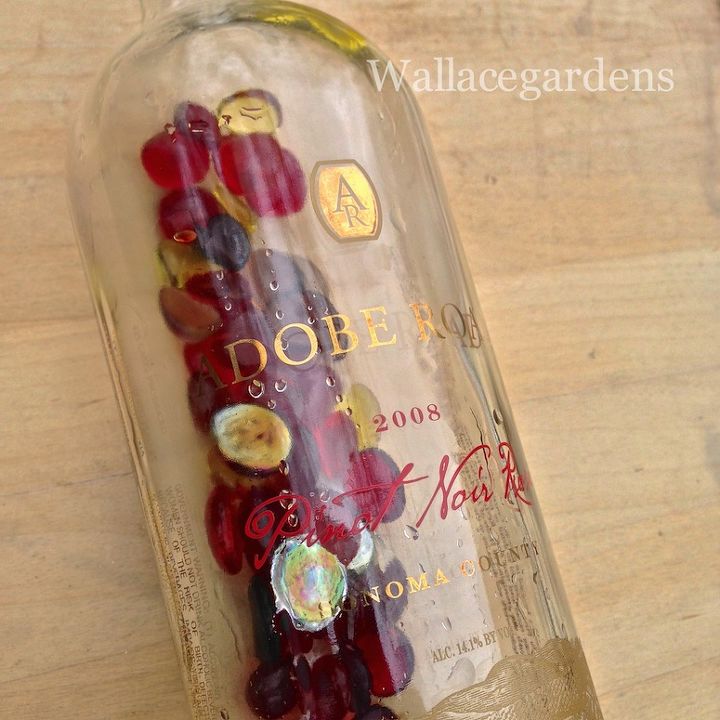
Glass pearl gems (vase gems) to go inside the bottle *
One 1/2" male copper adapter
One 1/2" female copper adapter
One piece of 1/2" copper tubing (about 24" long)
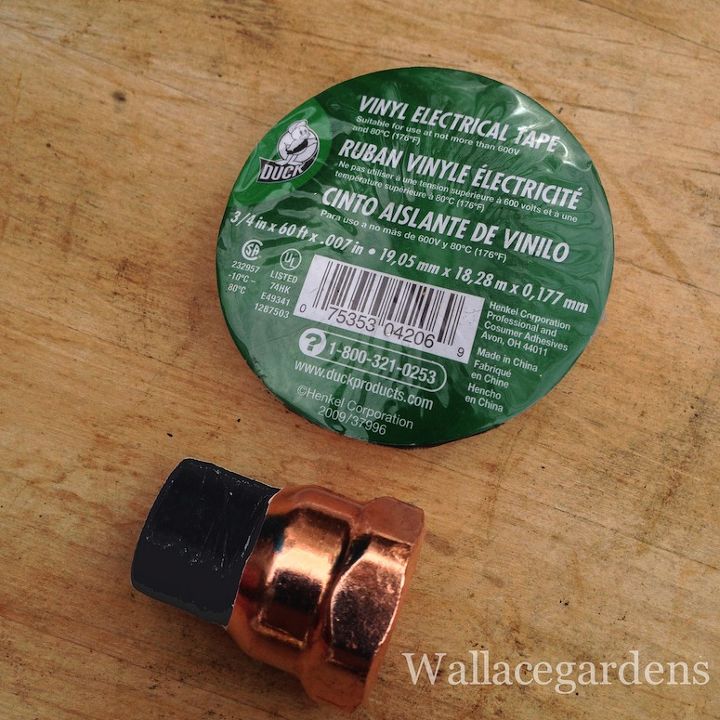
Black electrical tape
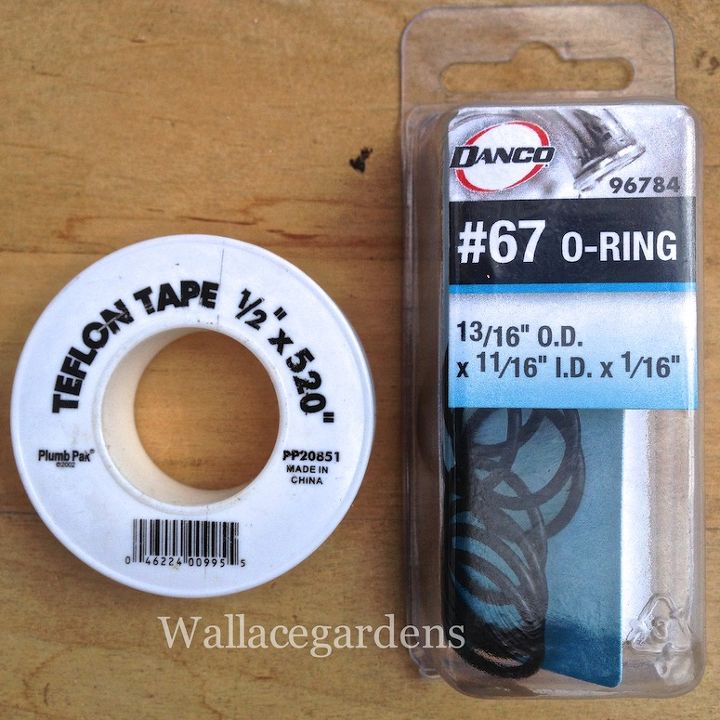
½ x .520 Teflon tape (Plumbing Dept.)
# 67 O-Ring (13/16“ Outside Diameter x 11/16” x 1/16”
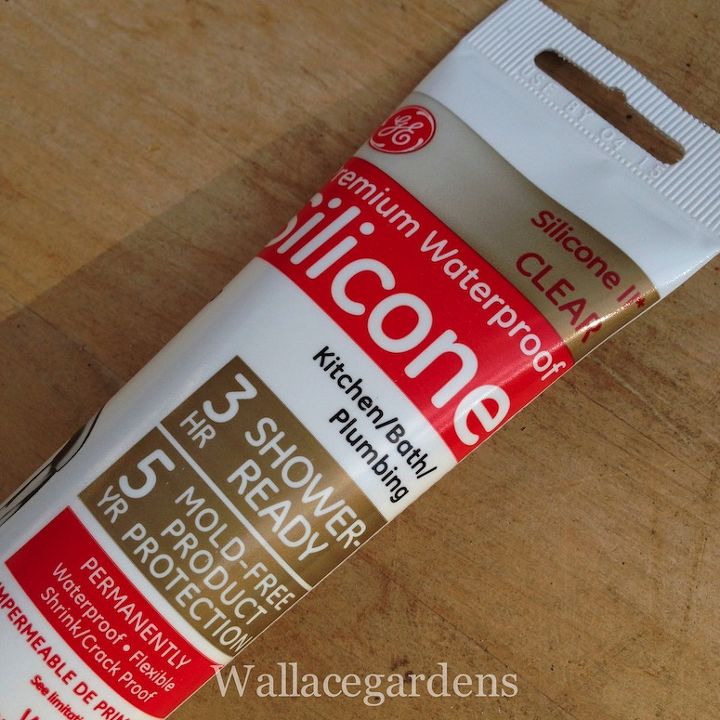
Clear waterproof silicone sealant
Permanent marker
Measuring tape
Scissors
Hacksaw, Small Vise, Small Flat Metal File, Adjustable Wrench
Bamboo stake (or similar, to poke a hole in the soil)
* Don't use round glass marbles, as they will block the flow of water. Use odd-shaped floral glass gems that won't block the copper tube. The gems disperse the flow of water through the bottle, as well as add a decorative element to the watering device (especially if the bottle is clear).
Copper is a nice companion to glass, and I wanted something easy and simple so that the device would be practical.
COPPER TUBE INSTRUCTION NOTES:
The wine bottle will be buried up to the base of the neck when it sits in the planter. Keep in mind the extra 2" to account for the adapters, before determining how long to cut the soil-extension piece. For large planters, 6-8" is a good length for the soil tube segment, and 3-4” will be the length of the bottle-neck tube segment. Example: 3" (bottle neck) + 2" (adapters) + 6" (copper tubing) = 11" below the surface of the soil. The copper tubing will deliver water, as well as act as a "stake" to keep the wine bottle stable in the planter.
WINTER WEATHER ADVISORY: don't leave your bottles outside if the temperatures drop below freezing, as this may cause the bottles to freeze and crack.
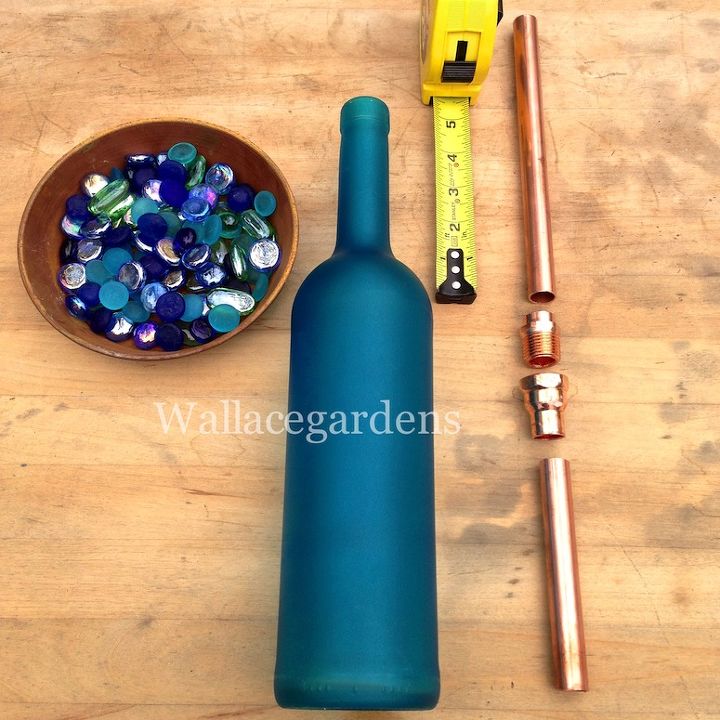
A few of the basic ingredients. Choose a colored wine bottle or a clear bottle, and some glass pearl gems. Note how the pieces of copper will come together for the final product.
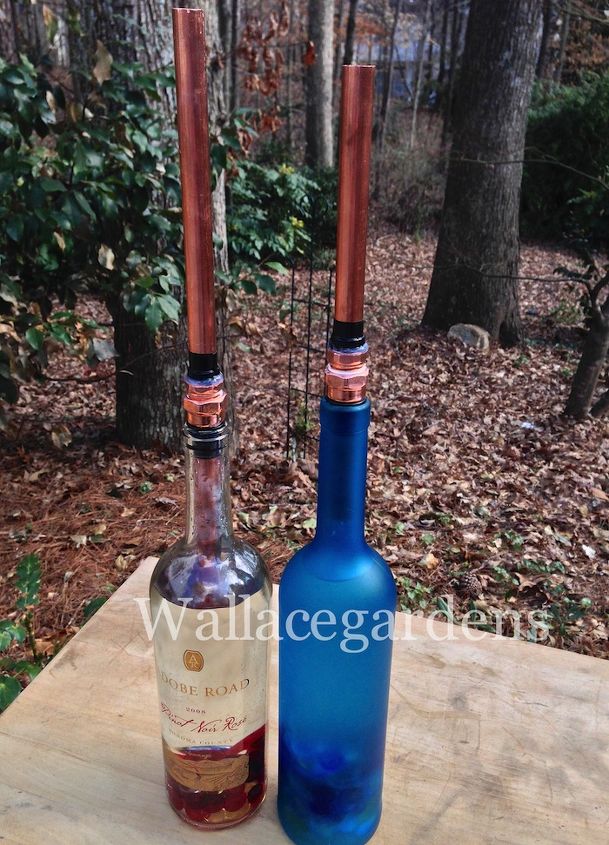
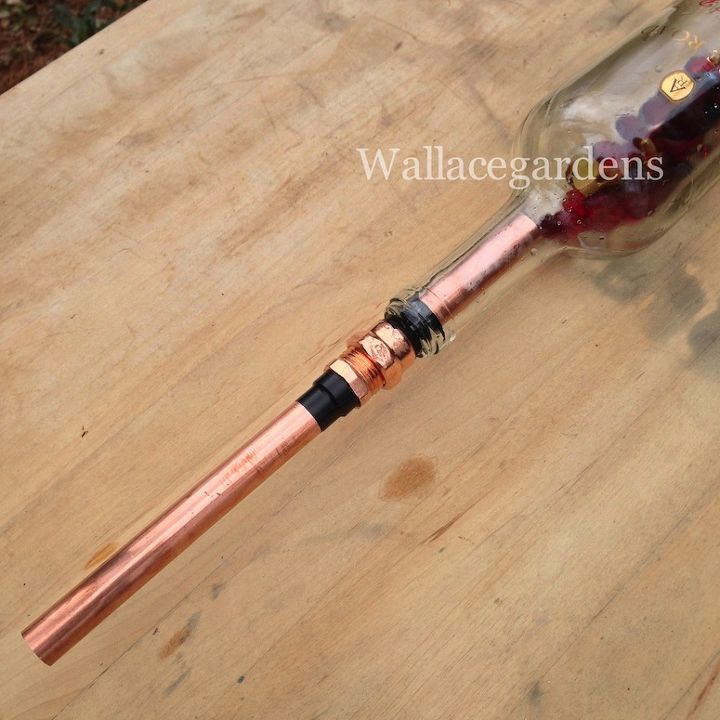
The finished products. Notice that the necks of the bottles differ (one is 3", the other is 4" long), and that the copper extensions also differ in length. You'll find out why, below.
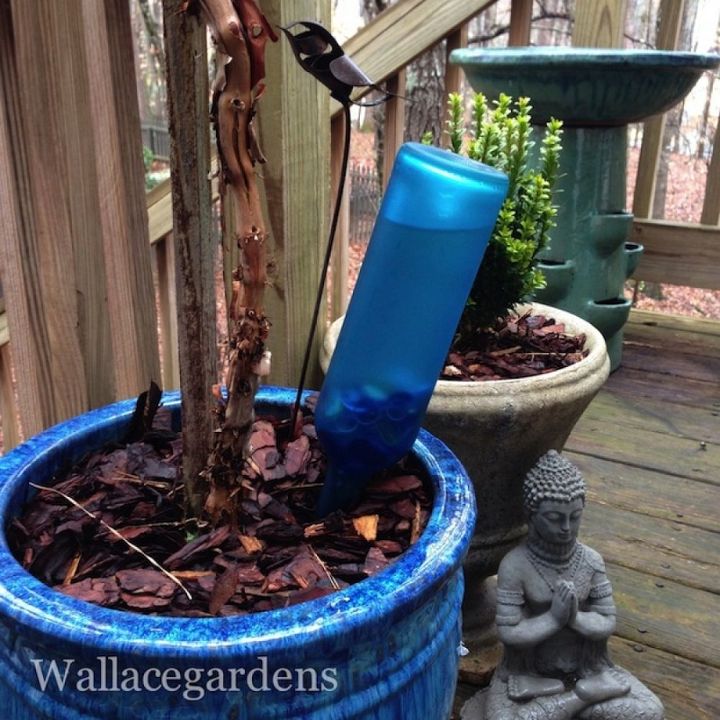
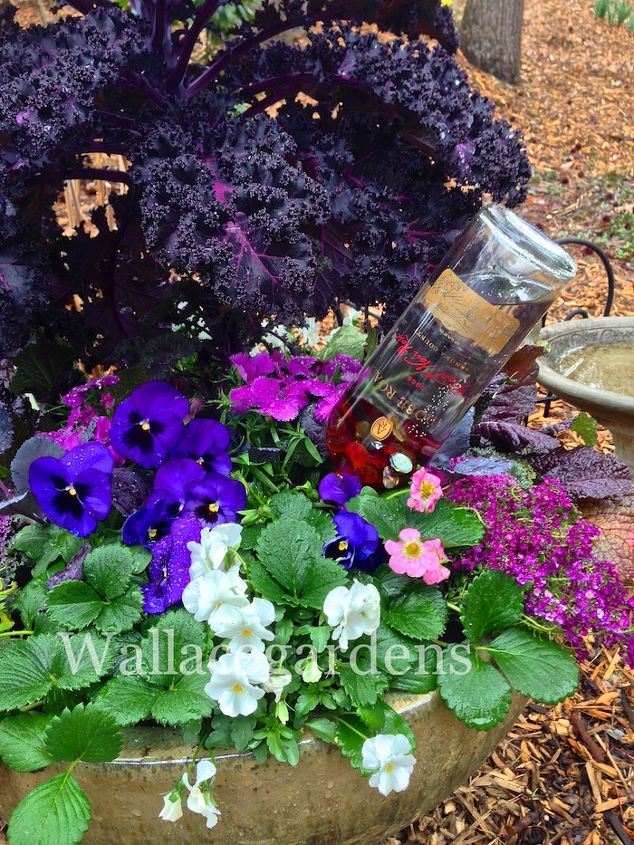
The bottle is buried up to its neck, once installed.
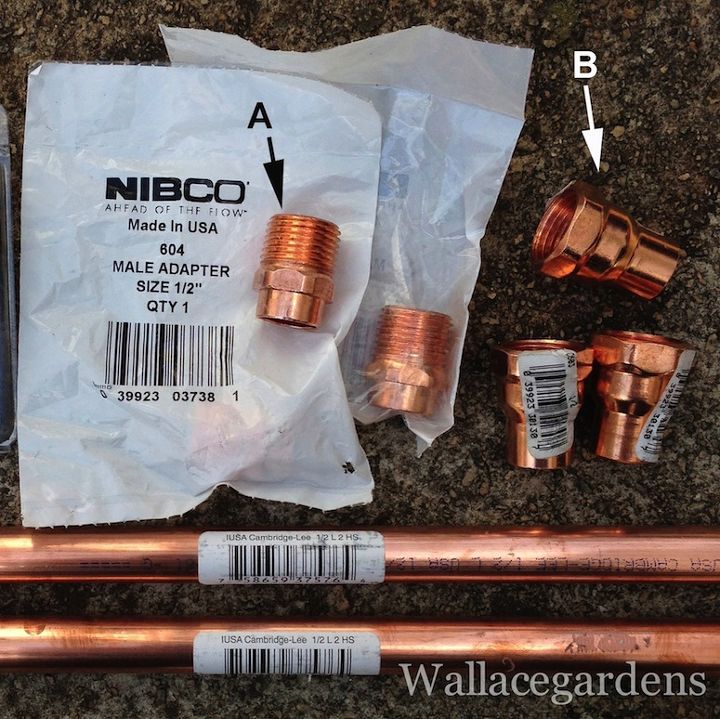
I picked up materials to make three funneling devices: (A) three 1/2" copper male adapters, (B) three 1/2" female adapters, and two pieces 1/2" copper tubing, each about 24" long. The copper is made in the USA, another benefit.
The Teflon Tape and the O rings. Be sure to obtain size #67 as indicated.
Waterproof silicon sealant.
Wrap a piece of electrical tape 1 and ½ turns around base of the female adapter (this is the piece that will fit into the mouth of the wine bottle). Test to make sure it fits snugly: that you haven't used too much tape or too little.
Once you've determined that it fits snugly, remove it and fill the bottle with about a cup of glass pearl gems.
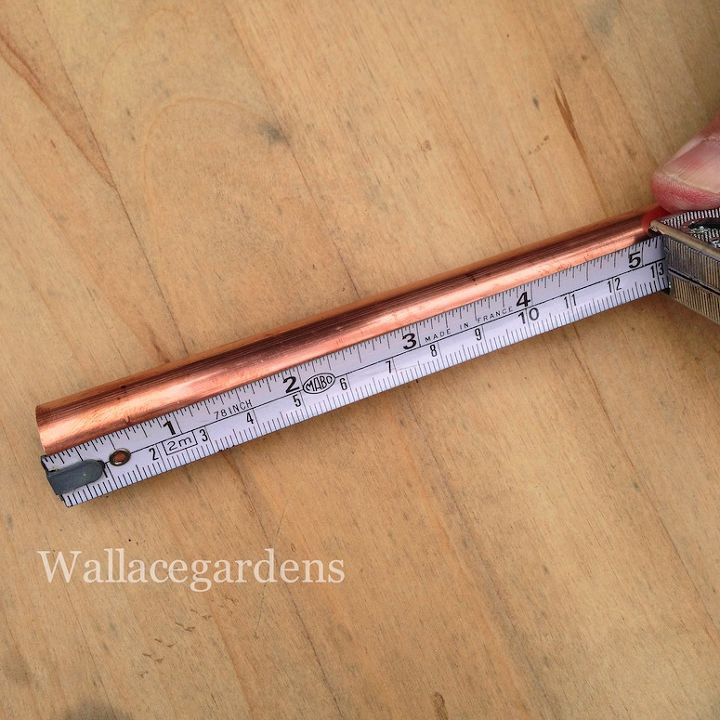
Measure the length of tubing that will go into the soil (this will depend upon the depth of your planter). For large planters, 6-8” is a good place to start. Make adjustments for smaller planters. COPPER TUBE INSTRUCTIONS NOTES, above
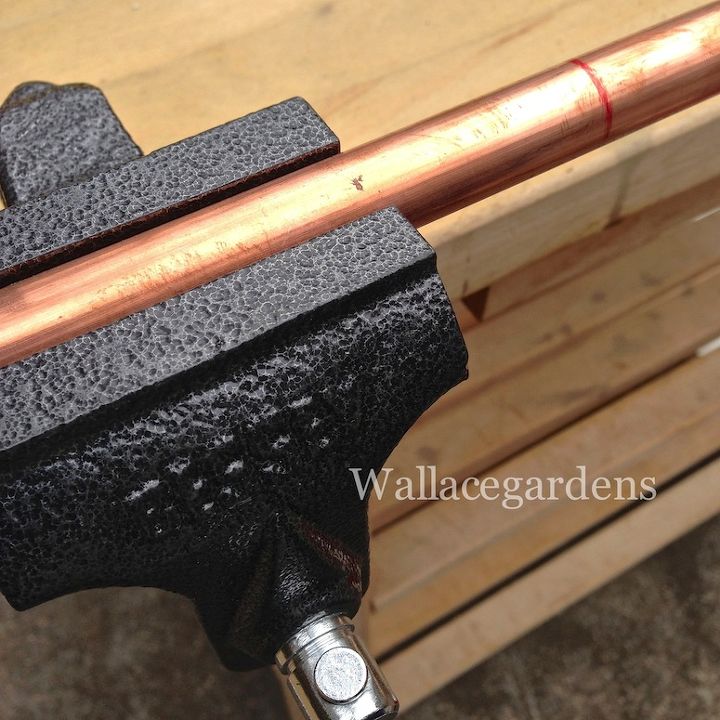
Mark a line with permanent marker to saw pipe with a hacksaw. Secure copper tubing in a vise so that you can make a clean cut. If you have a large vise, be careful not to squeeze the pipe out of shape. Cut pipe to length with hacksaw.
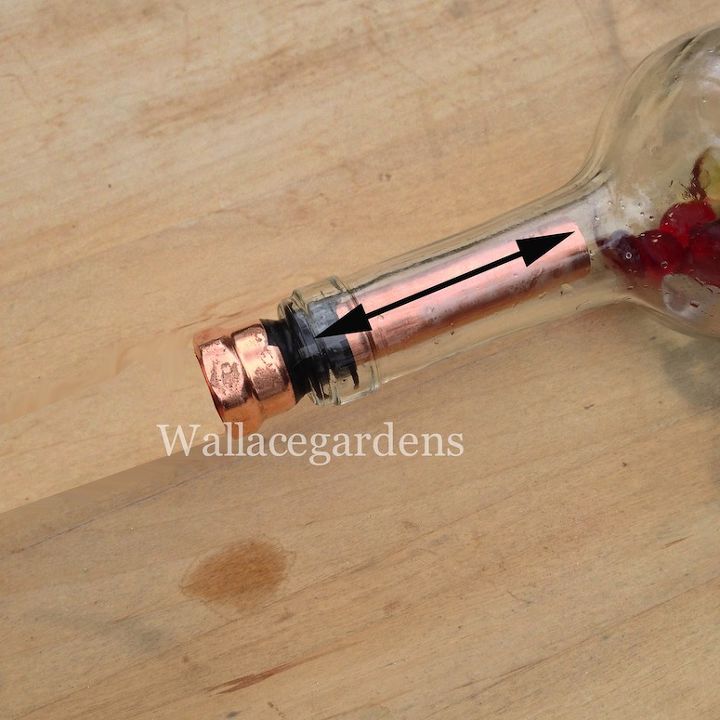
Wine bottle necks vary in length, usually 3-4”. You want the end of the pipe inside the bottle to just reach the bottom of the neck, as shown.
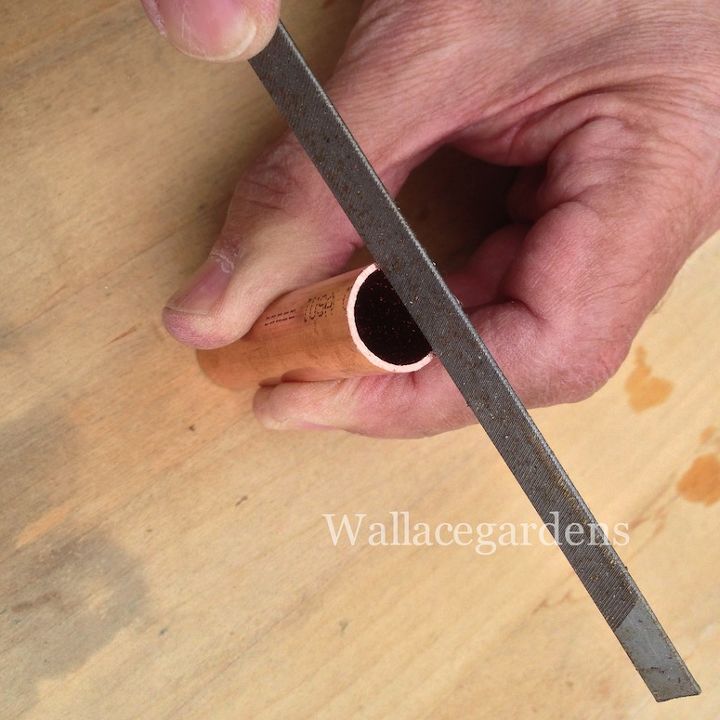
With a small flat metal file, file any sharp burrs from the cut edges of the pipes so that they can be smoothly inserted into the adapters.
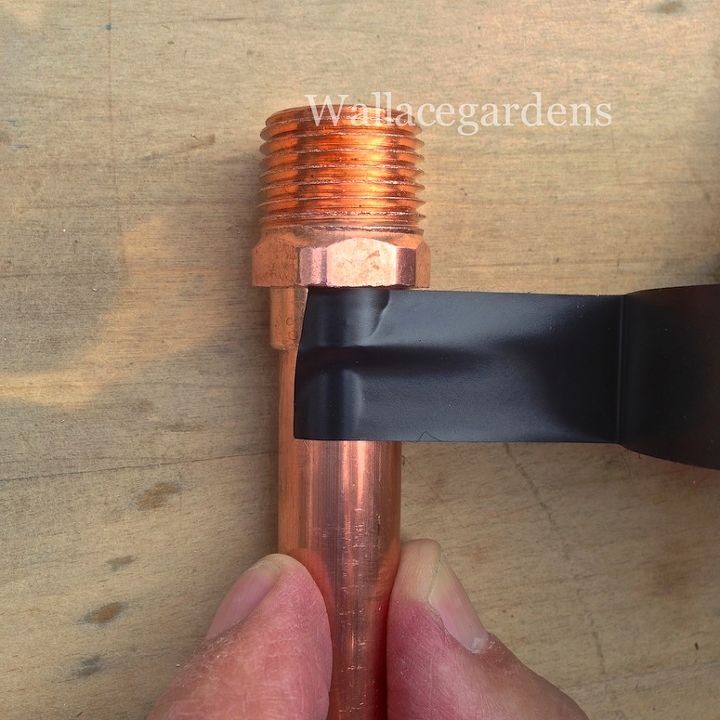
Insert the longer piece of copper tube into the male adapter and secure the tube with the electrical tape, wrapping it 1 and ½ turns before cutting.
Wrap the threads of the male adapter with the Teflon tape (NOTE: wrap it in the direction, as shown), stretching the tape slightly so that it fills in the threads as shown. Overlap the tape slightly and cut with scissors.
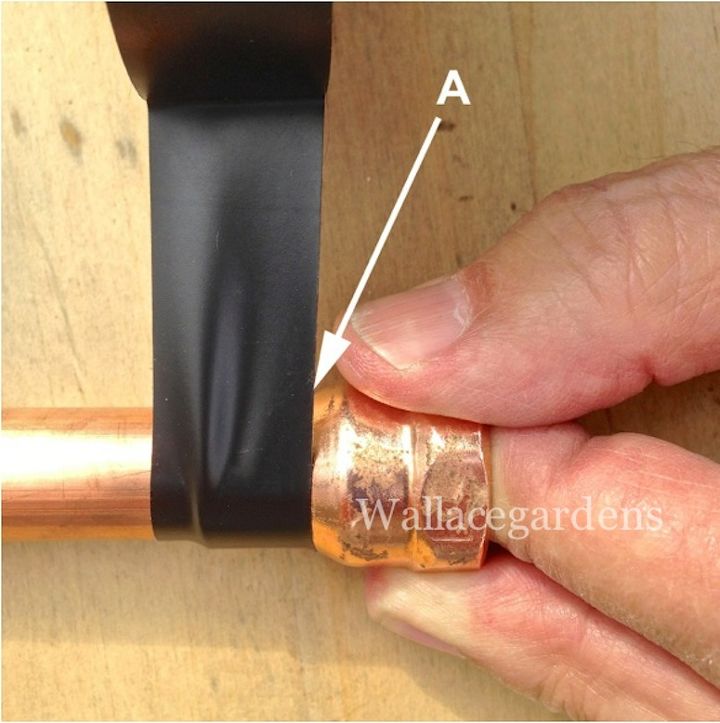
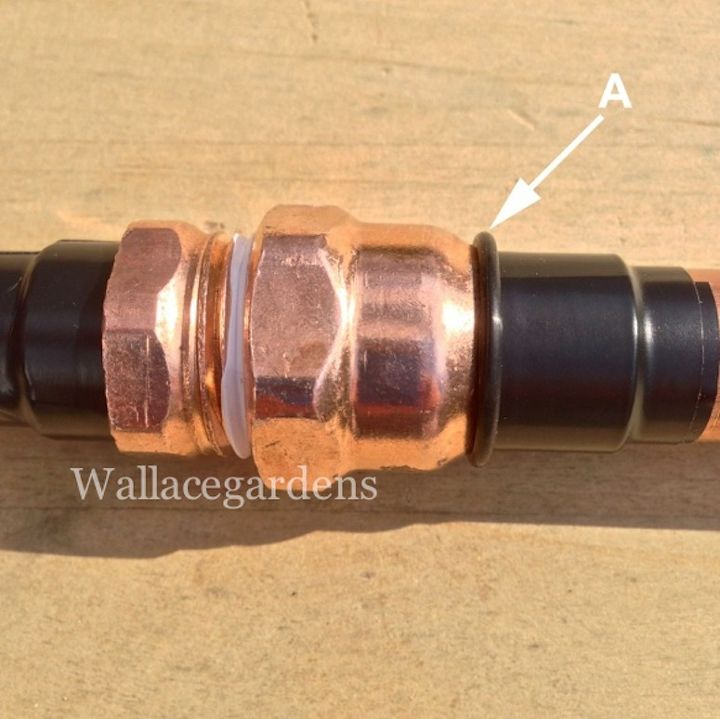
Insert shorter copper tube into female adapter, secure with 1 & ½ turns electrical tape (you may need more, so that when you insert tube and adapter into wine bottle, tape creates nice tight fit inside bottle’s neck). Wrap as shown (A)
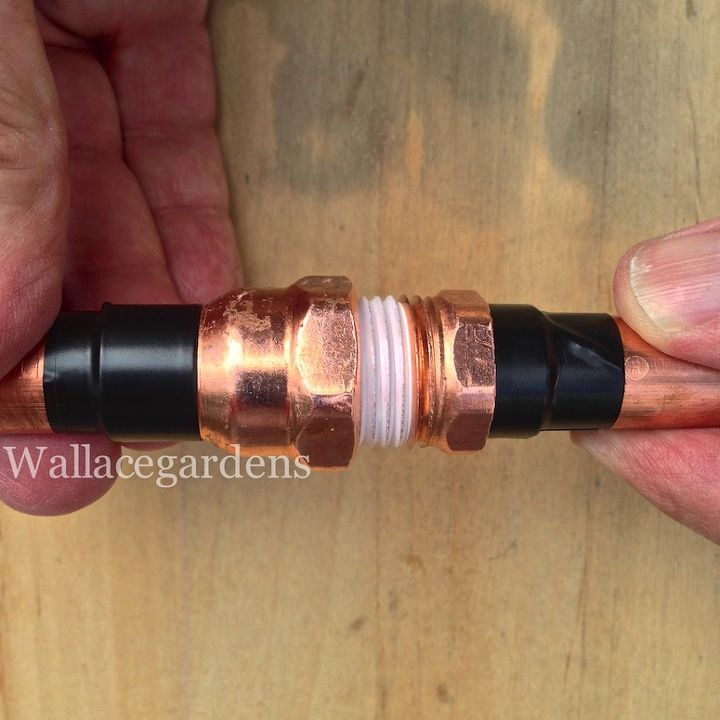
Connect the two pieces of tubing. You can see where the electrical tape sits on each section of the adapters. (You will tighten the two sections in a vise, next step.)
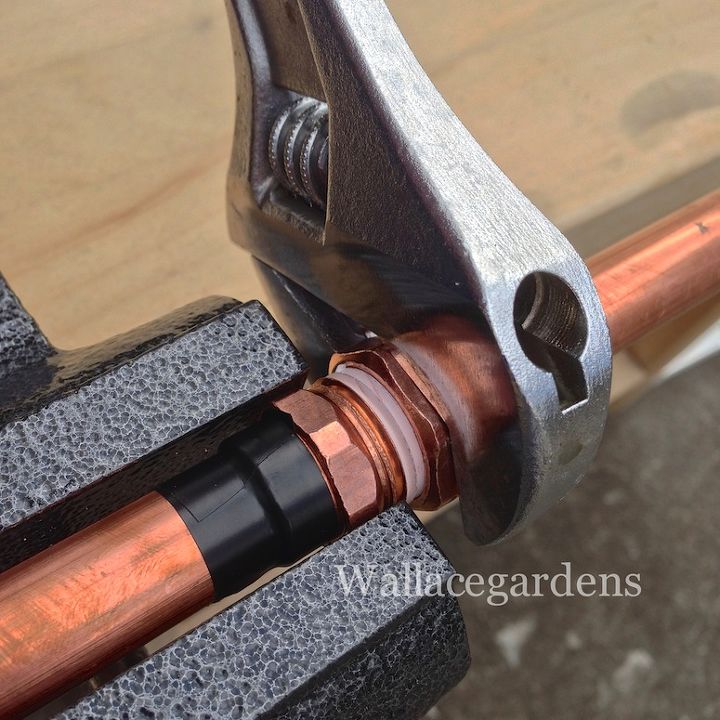
Clamp the male adapter into the vise and screw the adapters together, tightening the female adapter with the wrench. No need to use a lot of force, just get them tight.
Slip one of the O-Rings over the short end of the tube so that it seats up against the tapered shoulder of the female adapter. This will help seal the bottle and prevent it from dripping once it’s filled with water.
Place the short section of the copper tube into the wine bottle. It should fit snugly.
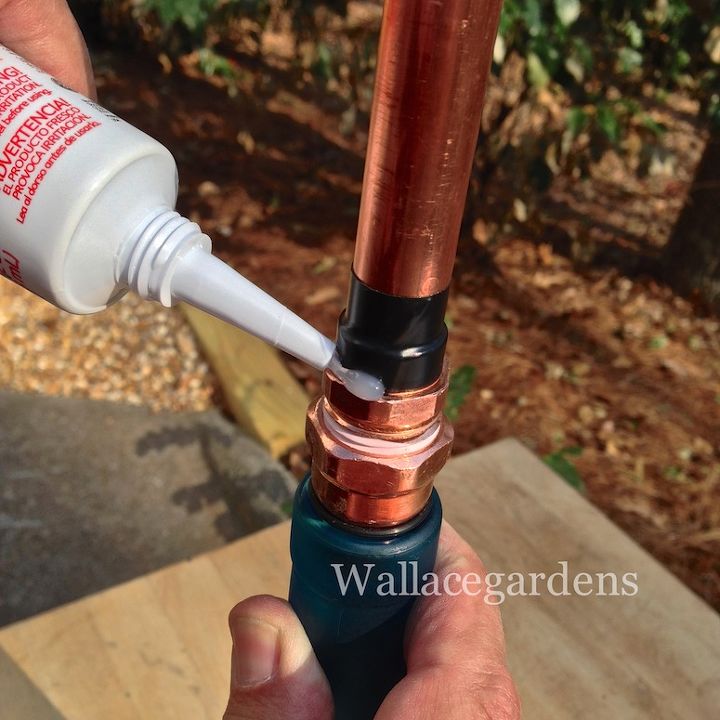
Place bottle upright, O-Ring is at top of bottle opening. Don’t force it inside bottle.Using waterproof silicone sealant, draw a bead of sealant around the tube/adapter joint as shown, set bottle aside. Dry according to instructions.
Fill bottle with water (remove copper funnel first). Before placing bottle into container garden, poke a hole in the soil with a bamboo stake (or similar) to mark placement. Insert at angle.
Enjoyed the project?
Published March 3rd, 2014 12:05 PM
Comments
Join the conversation
2 of 92 comments
-
 Lina Brochu
on Apr 12, 2023
Copper will also make your plants grow better, look it up !
-
-
 She104711833
on Jul 22, 2024
Copper can actually kill some plants
-








Frequently asked questions
Have a question about this project?
Can I use aluminium tubes instead of copper?
Why doesn’t the water all run out at one time?
So are the beads just decorative in clear bottles or do they slow the water dripping to extend the watering?