Wood and Resin Ocean Wave Wall Art

This post was sponsored by Alumilite. All opinions are my own.
Hi Everyone! In this HomeTalk tutorial, learn how to make wood and resin wall art using reclaimed cypress wood along with an Alumilite Ocean Art Kit. This project can be used as a piece of beautiful wall art, serving board, charcuterie board, and more depending on size.
Video Tutorial
Oftentimes, there are several things which are difficult to fully explain with words and images, so be sure to check out the video tutorial.
Reclaimed Wood
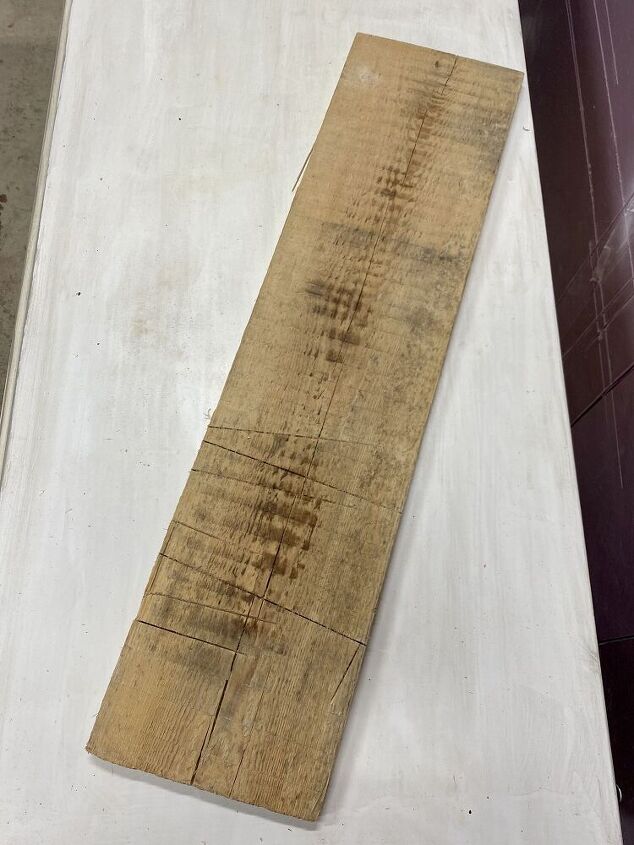
I used a reclaimed piece of cypress wood, which was split in the middle. Although it was structurally sound, I didn’t feel comfortable using it for a piece of furniture or anything load bearing.
I save as many scrap pieces of wood my shop can handle for projects such as this one. Plus, how could anyone toss a beautiful piece of wood in the trash!
Gather Materials
I used the ocean art kit by Alumilite, which contains the epoxy resin, mixing containers, stir sticks, transparent and opaque dyes, and other items listed below.
- 1 Gallon Kit of Epoxy Resin (½ gallon of Part A, ½ gallon of Part B)
- 1 oz Transparent Ocean Blue Dye
- 1 oz Transparent Blue Dye
- 1 oz Opaque White
- 1 oz Opaque Tan (I didn’t use this color in this project).
- Mixing Containers (1 5-quart and 4 2.5-quart containers)
- 5 Stir Sticks
- 1 Drill Mixer
In addition to the Alumilite ocean art kit, I used rubber gloves, face mask, heat gun, orbital sander, plastic cups, tuck tape, razor blade scraper, and Odie’s Oil wood finish.
Measure and Pour Part A
To start, I suspended the wood on top of a 3/4” piece of MDF covered in sheathing tape. I cut a piece of MDF and covered it in Tuck tape a few years ago for my resin projects and I’ve used it many many times. Resin doesn’t adhere to sheathing tape, so it makes cleanup very easy as you will see at the end of this project.
This epoxy resin is a 1:1 mixing ratio. In other words, 1 part A to 1 part B. I decided to mix 32 ounces, so I poured 16 ounces of part A in a 2.5 quart mixing container.
Measure and Pour Part B
I repeated the process for part B in a different container.
Pour in 3rd Container
Next, I poured part A and part B into a third container and slowly mixed.
Mix Epoxy Resin
It’s very important to not ‘whip’ when mixing as this introduces excess air bubbles. I gently stirred in a circular pattern in one direction while scraping the sides. Then, I stirred in the opposite direction for the same amount of time. Finally, I scraped the bottom of the container and turned the material over. I repeated this process until the resin turned clear, which is a clear indication the resin is ready.
Add Dye
Once the resin was fully mixed, I split the clear resin into 4 plastic cups to mix each color separately. Since my work surface was small, I used plastic cups instead of the containers that came with the ocean art kit.
- Cup 1: Transparent Ocean Blue
- Cup 2: Opaque White
- Cup 3: Transparent Blue
- Cup 4: Clear resin (nothing added)
1 or 2 drops of dye is all I needed to achieve my desired color. I mixed each color thoroughly.
Pour Resin - Deep Blue
To make the wood resemble the ocean, I poured the transparent blue covering about 1/5 of the piece of wood in the back. The dark blue will represent the deeper blue water.
Spread resin
I used my hand (with rubber gloves) to spread the dark blue resin to the correct width (1/5 the size of the wood).
You can also tilt the workpiece to spread the resin as an alternative to using your hand. I chose to not do this b/c my gloves were covered with resin/dye and I didn't want to put fingerprint marks on the wood.
Pour Resin - Light Blue
Next, I poured the transparent ocean blue adjacent to the darker blue. The lighter blue represents shallow water.
Blend Resin
I spread the light blue with my hand and lightly tapped the area where the 2 colors met. This helps them blend together and get rid of the line where they meet.
Pour Resin - Clear
Then, I repeated the process with the clear resin. Ultimately, the clear resin helps form the wave effect - more on this in a later step.
Pour Resin - White
I poured a line of opaque white resin in front of the clear resin. Additionally, I made sure the white resin was half on top of the clear resin and half on top of the wood.
Please Note: I left a bit of raw wood exposed on the front of the surface to represent a beach and sand.
Apply Heat
Immediately after I poured the white resin, I used my heat gun to gently remove the air bubbles from the dark blue, light blue, and clear resin while not allowing the heat gun to touch the white. The heat gun loosens up the resin and allows it to flow better.
Next, I placed the heat gun in front of the white resin pointing to the back of the wood (not downward) and applied heat to the white portion only. As planned, the white resin started to run over the clear, light blue, and dark blue. As soon as it touches the dark blue, I start moving as I don’t want it to go higher than this point.
Resin Ocean Waves
As planned, the white resin started to run over the clear, light blue, and dark blue. As soon as it touches the dark blue, I start moving as I don’t want it to go higher than this point.
Add More Resin
I decided I needed a bit more white resin, so I added a bit more and repeated the process.
Leave It Alone (IMPORTANT)
Once I finished, I left it alone. This is very important b/c it is VERY TEMPTING to keep moving the white resin with the heat gun. I encourage you to stay disciplined and avoid doing this at all cost as it will result in a ruined project. The more you spread the white resin with the heat gun, the more it will blend into the other colors. Eventually, they will become one mixed color with no color segmentation which won't look like ocean waves.
Trust me, I’ve made this mistake 2 or 3 times in the past and learned this lesson the hard way.
Allow to Cure
I allowed the resin to cure for 24 hours according to the manufacturer's instructions.
Remove Wood
I removed the cypress wood from where I poured the resin and peeled the excess. Since resin doesn’t adhere to sheathing tape, it peeled up with no problem. Also, I find it satisfying to peel the resin from the tape.
I spilled blue resin on the raw wood in a small area, so I had to use my orbital sander with 220 grit sandpaper to remove the stain. The orbital sander removed the blue stain easily.
You should not need to sand the resin. In fact, I advise you not to do so as it can be a pain to sand resin properly.
Remove Resin Drips
Most people believe that resin drips are difficult to remove, but I disagree. I find it very easy to remove resin drips with a heat gun and a razor blade scraper.
First, I heat the resin with the heat gun on a low setting b/c I don’t want to melt it. Rather, I simply want to heat it just enough to soften it.
Next, I slide the razor blade under the resin and scrape the drip off.
Sand Underside
I used my orbital sander to flatten it out and remove any minor excess. I don’t worry about making the underside perfect - I just want it to be flat so it sits flush on the wall.
Keep in mind, this step isn't necessary.
Wood Finish
I like to use Odie's oil for most of my wood projects. Odie’s Oil is hard wax wood finish and stabilizer that I use on most of my wood projects. It is food safe and non toxic.
Finish Underside
I applied Odie’s Oil to the underside using a pad applicator.
Apply Finish to Beach
I flipped the piece over and applied odie’s oil to the exposed wood on the top (the beach). I allowed this to dry for about 45 minutes and wiped off the excess with a Terry towel on the underside and top.
Hanging Hardware
To hang the resin ocean wave art on the wall, I use z-clips. Z-clips are easy to install and function much like a French cleat mounting system.
Install Z-Clips
I secured one z-clip to the underside of the reclaimed cypress and made sure it was centered and level.
Hang Ocean Wave Wall Art
Next, I secured the other part of the z-clip on the wall to a stud and placed the wood and resin ocean art on the wall.
Conclusion
I really enjoyed this project and the Alumilite Ocean Art kit provided me with the supplies to make my project a success. The epoxy resin performed really well and the colors in the kit were perfect.
In closing, I hope this HT tutorial provided you with value and the tips/techniques help you with other resin and /or woodworking projects. Please leave a comment down below if you have any questions - I'm happy to help.
DIY home decor using reclaimed wood
Enjoyed the project?
Resources for this project:
See all materials
Comments
Join the conversation
-
 Adele Kurtz
on Jan 30, 2021
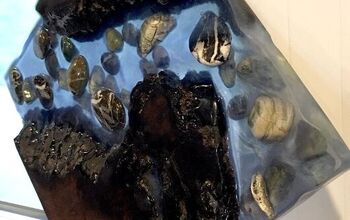
Definitely doing this. Let's keep in touch. I live near the ocean and hubby keeps hauling in driftwood that needs a creative touch. Here's one I did this week.

-
-
 Gig69451122
on May 03, 2023
Everything about this was very nice. I live near the ocean. The waves come towards the sand. I think you may have inadvertently, moved the heat dryer the opposite direction for the tutorial?
-












Frequently asked questions
Have a question about this project?
I was wondering about your sand on your painting. Everything looks so real. Would or could you add a piece of sandpaper for a sand look or add white salt or sugar for sand. Even brown sugar?? I think it would look REALLY authentic. Just a suggestion.
Jeremy, did you need to use as much resin as you mixed? That seems like a lot, but I’ve not tried this before. Thanks! It looks great!
How did you keep the epoxy from spilling over onto your workspace?