DIY Shiplap Wall...Easy, Cheap, and Beautiful Part 1

by
Heather
(IC: blogger)
Ok y'all, so I'm addicted to Shiplap. I mean, I was before...but after finding the method I'm going to share with y'all today, it's a hopeless addiction! If you follow me on Instagram and/or Periscope, you've already had some inside views of my project.
This year on my blog I'm committed to bringing y'all projects with bang for your buck! Like, cheap price with expensive looking outcome. Everyone wants a beautiful home, and there's absolutely no reason to break the bank to have one.
I bought my Underlayment at Home Depot. It comes in 4 foot by 8 foot sheets, and I had them cut it down into 4.5" strips. Y'all, full sheets are like $11 each!!! I told you... CHEAP. If you use the same measurements I did, you will get 10, 4.5"x96" strips out of each sheet. You'll want to measure your wall ahead of time to find out how many sheets you'll need!
After you've completed one strip on the wall, you're going to start your second row. Same method as above, except this time you're going to use you nickels as spacers in between the boards so you have the same spacing down your entire wall. You put one nickel at one end, and the other at the end your Shiplap partner is holding! Check with your level to make sure you're still even, and keep nailing like you did the row above. I wanted random seams on my wall, so as I did each row, I made sure to keep pieces different lengths. (This is where the saw came in).
See that hole in the wall?? It's the size of a human head... A little too much rough housing in my house?!! It's the hole that inspired this wall to be my first Shiplap wall project. Thank you, hole.
Hole Be Gone!! Now just keep going!
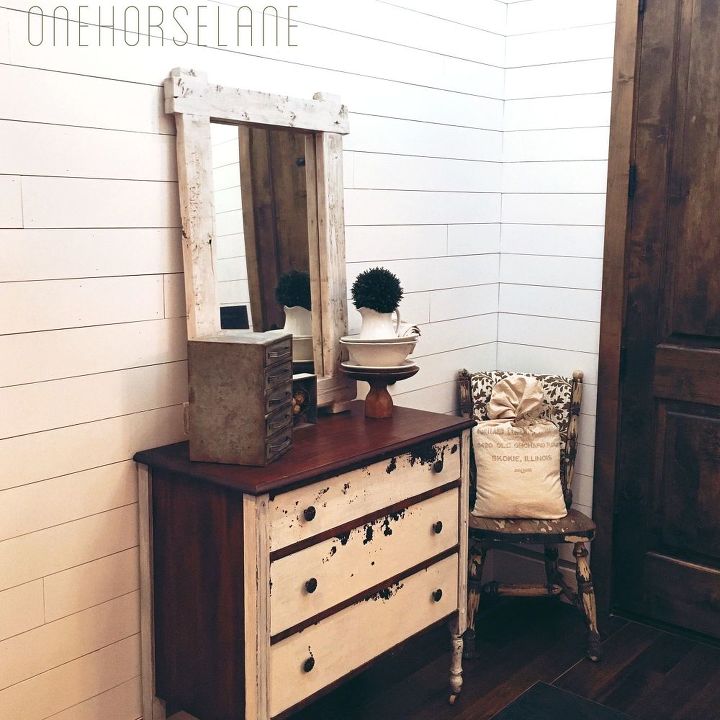
And before you know it, you'll have this!!
If you want to see Part 2, including a video tutorial and an important paint tip, you can check it out on my Blog!
Enjoyed the project?

Want more details about this and other DIY projects? Check out my blog post!
Published February 24th, 2016 10:00 AM
Comments
Join the conversation
2 of 71 comments














Frequently asked questions
Have a question about this project?
What is the thickness of the plywood underlayment?
Did you use wood conditioner on the underlayment before staining. Or should you? I’m searching now for help.
What did you use to take the paint that might have gotten between the boards off. I did this project and love it but some boards got paint in between.