Cutting Edge Stencils + DIY board and batten = FABULOUS bathroom!

by
Theresa King
(IC: homeowner)
7 Materials
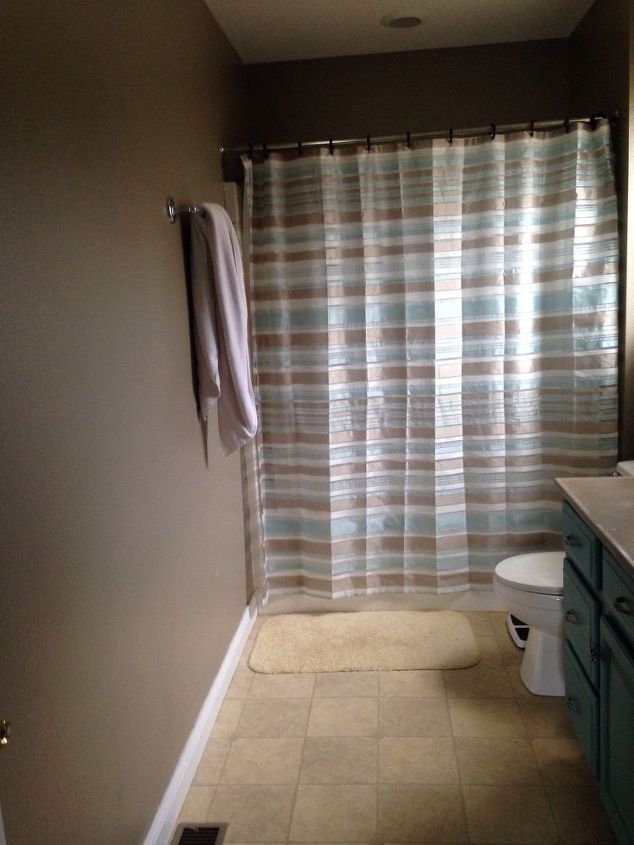
The all important, very bland BEFORE pic of our bathroom.
We wanted a more "grown up" looking master bath, but this awkward wall had us stumped! It lacked serious character.
I attached each piece 12 inches apart on the wall with a bead of Liquid Nails and a few finishing nails for extra support.
For the top, I used a 1x4x12 (cut the the correct length) we then painted the wall between each strip and all the wood in a crisp white.
First coat of white.
Rookie in action. Literally tape it to the wall, check for level (with the awesome leveler you can see clipped to the stencil) and paint away. I suggest you order their foam rollers for best results- these things were great!
Keep moving along and keep it level- you really can't go wrong!
So grown up! They also have a smaller section of the stencil to finish off the top and bottom of the pattern of you want. I liked the way this looked like it had been on my walls all along!
Our "grown up" bathroom complete with stenciled wall and aqua highlights!
Enjoyed the project?
Published June 2nd, 2015 6:27 PM
Comments
Join the conversation
2 of 443 comments







Frequently asked questions
Have a question about this project?
What color paint did you use?
Very nice. What was the approximate cost?
I've got to try this. What do you think about doing the stencil BEFORE you attach and paint the top finishing board? No need to ‘finish off’ the bottom of the stencil then. ???