How to Make a DIY Faux Stone Column Using Pool Noodles

This post was inspired by Jen and John at Epbot.com
Pool noodles are sold everywhere now that it's summer and depending on where you shop, you can purchase them for only $1.
Here is a unique idea to make a decorative DIY faux stone column using those inexpensive pool noodles.
Tools and materials
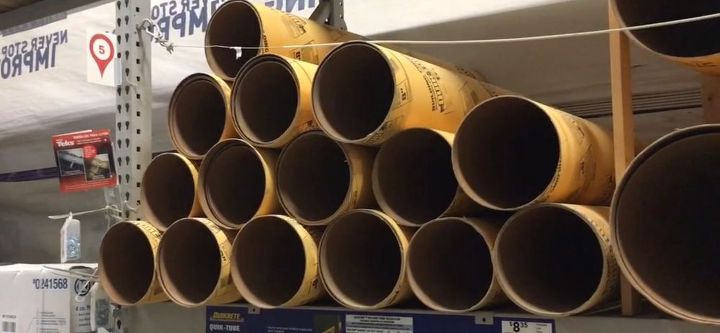
Along with 9 pool noodles, you will also need an 8" concrete form, duct tape, caulk, contact cement, spray paint, and two pieces of 12"x12" wood.
More Pool Noodle Ideas
1. Cut the pool noodles in half
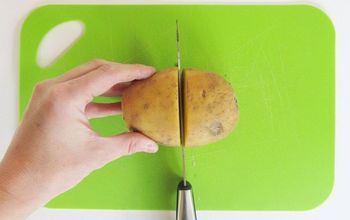
Begin by cutting six of your pool noodles in half lengthwise.
2. Measure and mark the pool noodles
On your cement form, measure from one end 5" and make a mark around the entire circumference of the cement form.
On the opposite end, measure down 3" and make a mark around the circumference of the cement form.
Lay one cut pool noodle on the form, curving it around.
Draw a line along the edge of the pool noodle. This will give you a starting point when you apply the noodles to the cement form.
3. Apply contact cement
Brush each cut side of the pool noodles with contact cement. Brush the entire cement form with contact cement. Allow both to dry for at least 4 hours.
When they are dry, they will not feel sticky; however, they will stick to each other.
4. Stick the pool noodles to the form
Using the marker line, lay your first noodle along that line on the cement form. It won't stick immediately so you have time to make adjustments.
Once you are happy with the placement of the first noodle, continue to lay the cut noodles, cut side down, side by side, spiraling around the cement form.
5. Cut the ends of the pool noodles
The noodles will be bigger than the form so cut the noodles to fit inside your measurements.
6. Make the round ends
To make the round ends, bend an uncut noodle around the bottom of the cement form. Cut the noodle ends until it fits snuggly around the cement form.
When you have the correct size of the round end, duct tape the ends of the uncut noodle together.
You will need to make three round ends/rings - two using the same size noodles as you used on the column and one larger.
Place the rings on the ends of the column. One end should have two rings and one end should have one ring.
Outline the circumference of each end ring onto the 12"x12" wooden pieces.
Apply contact cement inside the circumference marks on the wood. Apply contact cement onto the bottom of each end ring. Allow to dry for at least 4 hours.
7. Apply caulk
Place the end ring onto the wood pieces. This is your top and bottom.
Apply caulk where each piece of noodle meets the next piece of noodle. Apply caulk where the round piece of noodle meets the wooden piece.
As you are applying the caulk, wet your finger and smooth out the caulk lines. Continue to caulk the entire column.
Allow to dry.
8. Apply texture spray
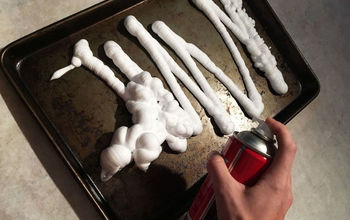
Apply texture spray onto the column.
Using a cloth, pat the texture spray so it is lying flat against the noodles.
Allow to dry.
9. Spray primer
Spray the entire column with primer. Allow to dry.
10. Spray-paint the column
Spray the entire column with "stone" spray paint. Allow to dry.
If you are using the column outside, apply a sealant.
DIY faux stone column
Use your new "stone" column in your decorating.
The column is very lightweight so if you use it outside where it's windy, you may have to place some type of weight in the bottom before you attach the 12"x12" wooden piece.
Enjoyed the project?
Resources for this project:
See all materialsComments
Join the conversation
-
 Kar52795798
on Mar 04, 2024
wonderful but it is also doesn't weigh anything
-
 Ren101236369
on Apr 01, 2024
Just add something like small rocks or pea gravel to the concrete form before attaching the top. I would buy a small bag of grouting mix... mix enough to pour into the bottom of the concrete form to get the weight you want. Let the grout harden overnight then attach the top.
-
-
-













Frequently asked questions
Have a question about this project?
Could this method also be used on those ugly basement posts? I’ve recently purchased a home with a semi finished basement. Looking for ways to cover those up but still look cool. May be an option.
When you apply the cement does the pool noodles ahere to the tube immediately?
You certainly are an imaginative woman. Looks great.