How to Upcycle Wire Lampshade Frames Into Plant Stands

I show you how to upcycle vintage lampshade frames into gorgeous industrial style plant stands that will look fab in any interior.
Where can I find old wire lampshade frames?
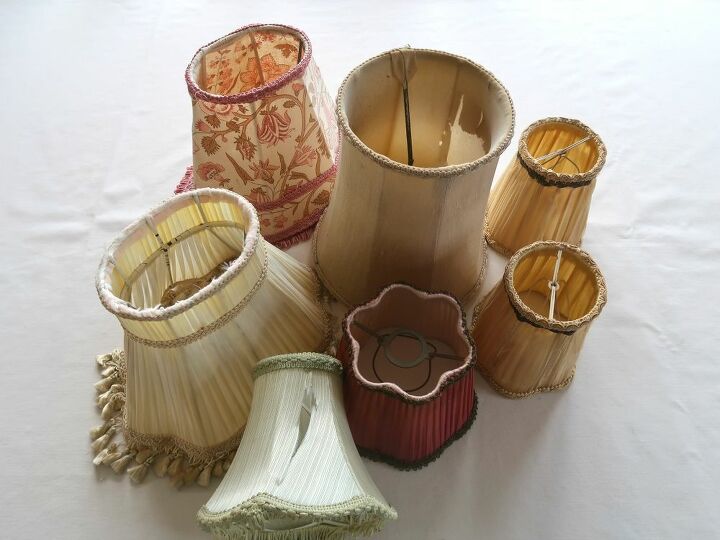
Here is my collection of vintage lampshades. They are both battered and dated, so I have no issue with pulling them apart to use.
Although I'm sure it's possible to buy vintage style wire lampshade frames new, this is an upcycling project, so our lampshade frames are all reclaimed. Check thrift stores, yard sales and auctions for lampshades that have seen better days. You should be able to pick them up for just a couple of dollars.
To start, strip the old fabric from your lampshade. A pair of sharp scissors or a stitch cutter is useful as you'll find the material stitched in places.
All the lampshades I took apart for this project had been hand-stitched. I even found an old repair to the wire frame on one of them. I spent a very peaceful hour wondering what the previous owners might have been like as I unpicked their stitching. They would never have known that the same frame they were recovering would end up as a Hometalk project!
I am using three of the wire lampshade frames to make my plant stands. The rest I am keeping for another project I have in mind.
Finally, I used a hack saw to remove the internal wires on two of the frames but left them intact on one of the lampshade frames as I like how they look.
Spray painting wire lampshade frames
I used enamel spray paint to cover the wire frames. Two in glossy black and one in rose gold. Enamel paint would also work well but take a little longer.
I always use spray paints outside. If using them inside, make sure the area is well ventilated, and you protect the work surfaces.
When using spray paint, thin coats give the best results and avoids drips. I find it easiest to spray the inside of the frame first.
Turning wire lampshade frames into plant stands.
You can either use your wire lampshade frames as a plant stand by merely dropping a pot into it as shown above, or by adding a top to it.
I used gorgeous olive wood chopping boards as tops for two my stands. They are seconds, so only cost a few dollars each, but you'd never know by looking at them.
I marked out where I wanted each stand to go.
And used a liberal amount of all-purpose glue to attach the stand and top.
And here on my finished plant stands.
Don't they look gorgeous?
The rose gold plant stand has been designed to hold my daughter's favourite plant pot and match her room.
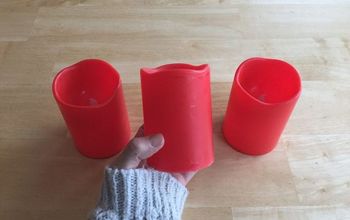
And I have added an LED candle to the black stand which I think looks cute.
If you have enjoyed this tutorial, why not check out some of my other quirky recycled and upcycling ideas over on my blog. You can find a photo of the finished projects and click through links to a couple of my favourites below.
Enjoyed the project?
Resources for this project:











Frequently asked questions
Have a question about this project?
I love this idea Where! Where did you find olive wood boards that are seconds?
I’m not going to ask you anything you have done one of the most amazing things that I have seen in a long time. Thank you so much for sharing your fantastic idea with us!
Love the idea but they are so short sitting on a floor but so tall for sitting on top of something. Where do you use them?