How to Make Beautiful Pressed Flower Lanterns – Easy DIY

DIY hanging pressed flower lanterns - Step-by-step tutorial. The perfect budget-friendly outdoor lighting for weddings or chic summer garden parties. You can create these lanterns with wildflowers, curbside flowers or even various types of fallen leaves. Don’t let the fact that you don’t own a flower press put you off either, my DIY version below will work just as well.
This is just a portion of the original post - to read the more detailed tutorial please visit the blog through the link at the end of this post.
Pressing flowers
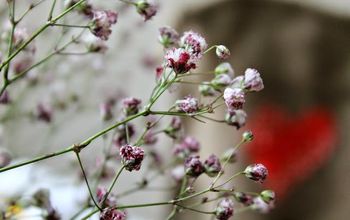
The amount of time it takes for the flowers to dry out depends on the type of flowers you use. Thin-stemmed, small flowers will take longer than thicker, larger flowers and stems. I used some thin meadow flowers and small ferns and as I said, it took around three weeks for them to dry out enough to use in this project.
Draw a circle on the baloon
Draw a line around the top of the balloon which will help you identify where to stop adding paper to allow for the hole at the top where you will add the candle later.
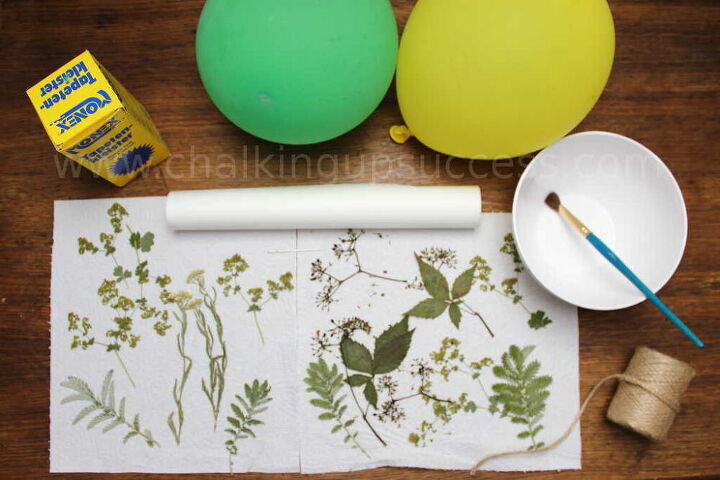
Cover the balloon with paper
- Layer the paper squares on to the balloon overlapping slightly as you go and brush on more paste over the top of each piece. Work your way up to the line you drew earlier and stop there. Allow to dry. Add a second layer once the first layer is dry.
Add the flowers
Now you can add the dried flowers, brushing a layer of glue over the top of each one. Allow to dry. (Depending upon which type of flowers you use, you may find it necessary to immediately add some paper squares over the top of the flowers to make sure they stay put).
Pop the balloon
Using the needle, pop the balloon and remove it completely. You may need to scrape it a bit.
Make loops for hanging
our pressed flower lanterns are almost finished. The very last step will be to make some rings for hanging. I used some silver craft wire to make mine. You just need to cut two small pieces of wire and push one end of each through the lantern on each side. Twist the wire to make a small ring.
Tie some jute twine to the rings and make the handle as long as you need it to be. In my case, I wanted to hang these in the trees so I made my ties quite long.
Hang your lanterns
So, there you have it! Another beautiful and easy DIY. All that’s left to do is to place a candle into your lantern, hang it up and enjoy your beautiful Autumn evenings under the harvest moon!
DIY fall lanterns
Enjoyed the project?
Suggested materials:
- Jute Twine (Etsy)
- Transparent (sandwich) paper (Any supermarket)
- Wallpaper glue (Etsy)
- Pressed flowers (Homemade (see my original blog post))
- Paintbrush (Etsy)
- Silver crafting wire (Etsy)
- Pliers or scissors for cutting wire (Etsy)

Comments
Join the conversation
-
 Corunna Stevens Goris
on Jan 21, 2023
Yep I’ll be trying it. A couple of friends of ours are getting married. I see it as a lasting gift to use as decor for their special day and as a continuing reminder of that special day~
-
-

















Frequently asked questions
Have a question about this project?
If you have to add paper over a large stem to hold it down,does it make it harder to see?
What did you use for lights
They are beautiful. Hope mine turn out as well. Are there any substitutes for the paper and glue? Thank you.