Learn How to Create a Bowl Made Entirely of Resin

I love working with resin, and I’m always trying to find new creative ways to put it to use in my projects. In this project I’ll show you how I made a bowl entirely of resin! This resin bowl makes a great centerpiece for your coffee table! Or place it on your kitchen table and fill it with decorative balls or fruit! Just make sure not to use it for any real food as it is not food safe. Want to learn how I did it? Follow my step-by-step tutorial below to get started now!
Tools and Materials:
- Plastic wrap
- Tape
- Silicone
- Stone Coat countertops epoxy
- Powdered resin color
- Heat gun
- Pressed flowers
- Popsicle stick
Make Your Mold
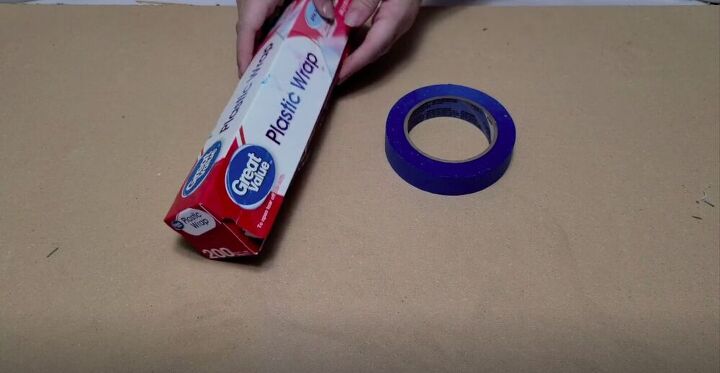
I cut a piece of plastic wrap big enough for the bowl I wanted to create. Then I taped it down as flat as possible onto an MDF board. I’m using an MDF board simply because I need a very flat surface underneath this project.
Get more tips on how to make silicone molds.
Once I had my plastic wrap taped down I moved on to making my mold. Using silicone I made a circle. Make sure that the circle has thick lines that are slightly raised as we’ll be pouring resin in the middle and we don’t want it spilling over. Then I let it dry completely.
Mix the Epoxy
I mixed up the epoxy with the hardener and the resin. The amount you’ll need for your project will depend on the size of your bowl, but in general you need 3 ounces per square foot for a project that needs a thin layer. I need a thicker layer for this project so I mixed up a bit more.
With my epoxy fully mixed, I was ready to color it! I divided the epoxy into three cups, leaving a bit left over because I also wanted some clear resin, and added colored powder to each of them. In general you want to add about 15% color. I added a little less because I wanted them to be slightly translucent.
Pour the Resin
I poured a small amount of clear epoxy in the center of my silicone circle.
Then, working from the outside in, I added layers of color. I poured each color on top of the previous color. This causes it to spread inwards while creating a striped effect. I continued pouring along the outer edge until I had used all of my epoxy.
Swirl
If you want you can skip this step and just leave the epoxy to set, but I wanted to add a bit more visual interest, so I swirled the colors a bit using a popsicle stick.
Hit it with Heat
If you usually use a torch for epoxy, do not use it for this project. The plastic wrap underneath the epoxy will melt and cause a lot of problems. I used a heat gun set on a medium-low heat setting instead. Then I heated up the entire surface of the epoxy
Add Flowers
I layered flowers in the center of my bowl facing down, as the part facing me now will become the bottom of the bowl.
I pressed them down gently and poured a clear layer of epoxy over them, just to cover them. I hit it with the heat gun one last time and then left it to dry for about 7 hours. You want it to be relatively set, but still pliable.
Form the Bowl
I picked up the entire piece of resin, together with the plastic wrap, and laid it over the bottom of a plastic bowl to shape it.
Make sure that the plastic wrap side is facing down so that you don’t end up with a resin bowl stuck to the outside of your plastic bowl. I gently shaped it. Then I left it to cure for a full 24 hours.
Once it was fully dry, I removed it from the bowl and then cut off the silicone from the edges.
This project is not food safe, but I love how it looks on my coffee table! You can fill yours with decorative fruit or really anything you want. How would you customize this project? Let me know in the comments below!
















Frequently asked questions
Have a question about this project?
Can you use a hair dryer or do you need an actual heat gun?
What kind of powdered color did you use and where do you get it from, can you use acrylic paint?
How can you make it food safe?