


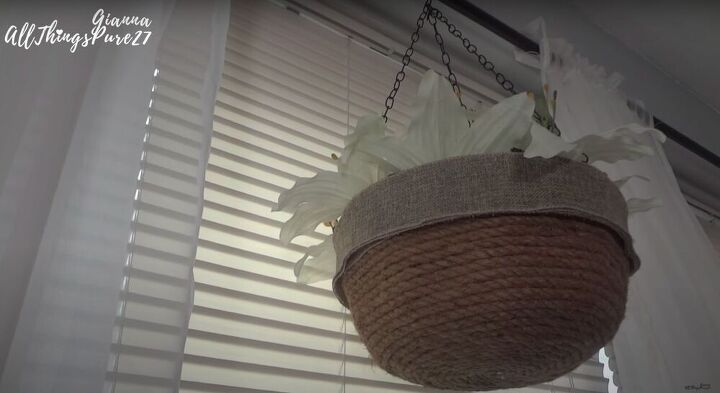
Create a Stunning DIY Dollar Tree Farmhouse Hanging Planter

Looking to fill your home with flowers, but not interested in having to water them every day? This tutorial was made for you. In five quick and easy steps you can have a beautiful DIY hanging planter that nobody would ever guess was full of faux flowers! All you need to do is stop by the Dollar Tree and pick up a few basic items, and your home will be a floral paradise in no time.
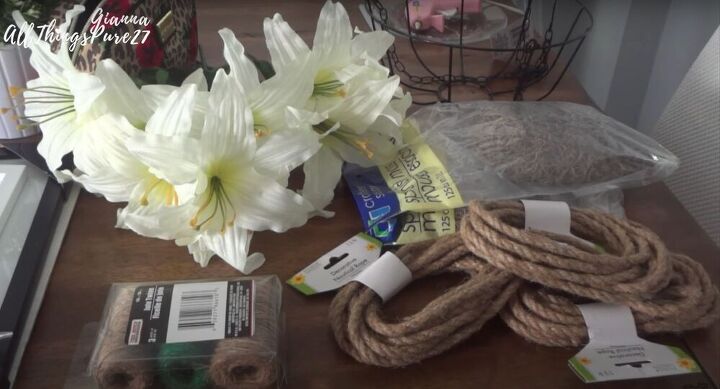
Tools and Materials
- Faux flowers
- Floral moss
- Rope
- Burlap ribbon
- Twine (if you want to hang it with this)
- Hanging planter
- Glue gun
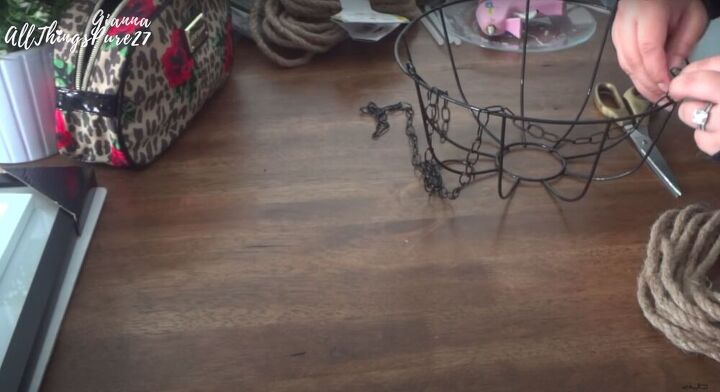
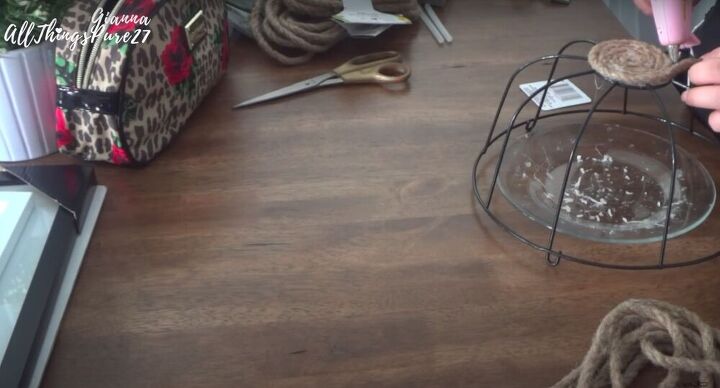
I started by removing the chain from the basket so that it wouldn’t get in the way while I was decorating it. If you want to use the chain to hang the planter once you’re done creating it, it’s easy to reattach it, or you could choose to use twine or another material to hang it.
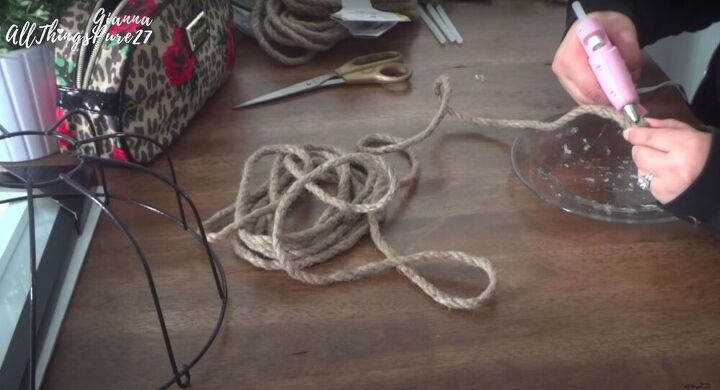
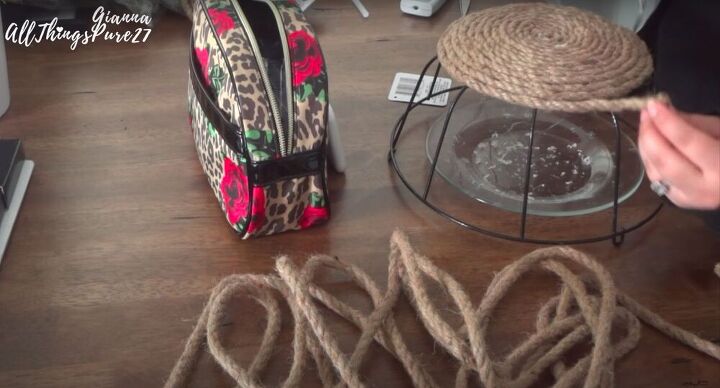
Next I began to wrap the rope around the basket. I started by creating a U shape at the end of the rope and gluing it together. Then I wrapped the rope around itself, gluing as I went with a hot glue gun. This part can get a bit time consuming, but the end product is totally worth it.
Once the circle I was creating with the rope was big enough to cover the bottom of the hanging basket I glued it on, and then continued wrapping the rope around the basket, making sure to glue it to the wire of the basket. If you want to you can continue to glue to rope onto itself as you go, though I found that it was sturdy enough just being glued to the wire of the hanger.
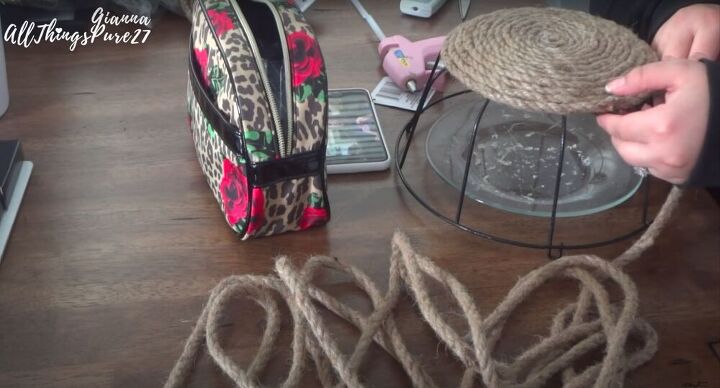
If you run out of rope in the middle, make sure to remove the shiny bit at the end of the old and new ropes, and then glue them together with a hot glue gun and hold tightly until they dry.
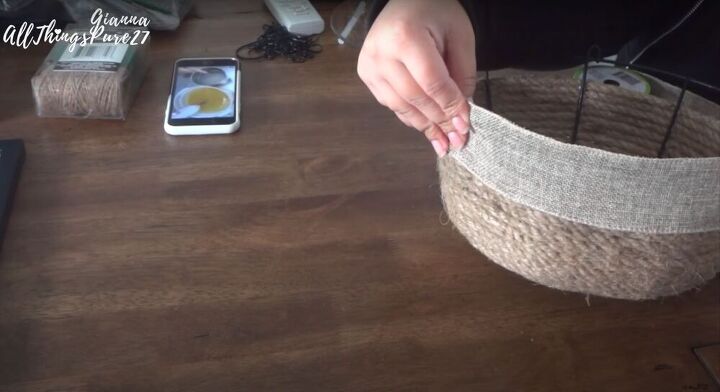
This part was actually a happy accident. I ran out of rope and couldn’t find more so I decided to use some burlap ribbon at the top of the basket. This made it look a bit like it was a liner hanging over the top of the basket, and I just loved how it looked. I attached the ribbon to the top of the basket using hot glue. I worked my way around the basket slowly, gluing as I went.

In the end I did three layers of the ribbon and it really looks like there is a burlap liner just casually hanging out of the basket.

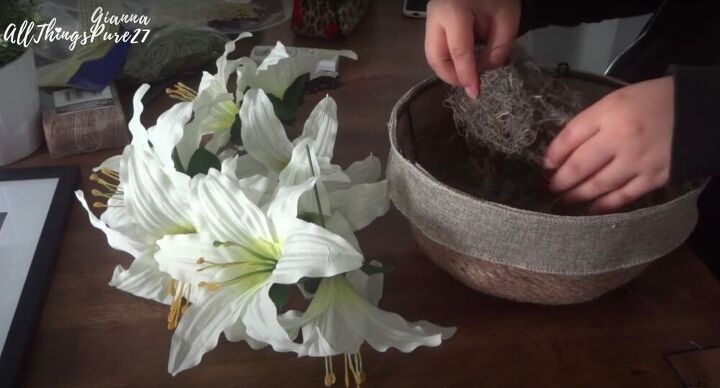
Next I filled the basket with floral moss. Make sure to fluff it up when you take it out of the bag so that it properly fills the basket. Then I proceeded to fill the basket with faux flowers. Before I inserted them in the basket I cut the stems off with wire cutters. I didn’t glue the flowers, but if you are worried about them moving around then go ahead and add some floral foam before you add the floral moss.
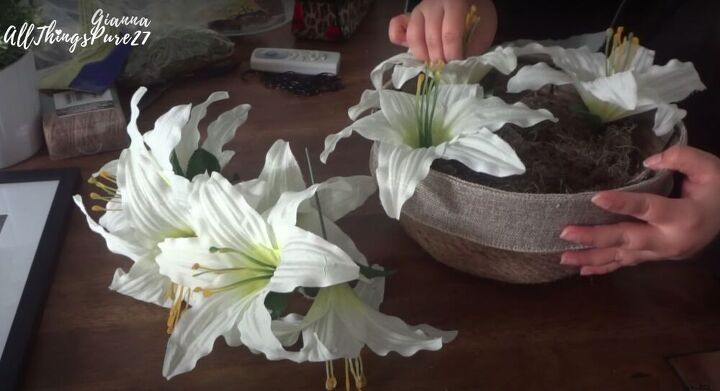
A tip on flower organization:
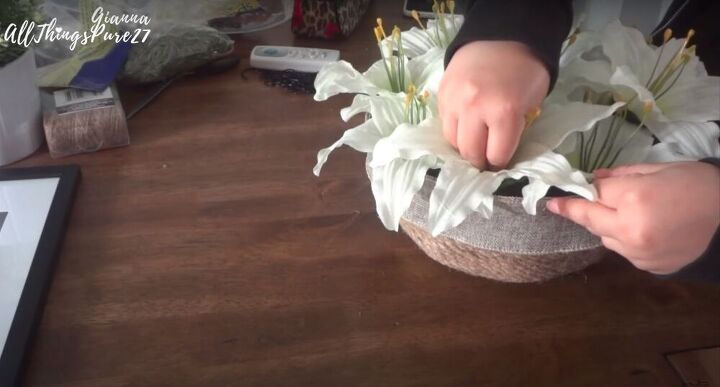
In order to create a full and balanced look, I always start by placing them north, south, east, and west, and then I fill in the four corners and the center. This gives a more cohesive look.
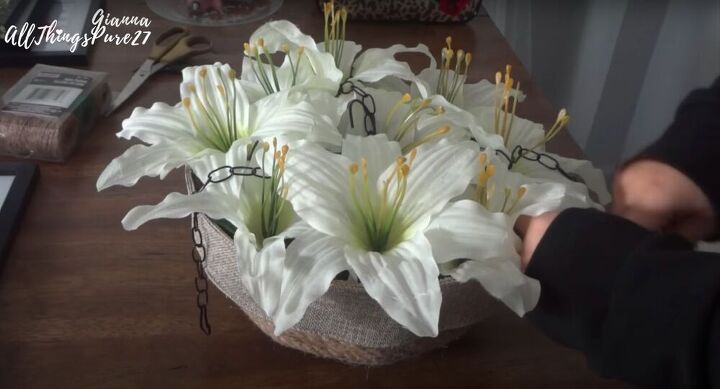
Now that my basket is complete, I reattached the chains so that I could hang it up. If you want to use something else to hang the basket then go ahead and attach it here.
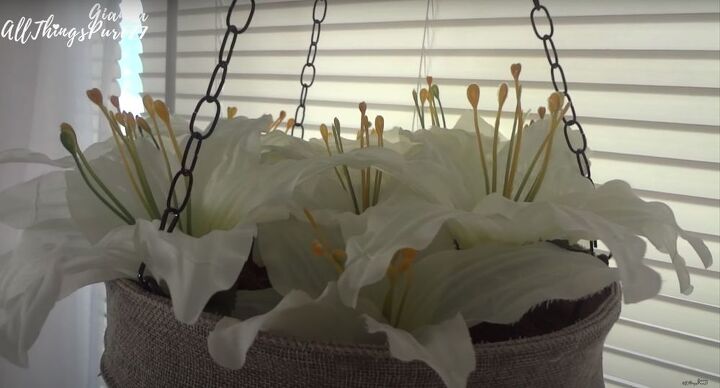
There you have it! A beautiful farmhouse hanging planter that nobody would ever guess was full of faux flowers. What kind of flowers would you fill your hanging planters with? Let me know in the comments below!


Comments
Join the conversation
-
Very pretty loved how you. made the basket
-
I really like what you have done ! So pretty and it looks very “refreshing” hanging there !


Frequently asked questions
Have a question about this project?