11 Creative Ways to Fill Clear Christmas Ornaments

In this roundup, we'll explore a range of ways to fill clear Christmas ornaments that are sure to add a special touch to your festive decorations.
From paint-filled ornaments to melted snowmen and crayon creations, we've got you covered with step-by-step instructions. Whether you're looking for a colorful and dynamic addition or a heartfelt tribute to a loved one, these fun projects offer something for everyone.
For even more ideas, see Hometalk's ultimate guide to DIY Christmas decor here.
Let's dive into the world of DIY Christmas ornaments:
Ways to fill clear Christmas ornaments
1. Paint-filled ornament
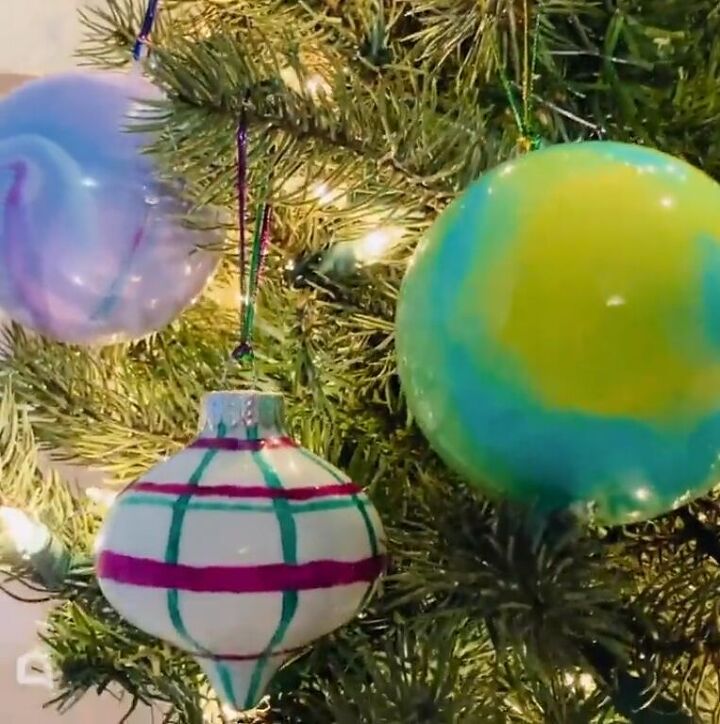
We start with the easiest way to fill a clear Christmas ornament - with paint! Julie McDowell - Design Artist shows us how to create a vibrant mixed paint ornament. Begin by pouring paint into both sides of the ornament, then assemble and shake them to mix the colors. You could also draw some designs in marker on the outside.
2. Melted snowman ornament
Next, Shawna Bailey shows us how to make a DIY melted snowman ornament for your Christmas tree. This kid-friendly project is easy and fun. Fill an empty ornament with rock salt to symbolize melted snow. Add sticks for arms, peppercorns for eyes and buttons, an orange felt triangle for the nose, and a fringed red felt strip for a scarf.
Shake the ornament to see the snowman's various poses. It's a charming addition to your holiday decor and a great activity for kids to enjoy.
3. Melted crayon ornaments
From melting snowmen to melting crayons, Mary Jane Duford of Home for the Harvest demonstrates how to make melted crayon Christmas ornaments by filling clear fillable round ornaments with crayon shavings. Grate old crayons with a kitchen grater, then mix and match color combos. Fill the ornaments with shavings and replace the cap.
Use a hair dryer to melt the shavings, allowing them to cool before handling. Add a ribbon for hanging and see the colorful, imaginative results. From primary colors to unicorn shades, these ornaments offer a cheerful addition to your holiday decor.
4. Angel feather ornaments
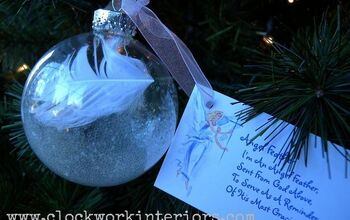
Next, Cynthia - Clockworkinteriors shares how to craft charming "angel feather" ornaments with your kids – an easy project that also makes great gifts. All you need are glass bulbs, white feathers, white or silver glitter, spray adhesive, pretty ribbon or metallic string, and a hole punch.
Spray adhesive, add glitter, shake out excess, and once dry, insert a feather for a simple yet beautiful result. You can even attach a printed verse with a hole-punched business card or printed paper. Add a touch of angelic elegance to your tree this Christmas with these lovely ornaments.
5. Ornament with a bell
Learn how to create beautiful DIY clear Christmas ornaments with a tinkling surprise inside – a festive bell – in this project by Bella Renovare by Crys'Dawna.
Mix and pour crafting resin into a bell mold, glue the two sides together, paint the bell silver, tie a clear thread for hanging, add faux snow, and close the ornament. Try different variations and fillings for these clear ornaments to make them uniquely yours.
6. Photo ornament
If you're feeling homesick or nostalgic this Christmas, Karri @ Blue Ribbon Kitchen shares how to create a sentimental ornament that captures the essence of "home for the holidays" by placing a photo of your childhood home inside.
Using a plastic craft ornament, imitation snow, and a copied image of your home, follow these steps to craft a cherished memory. Coat one side with glue and craft paint, sprinkle with glitter, add the photo after cutting and rolling it, smooth out the image, add imitation snow, and finish with a ribbon for a snowy keepsake that evokes memories of the past.
7. Memorial ornament
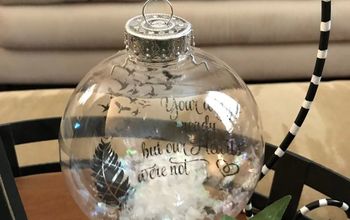
Annette also shares a great idea for creating sentimental Christmas ornaments by repurposing flowers from a funeral. She selected clear, seamless plastic bulbs and crafted each ornament with dried petals, leaves, and a memorial note for her father. The result is a beautiful ornament that holds memories and pays homage to a loved one.
The process involved carefully assembling the contents inside the bulb, including the note, petals, and leaves. The finished ornaments are a heartfelt and cost-effective way to remember someone special during the holidays.
8. Light-up decoupage ornament
Transform your winter nights with a touch of DIY magic by creating a cozy and enchanting lighted decoupage winter scene inside an ornament, as shown by Gail@Purple Hues and Me. Using reverse decoupage, you'll customize a glass bottle with a winter-themed napkin and dimensional snowflakes.
Simply wet, tear, and apply the napkin to the bottle, then seal with Mod Podge. Paint the back with white chalk paint for a less transparent look, add snowflake stencils with Snow-Tex for dimension, and smooth any rough edges. Insert cork twinkle lights, and voila – you have a charming night-light that captures the warmth of the season.
9. Glitter ornaments
This DIY project by Maura White offers a simple way to create glitter Christmas ornaments using clear plastic balls and glitter glue.
You'll randomly apply glitter glue to the inside of the ornaments, allowing it to dry between layers for a sparkling effect. Additionally, you can enhance the shine by adding cut-up shiny bows inside the ornament halves. Finish by adding bells or stars and hang them on your tree or use them as festive gift decorations.
It's a mess-free and kid-friendly craft that adds sparkle to your holiday décor.
10. Ornamentinis
Finally, Erin shares how to create festive ornamentini cocktails with clear plastic ornaments.
Simply fill them with your chosen cocktails, half green and half red for a vibrant display. Add frozen cranberries to the glass for a decorative touch and to keep the drinks cold. Arrange them on a tray with seasonal decor for a stunning centerpiece.
When ready to enjoy, open, pour, and savor your ornamentini creations!
11. Mini gumball machine ornaments
This project by Pam - P.S. I Love You Crafts provides instructions for making a "sweet" Christmas ornament that looks like a gumball machine. It's a fun and easy craft suitable for kids with some adult supervision.
The supplies needed include a clear Christmas ball, red paint, a small clay flower pot, sprinkles, Mod Podge, a silver paint pen, and a glue gun. The ornament is assembled by painting the flower pot, attaching the ball, adding sprinkles, and decorating it to resemble a gumball machine.
It can be hung on a Christmas tree or used as a decoration year-round.
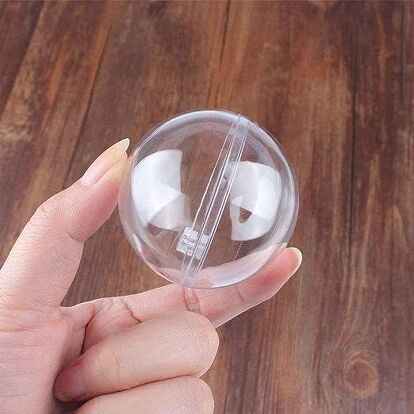
Clear Plastic Acrylic Fillable Ball Ornament Set (60mm 24pcs)
Hometalk may receive a small affiliate commission from purchases made via Amazon links in this article but at no cost to you.
Ways to fill clear Christmas ornaments
Share the spirit of the season with friends and family by gifting them these handmade treasures. As you hang these ornaments on your tree, each one will tell a story. How will you be filling your clear Christmas ornaments? Share your ideas in the comments below.














Frequently asked questions
Have a question about this project?