3 Great Ideas To Easily Upgrade Your Window
Make a little effort for a great change!
Step 1: Measure and cut your plank of wood
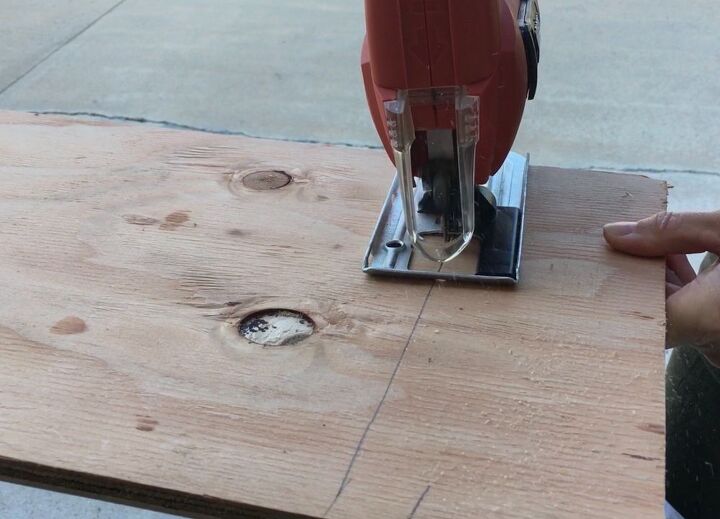
Measure your plank of wood to the length of your window, then cut off the ends. Get tutorial here
Step 2: Attach the side pieces with brackets
Use small metal “L” brackets. Get tutorial here
Step 3: Measure the polyester batting
Use two thicknesses of polyester batting, with extra 3” of batting on either side of the wood. Get tutorial here
Step 5: Staple fabric and batting to the wood
It's best to start in the middle and go around. Get tutorial here
Step 8: Finish back with material or felt
Staple the second material into place. Get tutorial here
Step 9: Screw large brackets into side pieces
Use large “L” brackets for this step. Get tutorial here
Step 1: Draw a glue pattern on curtains
Draw the pattern of your choice onto the curtains with a gel glue and allow to dry. Get tutorial here
Step 3: Soak the curtains in the bucket
Allow it to sit for 5-10 minutes stirring every once in a while. Get tutorial here
Step 4: Add soda ash to the mix
Allow the entire curtain to sit in the bath for 20 minutes making sure to stir it every 5-10 minutes. Get tutorial here
Step 5: Pull out and wring out the top part
This is so that the top remains the lightest shade. Get tutorial here
Step 6: Add more dye for an ombre effect
Place the lower portion of your curtain back in the bath so it soaks in the color and gets darker. Get tutorial here
Step 7: Wring the curtain after an hour soak
Squeeze out all excess water and dye from your fabric. Get tutorial here
Step 8: Rinse curtain until water is clear
Soak the fabric for 5-10 minutes in a soap bath. Then rinse it again and let it hang dry. Get tutorial here
Step 2: Cut out shapes from the contact paper
Decide on a shape or pattern you'd like to create for your frosted glass pieces, and cut them out. Get tutorial here
Step 3: Stick the pieces on the glass
Make sure you clean the window thoroughly before. Get tutorial here


