Front Porch Faux Tile

Last summer, I decided I wanted to give my grungy garage floor a makeover. I "faux tiled" it and it turned out great! This year I decided to do my front porch and add some extra design.
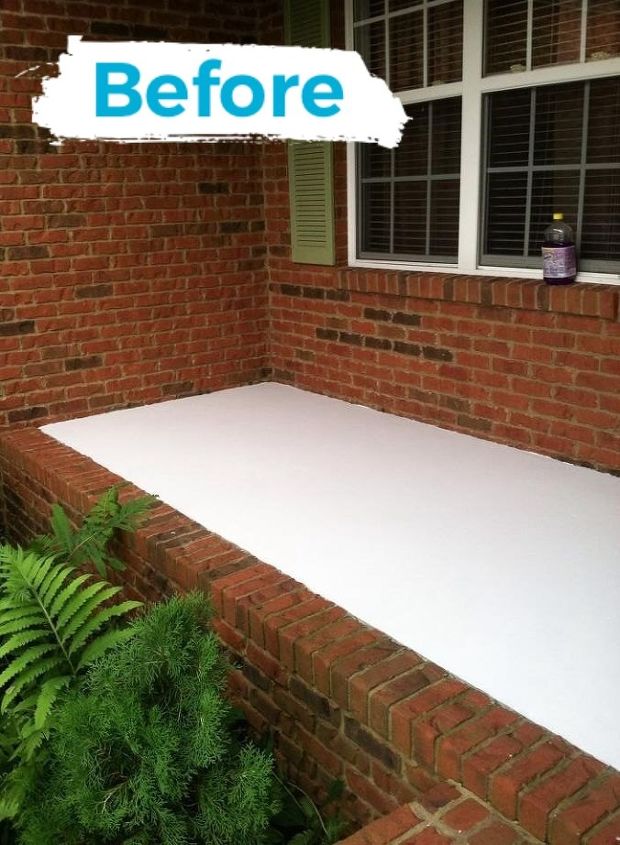
I started by thoroughly cleaning the concrete. Then I rolled on two coats of Kilz paint.
The next day, I rolled on two coats of the color I wanted for my grout. I had to finish the edges with a paint brush.
Once my paint had dried for a couple of days, I laid out my pattern. I had drawn out a sketch beforehand using the measurements of my porch to decide how big my tiles should be and how many "runs" I needed. I used basic 1/2 inch masking tape in my garage but it was too wide for my porch. I found some 1/4 inch tape at a auto parts store. They also had 1/8 inch but I chose the 1/4 inch. This isn't as hard as it looks. I overlapped lots of lines with tape and then cut around my design using a sharp razor blade.
Next comes the fun part! I mixed and matched paint colors I had on hand and blended them by dotting them using a plastic bag. Consistency is very important here.
This is my finished product. I applied two coats of concrete sealer.
This is the rest of the porch. I only did the diamond design in front of my door. I posted my project on Facebook and had several job offers within a few hours!
Enjoyed the project?
Comments
Join the conversation
-
 Uco116500183
on Nov 30, 2024
if the tape is pulled while the paint is wet it wont need to be cut with a razor.... just when you tape it bring the edges of the paint on the sidewall to make it easy to grab to pull it up....and its gotta be indoor outdoor paint... i suggest sample sizes.
-
-
 Mar109751860
on Feb 01, 2026
Can we see the garage floor please?
-












Frequently asked questions
Have a question about this project?
What kind of paint did you use?
You stated you cut around your design with a sharp razor blade. Is this done after you applied the "faux tile" paint to aid in removing tape when the project is dry?
It looks great! Do you work in Texas? I need my front and back porches done like yours!