


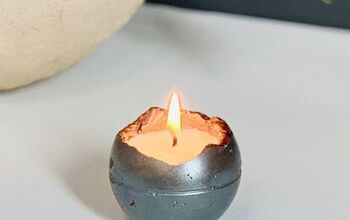
Emergency Candle DIY
You never know when the power might go out and you need a bit of light. This easy to make emergency candle uses cardboard, wax and a tuna can to create heat and light for 10 - 40 minutes.

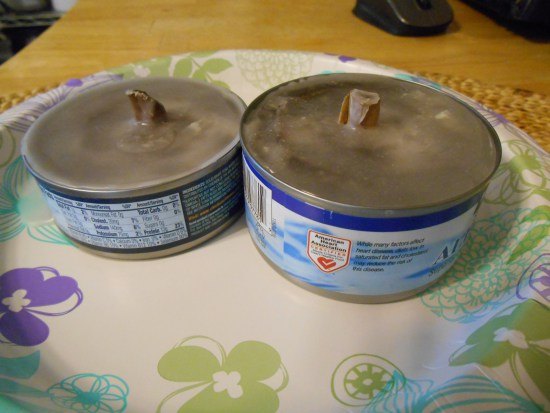
We made a couple of these in one go, they are pretty quick and easy, burn well for light and provide some heat!

Cut your thin cardboard into a strip wide enough to fit in your can. Then start rolling - either add a wick to the center or push out the very center roll of the cardboard.
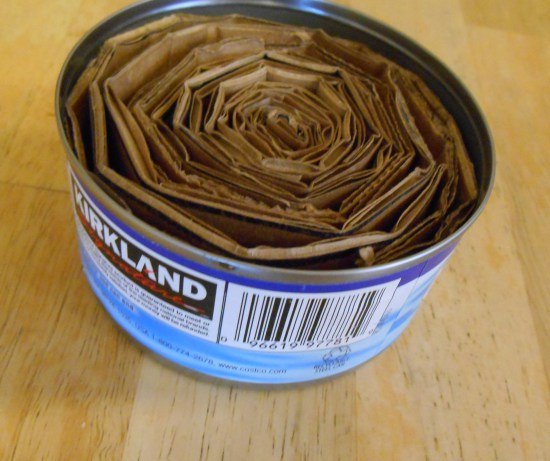
Slide your rolled cardboard into the can - you can see we filled ours pretty full! you do need some space but how much you add is up to you and your cardboard!

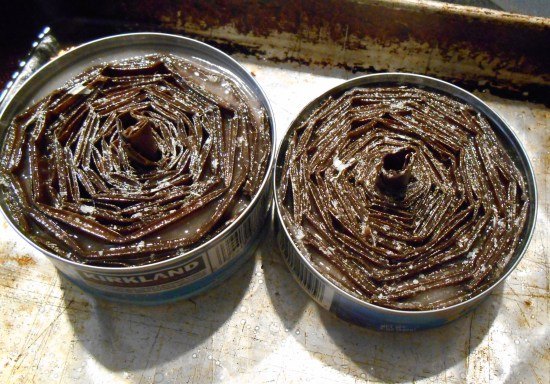
Carefully use a double boiler system to melt wax - we used candle scraps and a candle that was painted so you can see some of those paint scraps in the end result.
Pour the was slowly into your cardboard, letting it sink down, adding more as needed.
Once filled to your satisfaction let sit for a day or three to fully dry. Once dry your emergency candles are ready for use!

Want more details about this and other DIY projects? Check out my blog post!
Comments
Join the conversation
2 of 198 comments
-
Awesome! Thank you. My daughter was makinga shoe holder yesterday. So today there a ton of scrap cardboard leftover. I just need to eat some tuna. Lol
-
As a former girlscout, myself, I was amazed at the DIY training we got as kids. This is a wonderful idea, however, one should be aware of the deadly toxins in parafin wax and search for other, healthier ingredients.


Frequently asked questions
Have a question about this project?
Can you use them indoors?
What is the best way to extinguish the candle when you are through using it?