The Hardest Button to Button: A DIY Tufted Storage Ottoman.

During my recent music room makeover, I found myself looking for ways to incorporate some extra seating. My sights settled on an old cedar-lined storage chest, which was the right height for seating but didn't present the most inviting surface. I considered simply upholstering it, but one day while listening to The White Stripes' song "The Hardest Button to Button," I thought, why just wrap the lid in fabric when I could do something WAY more complicated? Wouldn't that be FUN?? And so, the plan for the diamond-tufted storage ottoman was born.
Then I cut a piece of 3" foam to the size of the lid. I used the sharpie to re-draw the same grid on the foam, then used a drill with a 1" paddle bit to drill out the holes for the buttons. I used a super-sharp paring knife to taper the edges of each hole, which made it easier to work with the stiff vinyl I was planning to use.
The whole thing got covered with 2 layers of batting. I used a scissors to cut out the extra batting over the button holes.
This next part was the part I screwed up. Repeatedly. You have to do some careful calculations to figure out how to re-draw your grid on your fabric, including allowances for where the fabric will get pulled down into the holes. I'm can't tell you how I did it, because I did it wrong so many times that I don't really remember how I finally arrived at the right numbers. (Although here's a blog post about the whole experience, if you'd like to try to draw your own conclusions: http://www.sarahsbigidea.com/2015/02/the-hardest-button-to-button/). Anyway, once you've got your math done correctly, draw your new grid on the back of your fabric.
And here's where I kinda went off the beaten path. Instead of actually threading buttons all the way through and messing around with all that crap, I used screws with washers (and those tiny pilot holes I drilled earlier) to pull the fabric down into the foam.
I started with the hole closest to the middle and worked my way out to the edges. Along the way, I used the flat handle of a butter knife to force the fabric into those perfect diamond-shaped folds.
After securing all the edges with staples, it was time to put the buttons back in "button tufting." I used fabric glue to attach the buttons to the tops of the screws.
After that, I just had to reattach the lid and hardware to the chest, and take a bunch of pretty pictures. I think even a trained upholsterer would have to look pretty close to discover that I short-cutted the whole button-tufting process.
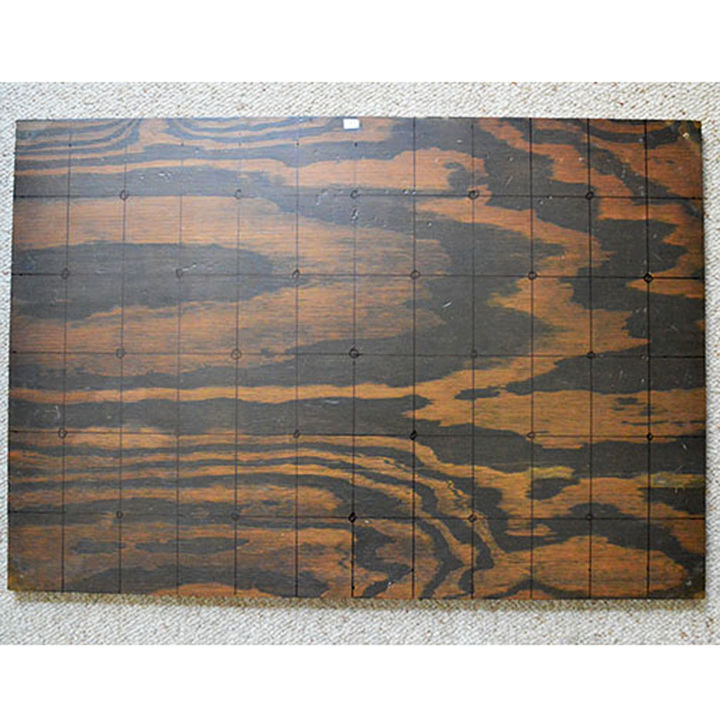
I started by removing the lid and all the hardware, then drew out my grid with a sharpie. I drilled tiny pilot holes at the intersections where the buttons would go.
For the whole story and a lot more details about this process, check out this blog post: http://www.sarahsbigidea.com/2015/02/the-hardest-button-to-button/. And let me know if you decide to try this one yourself!
Enjoyed the project?

Comments
Join the conversation
-
 Buffy Pitchford
on Jul 04, 2023
I’m considering it for sure!
-
-













Frequently asked questions
Have a question about this project?
How do you share
Couldn't you have just drawn circles around tiny lid and then just cut the whole thing with the sharp steak knife, saving 1 step-the drilling.
So pretty! You did such an awesome job! I kept thinking that bolting down the tufts seemed a bit more than necessary but when asking myself, "then what?" I've decided that your process was the best answer after all. Great job! I'm inspired!