How to Assemble and Store Wood With a Bora Wood Rack

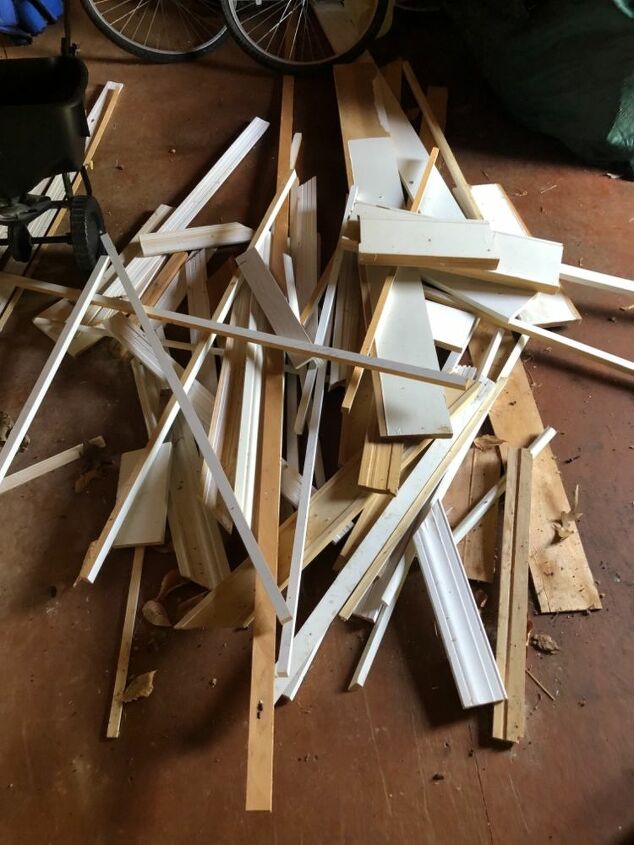
Two years ago, we had some contractors remodel our master bath. I found a lot of usable scrap wood in their trash pile. I pulled out all the pieces that I wanted to keep and threw it in a pile in our shed. And there it sat for two years... Now add to this, the scrap wood that I have left over from various projects and leftovers from building a chicken run which is, here, there and everywhere in my garage and you see my problem. I needed something that could take all of this and store it off the floor and out of our way. I am sure there are lots of plans to build storage but I’ve feeling a bit lazy so I wanted something ready made. The rack I have has six levels and can hold 100 lbs per level. I am hoping this is the answer to some of my wood problems.
Here is my pile of shame... Thankfully, this pile is not in my garage. I tell you every time I saw this mess, I felt bad and I knew I needed a plan to store it better.
Here is the Bora Wood Rack... Just fair warning... this isn’t light weight but you need some heft and strength, if you are going to store possibly 600 lbs on this rack. I installed it by myself so “You got this!”
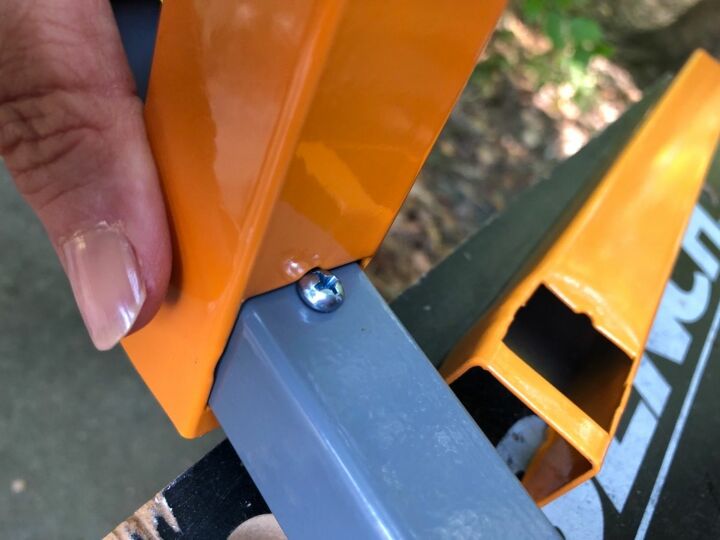
So the first thing you do, is locate a small hole on the bottom of the two upright supports. There are large holes and small holes. The large holes attach the supports to the wall. For now, leave all the large holes empty.
You add a screw to each of these holes. (Also, make sure you don’t add all the screws and then try to add all the cross supports because they won’t slide past the top screw.) Add a screw to the support, then slide on the cross support before you add the next small screw.
On the cross supports there are two square cutouts, one has a U shaped notch. You slide these down the upright support and the U shaped cut out rests on top of the screw. Then you move up to the next small hole for the screw and add the next screw.
So, you move along adding screws and sliding on supports until all six supports have been added. Now it goes on the wall.
I am using Spax 2 1/2 inch screws to affix the supports to the wall. I personally love that they include the special bit in each box because I can never find special bits for my drill. And I never have an issue with these screws going in, no predrilling pilot holes is ever necessary for me. They cost a bit more but they are so worth every penny IMHO.
This went up like a dream. There are 6 black spacers that are added to the back of each hole for attaching to the wall.
Here it is ready to be filled! You would not believe how happy I was to have this up. I plan on adding a ladder to the bottom.
So, storing wood/lumber is obvious... I give it 
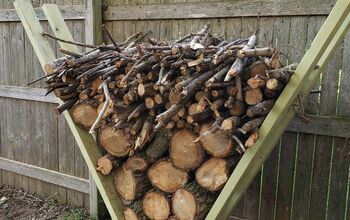
 . If you have small pieces, just create a shelf with one or two large boards and stack the small pieces on top. You could even do the same thing and stack paint cans and tools on top. I’m curious what other ways that you would use this rack. You could hang hoses or electrical cords off the bottom supports, also. I kid you not, I was scrolling through this tutorial and got to this picture and that 80’s tune, She’s a beauty, started playing in my head. I need help, you all... I’m not supposed to be all all heart eyes over tool racks and power tools but here I am.

But, really there are so many possibilities and the fact that it is easily adaptable to all your storage needs,  I love it.
I never take selfies but I was so happy with how it turned out, I was like, “This calls for a selfie with my new wood rack.”
Enjoyed the project?
Resources for this project:
Comments
Join the conversation
-
-
-
 Peggy L Burnette
on Nov 02, 2019
Thank you for sharing this. Will try to get it built soon. Thanks again
-










Frequently asked questions
Have a question about this project?