


How To DIY a Crate Shelf: Transform Your Space With Dollar Store Finds
Are you looking for ideas to spruce up your living space on a budget? Look no further! In this step-by-step guide, I'll show you how to create a stylish DIY crate shelf using affordable materials from the dollar store.
Get ready to add a touch of charm to your home with this simple and creative project.
This post was transcribed by a member of the Hometalk editorial team from the original HometalkTV episode.
Tools and Materials:
- Collapsible crates
- Glue gun
- Fabric
- Cardboard
- Scissors
Hometalk may receive a small affiliate commission from purchases made via Amazon links in this article but at no cost to you.
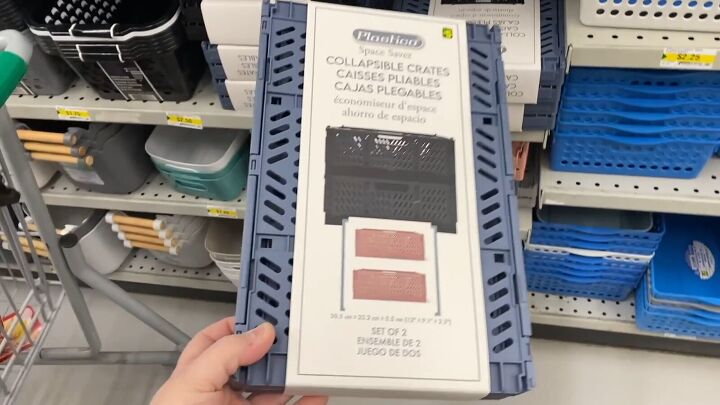
1. Assemble the Crates
Start by assembling your crates.
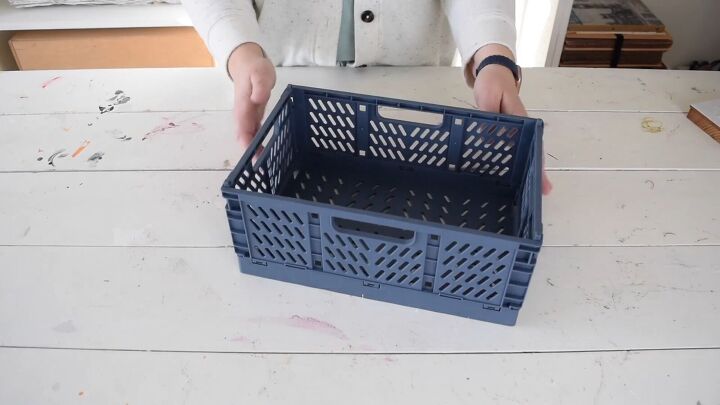
If you've purchased collapsible ones like mine, put them together to form the desired shape for your shelf.
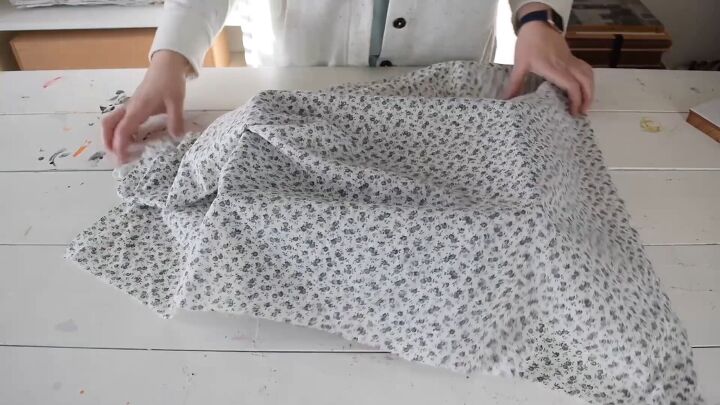
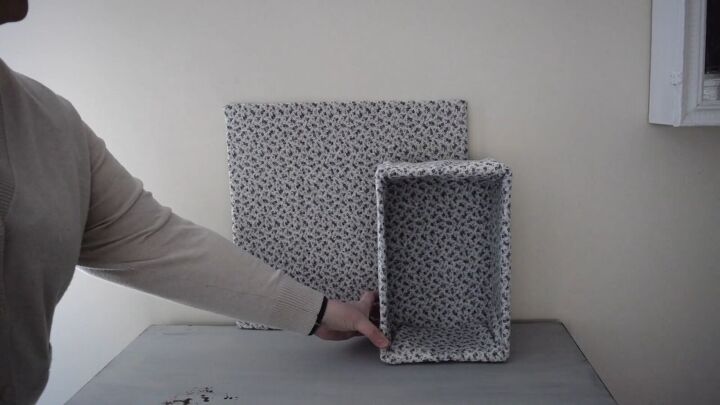
2. Cover the Crates with Fabric
Take your chosen fabric and drape it over the inside of the crates.
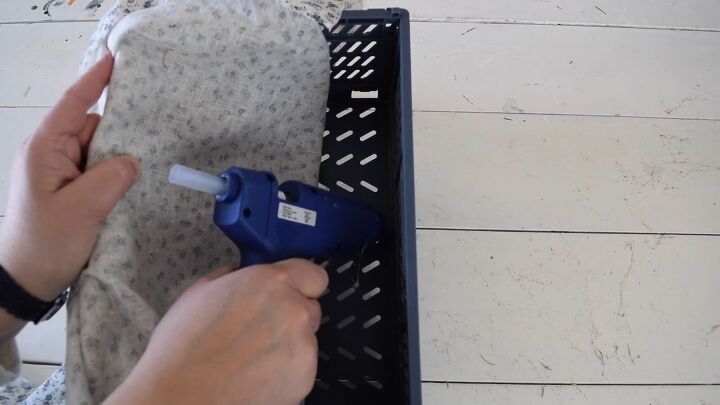
Begin by applying a small amount of hot glue to the inner center of the crate.
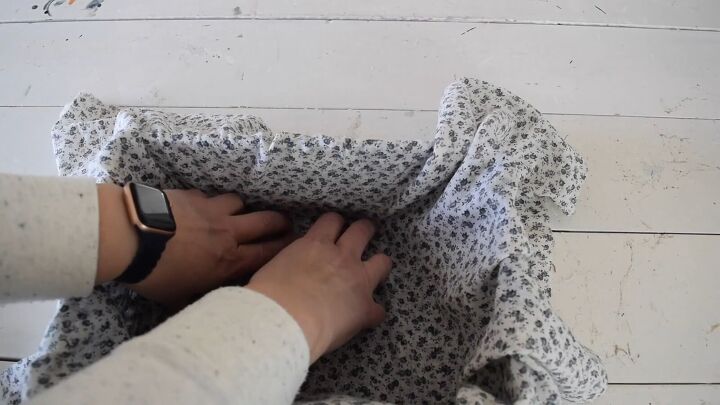
Press the center of the fabric into the glue to secure it.
Continue wrapping the fabric up the sides and down the outside of the crate, adding glue as needed to keep it secure.
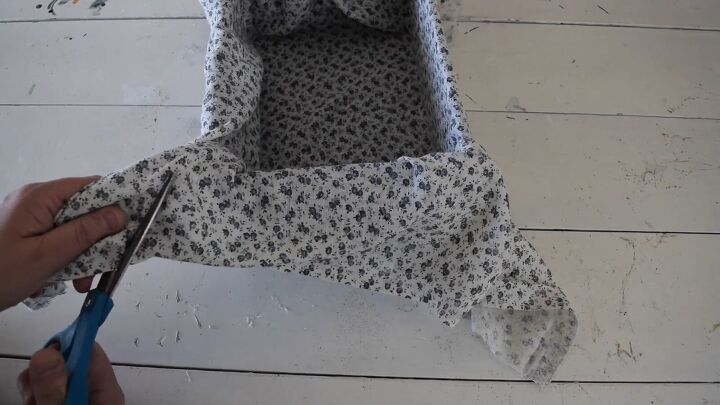
Cut off the excess fabric at each corner.
Secure the corners to the box.
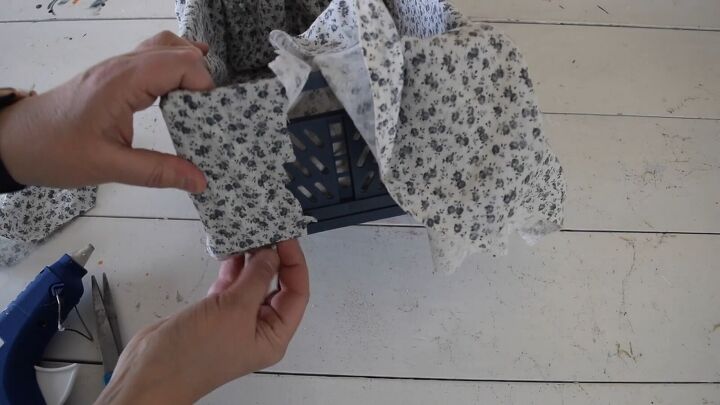
Hot glue is your best friend here. Use it to stick the fabric flat onto the container.
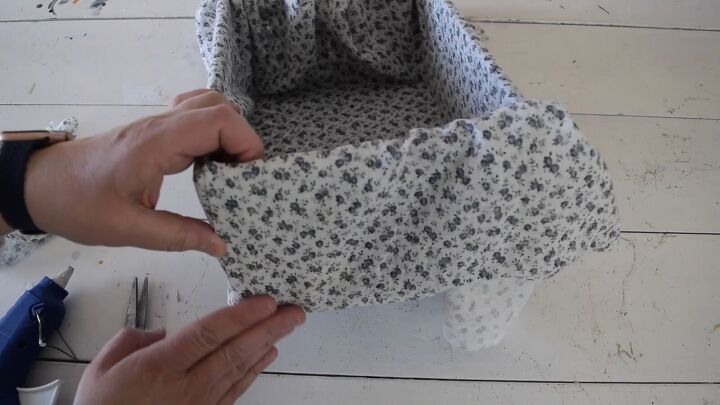
You want a smooth surface.
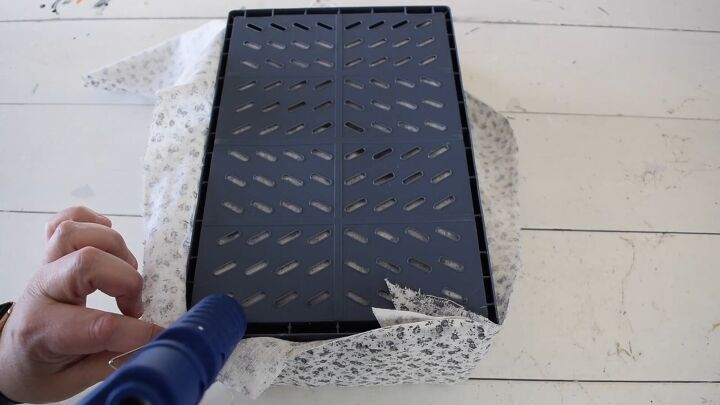
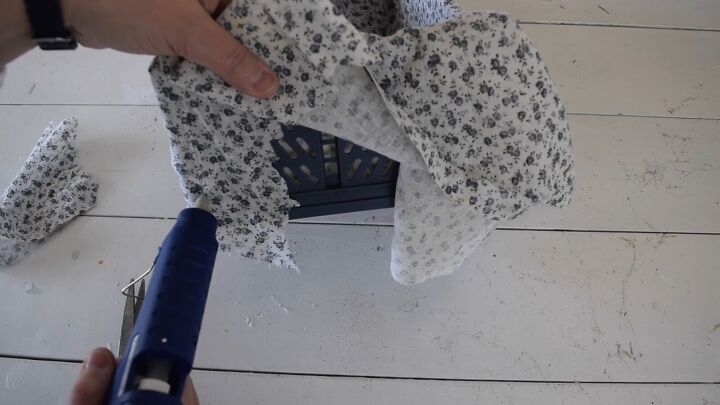
Flip the box over and hot glue the fabric to the bottom of the crate.
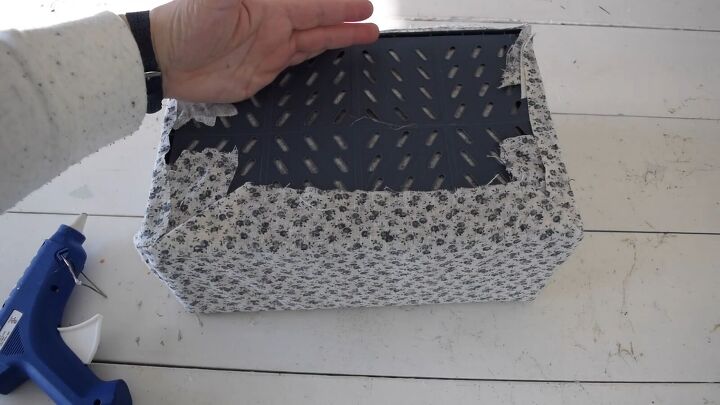
Make sure all the ends are securely stuck.
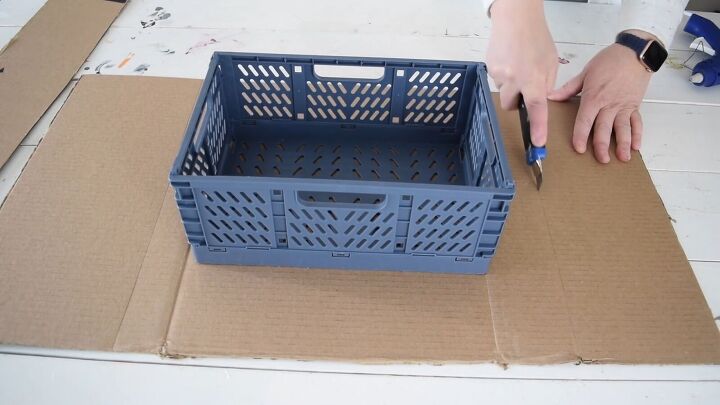
3. Cover the Cardboard Backing
Trim a piece of cardboard to be slightly taller and wider than one crate.

Cover it with the same fabric used for the crates.
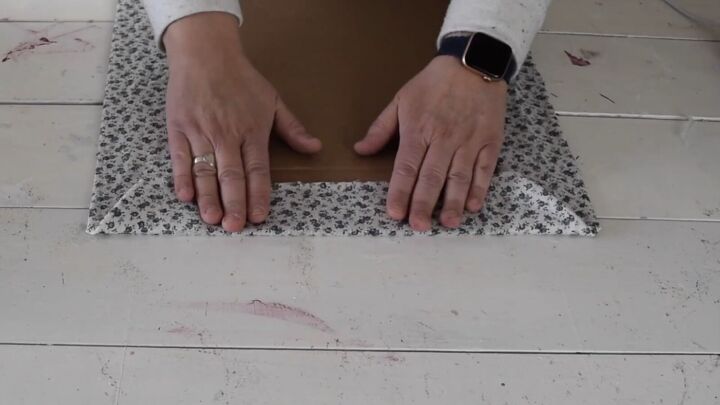
Apply hot glue along the edges and press the fabric onto the cardboard.
Make sure to pull the fabric taut for a smooth finish.
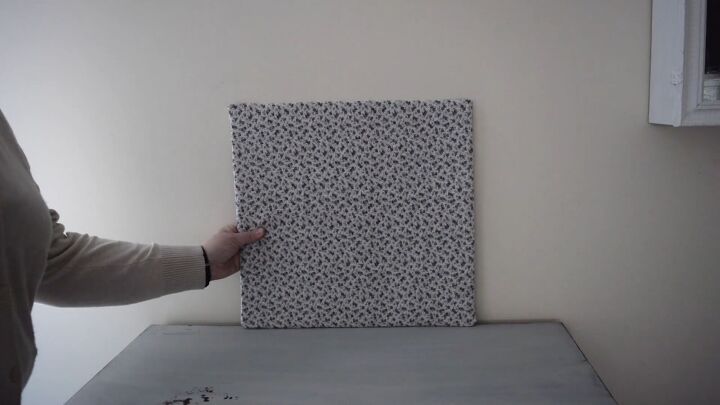
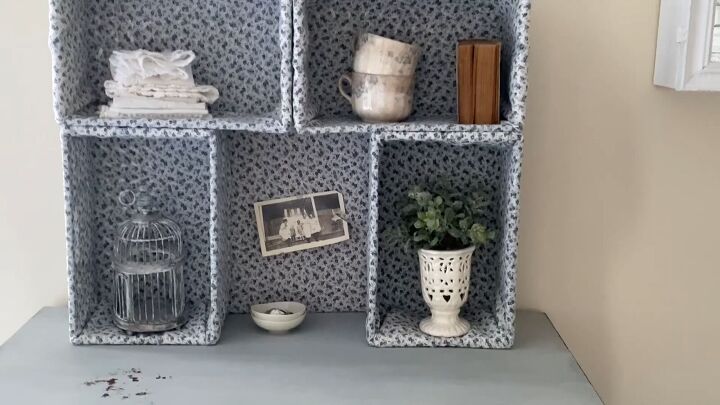
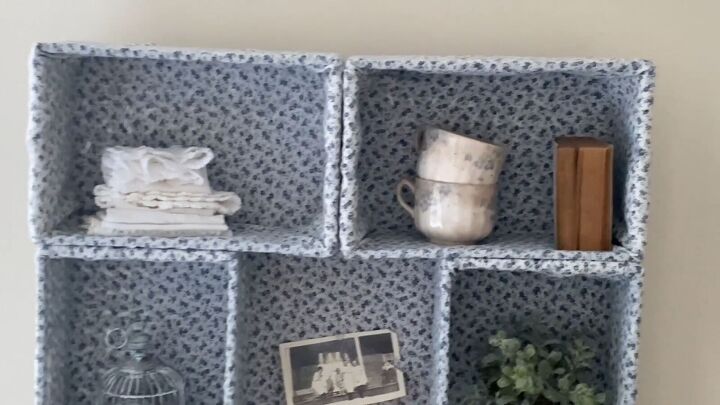
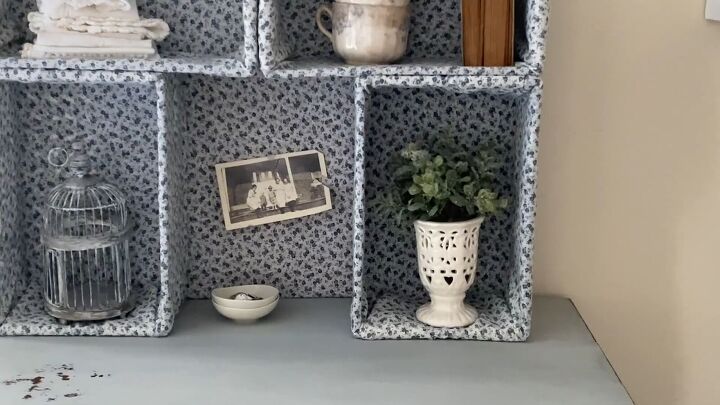
4. Assemble Your DIY Crate Shelf
Lean the fabric-covered cardboard against the wall to support your shelf.
Arrange the crates around the edges of the cardboard, ensuring they are stable and evenly spaced.
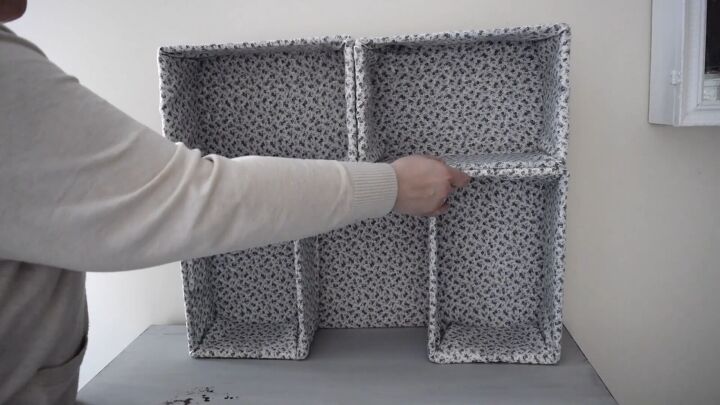
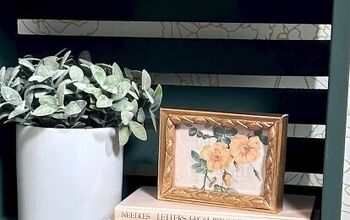
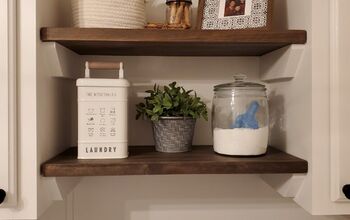
Once everything is in place, fill your shelves with your favorite knick-knacks!
More Crate Ideas
DIY Crate Shelf Tutorial
With just a few simple steps and affordable materials from the Dollar store, you can create these stunning DIY decor shelves to showcase your favorite treasures.
Give it a try and watch as your space is transformed with this budget-friendly solution.
Comment below and let me know how your DIY crate shelf turned out! I'd love to hear your thoughts and see photos of your creations.

Comments
Join the conversation
-
Yes, I am going to make one. You can make it like it was designed with any room. That is the most amazing, beautiful idea ever!!!! Thank you for replying! Kathy
-
Very cute, loved how you’ve displayed everything. Thanks for sharing x


Frequently asked questions
Have a question about this project?
They look very pretty, and nicely displayed... were these bought in Canada or the US ?
Thank you for your reply.
I bought 1 of those plastic crates b4. I don't understand Y Ur pix of top shelf baskets? Both pieces look slouched on the hanging over ends? At first I thought they were just covered boxes 🤷♀️ It would seem the plastic is strong enough to support. Especially covered & glued. Just the picture? 🤔 TYIA
Cute, but no thanks. How do you clean them if you spill something on them? And dusting is easier than vacuuming.