I Had A Vision For This Old Cable Spool

I can get these cable spools for free from our utility company and every time I saw one of them, I just knew I could make something cool out of it. I just wasn't sure what that would be. So I loaded a couple of them into my truck, stored them in the backyard and waited for the creative juices to start flowing! My husband and I are converting some spare space in our home to a wine room and we needed a small table to hold a glass of wine or two and maybe some appetizers. I didn't have a lot of space, so it had to be on the smaller side. Enter the cable spool.
I enlisted my brother to help me with some of the construction, since power tools and I can be a dangerous combination. First, we took some old boards we had laying around and using wood glue, glued them to the top of the spool.
It sat on my patio for about 3 months before I started working on it, so it became even more weathered and rustic looking - that's a good thing - right?!
More glue.
Then using a staple gun, we secured them even more. I wanted the base of the soon to be table to be smaller than the table top, so we cut off about 2 inches around the bottom. You can see the part we cut off laying on the ground.
Next we flipped the whole thing over and cut off the boards to match the size of the original top. I could have made this table without adding the boards on the top because the original top had its own kind of uniqueness, but for my vision, I wanted a uniform surface without all the holes.
Flipped it over again and sanded the edges.
We used a router to round the edges a bit.
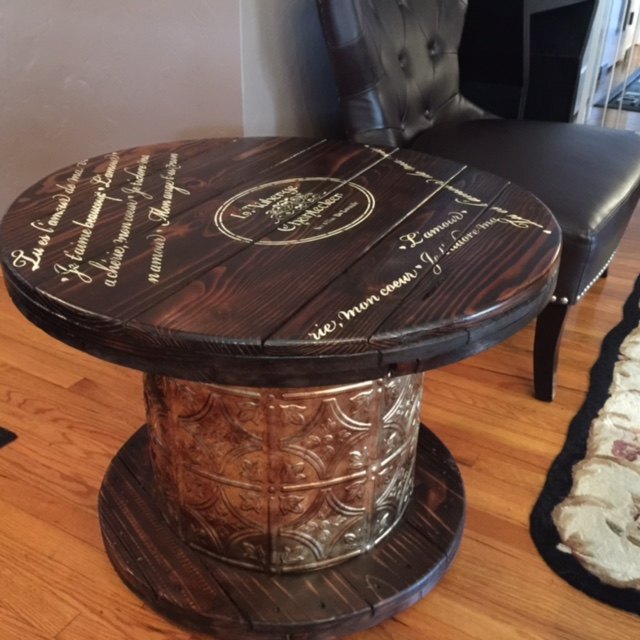
Then it was ready for some stain. I used Minwax stain in Red Mahogany.
Then I was stumped, I just couldn't decide what I wanted to use to cover the center part of the spool. I ended up using 3 sheets of ceiling tiles I purchased at Home Depot. I had to cut them down in height to fit and then I glued them in place and added a staple or two for extra holding power.
It was starting to come together.
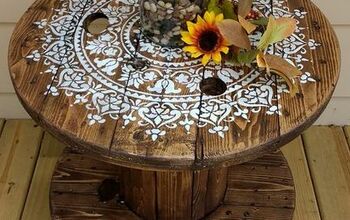
Then came the stencils. I found a stencil on line with some French love phrases, combined it with a couple other stencils I already had and using creme colored chalk paint placed them in random order on the top.
I added two coats of Minwax Polycrylic to protect the wood from spills and glass rings. This table is going in a wine room after all - :-)
The final reveal.
It fits perfectly between the two leather chairs and it's the right height for sitting back and relaxing with a glass of wine. We are really happy with the way it turned out. Now I have to figure out what to do with the other spool sitting in my back yard.
Enjoyed the project?
Resources for this project:
See all materialsComments
Join the conversation
-
 Eva Carter-Hoyt
on Apr 27, 2024
I love this so pretty
-
-











Frequently asked questions
Have a question about this project?
Very nice; perfect for those chairs. But I'm dying to know about the faux window? Or is it a closed in archway? Would love some info on that.
I noticed in one picture it looked like youattached the added boards in the opposite direction of the original ones but when you flipped it over to trim them to match it looks as though they're going in the same direction. Can you explain that to me? Also did you use 2x6's?
How did you cut the bottom so perfectly? Did you use a jigsaw or what tool?