DIY Ladder Shelf

by
Dylan Dauenhauer
(IC: vlogger)
6 Materials
$25-30
3 Hours
Medium
This ladder shelf is super trendy and gives a way for you to show off your decor pieces that are just spread throughout the whole house. The best part apart it, you don't have have to spend a fortune. The wood was about $20 total (excluding the nails, hinges, etc)!
{
"id": "3655595",
"alt": "",
"title": "",
"video_link": "https://www.youtube.com/embed/skHQmdHViS8",
"youtube_video_id": "skHQmdHViS8"
}
{
"width": 634,
"height": 357,
"showRelated": true
}
If you happen to be like me and would rather watch a video than read, you're most likely going to watch that video above! Or you know, you could read the step-by-step article down below if you need to look at it longer. You can decide :)
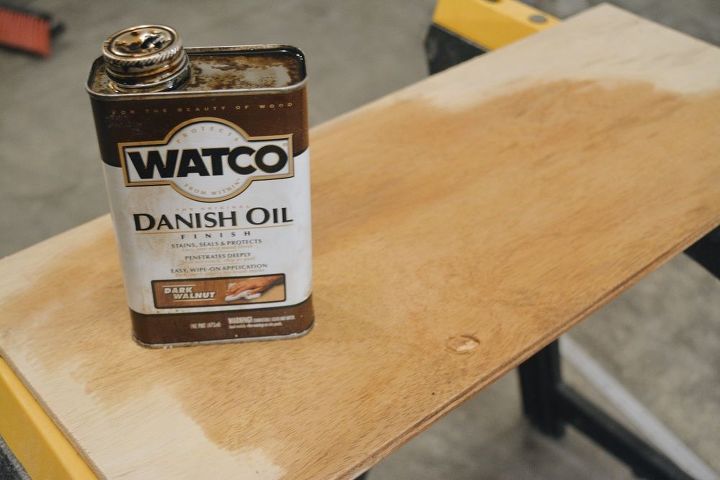
Start by sanding each wood piece with a sander. Remember to get the front and back along with the sides. Then it’s time to apply the stain onto the wood. I’m using Danish Oil in the Medium Walnut color. Also use this to cover the 2 by 4 sheets as well.
Now it's time to cut the 4 foot lengths to use as the ladder steps. I cut each piece to 1 foot and at the end you should have a total of 8. Also as you go along with this, remember to go over each end that was just cut with some stain.
Next you will need 2 of these 6-inch gate hinges. Take 2 of the 6 foot lengths, and align them into a long line. In the middle, where they touch, attach the hinge with screws. When you are done you can then fold the 2 pieces on top of each other. These are the legs of the ladder. Go ahead now and repeat this step to the last two pieces.
Next lay the two legs side by side to each other on the ground. Space them out evenly so that there is exactly 10.5 inches in-between them from the top to the bottom. Place the first step 16 inches up from the bottom. And measure the same height to on the other leg to ensure they are level and then screw them in. And then from there on I just kept screwing in each step about 11 inches in-between each other. And then I flipped it to the back and repeated this whole thing again.
Now its time to cut the shelves. Take one of the 2 by 4 sheet and and make a cut that is 4 feet by 10 inches. And then cut another that is 3 feet, 2 feet, and lastly, a foot. The width of of all of these with be 10 inches as well.
Then pull the ladder apart so that there is 3 feet in between each side and then push in the shelf from biggest to smallest. Measure each side of the shelf that is hanging off to ensure that it is centered. Then drill in two screws through the shelf into the step and finally do this on the other side as well. And now you’re finished!
Enjoyed the project?
Suggested materials:
- 4) 6 ft of 2 by 4s (Home Depot)
- 2) 4 ft of 2 by 4s (Home Depot)
- 2) 2 ft by 4ft plywood (Home Depot)
- Danish Oil - Medium Walnut (Home Depot)
- 2) 6 inch gate hinges (Home Depot)
- 2.5 inch screws (Home Depot)
Published December 21st, 2016 5:53 PM
Comments
Join the conversation
2 of 60 comments
-
-
 Bon4841119
on Oct 11, 2022
Great idea! I love this and have always wanted a shelf latter. Thanks for sharing!
-












Frequently asked questions
Have a question about this project?