Under-Cabinet Rope Lighting

If you're like me and find yourself wanting a little mood lighting in your kitchen (or any other room, really), here's a great way to do that with just a few supplies and steps.
Hometalk Recommends!
: Today is a gloomy, rainy day so my house is just as gloomy and dark with all the lights off, even though I have tons of windows. So days like today, as well as in the evenings, I realized I wanted some light to brighten up my kitchen.
SUPPLIES: -rope/tube lights (I purchased 18' but probably could have gotten away with 10'.) -Command rope lighting hooks *Note: The rope lighting came with clips and screws to install the lights, however, I found that they were impossible to work with. The screws were the size of the ones you find holding the ears of your sunglasses together. They were horrible so I decided to try out the Command brand clips--this way they were also easy to remove and wouldn't create permanent holes under my cabinets.
STEP 1: Apply Command clips To adhere the tape tabs to the Command clips, I first removed the blue paper as directed on the packaging.
Then, I stuck the tape tab to the back of the Command clip and applied pressure.
Next, I took the paper off of the other side of the tape tab...
and here is what the clip should look like once the tape tab is correctly applied.
STEP 2: Attach Command clips to cabinet Next, I took all of my Command clips and adhered them to the under side of my cabinets. Make sure that the wood is free of cobwebs and anything other debris--the surface should be clean.
Apply pressure when sticking the clips to the wood. I used all of my Command clips, spacing them out every 4" or so. *Note: if you're able to install the clips with the tiny screws that came with the rope lights, STEPS 1 and 2 would basically just be you installing the clips with a drill (or screw gun as Rob calls it). Please comment if you end up doing this project and use the provided screws and clips! I'd love to know how in the world you accomplished it! :)
STEP 3: Clip in lights Finally, just snap in the rope lights into the clips. I tried to keep mine as tight as I could so that there was no slack.
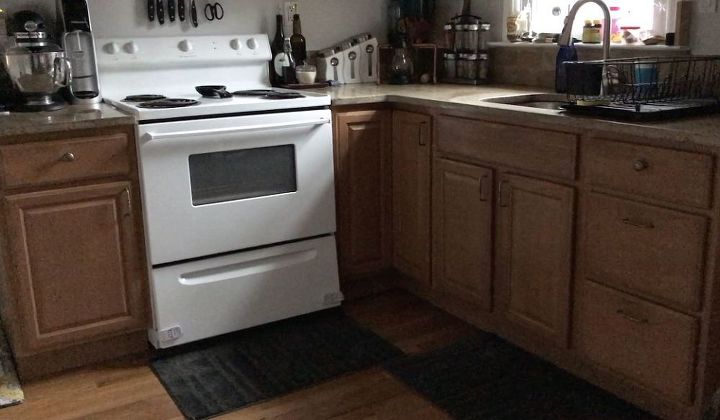
I'm not crazy about how the lights reflect against my hardwood floors (the parts where you can actually see the rope reflection) but I love how they brighten up my kitchen, especially at night. UPDATE: I've gotten so many people asking me how/where I plugged in the rope lighting so here is the answer: We have an outlet on the wall above the far right of our countertop so I hid the excess rope with our Keurig machine (it sits right in front of the outlet), then snaked the rope down the side of the cabinet, securing it against the side of the cabinet with Command hooks, and hid that part of the rope with our trash can since it sits in that spot. Also, a few of you asked about the lights going under the oven. I tried to make my rope lights as straight as possible and went under the oven without touching the drawer so the rope is essentially laying on the floor underneath the oven. I haven't had any issues with heat/melting.
Enjoyed the project?
Comments
Join the conversation
-
 954177265546
on Jul 22, 2025
I have them under my bed works nice as nightlight.
-
-
 Rae157281244
on Sep 10, 2025
I love watching these different DIY PROJECTS….. YET EVERY TIME I CLICK ON TUTORIAL WITHIN SECONDS IT STOPS & JUMPS TO NOTHING I WANT TO WATCH!!!!! PLEASE FIX THESE ANNOYING DIY TUTORIALS YOU SHOW !!!!!!!
-











Frequently asked questions
Have a question about this project?
I have ceramic tiles in my kitchen no color just plain how can I bring so life to my kitchen
I like the idea but I think my roomba may get tangled up. Has anyone tried this with your roomba running around?
I put them above the cabnet.