Ugly Stone Fireplace Makeover

by
Jennifer | CrazyDiyMom
(IC: blogger)
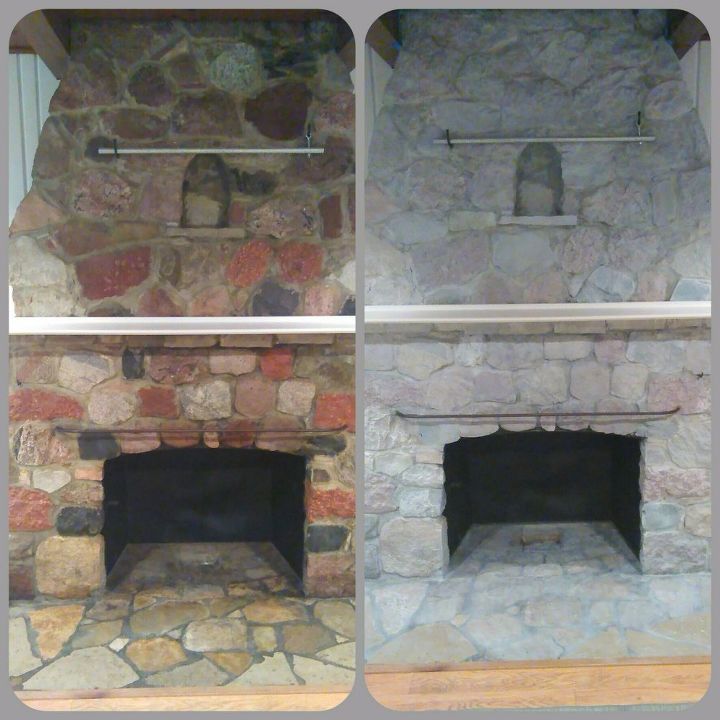
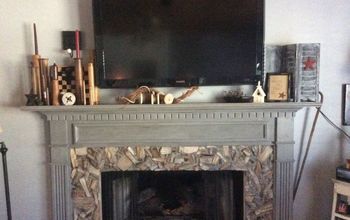
We bought a new house that has this massive stone fireplace. I loved the fireplace at first, but as we started painting and decorating our home to our taste I started to hate the fireplace more and more, but I had no idea what to do with it.
After seeing my sister-in-laws beautiful fireplace transformation from white washing her brick fireplace, I got up the nerve to try it myself. I am soooo glad I did it!
You can get the full DIY and see the rest of the living room here.
After seeing my sister-in-laws beautiful fireplace transformation from white washing her brick fireplace, I got up the nerve to try it myself. I am soooo glad I did it!
You can get the full DIY and see the rest of the living room here.
Isn't the difference amazing?! And from start to finish, this project took me about 2 hours.
First, wash down the stone or brick a bit to get all the dust and loose dirt off of it. I just used a damp towel to clean it off good.
Get you brush, paint mixture and an old towel. You will want to start at the top because your mixture is quite runny it is going to drip down. Start brushing on your paint. I worked in sections of about 3' X 3' wide so that I felt in control. Once you have your paint on, use an old towel to sort of rub it in a bit as well as wipe it off a bit. As the paint dries, it will dry a tad bit whiter, but you want it to get in all the cracks good, but not continue to drip down.
Work your way top to bottom, side to side until you get it all on. Then I would suggest letting it dry for an hour or two and then see how you like it. I had some stones that were very dark that they still sort of stuck out. On those stones, I brushed on a bit more paint.
Here's another picture of the full room. The fireplace blends in MUCH better now.
Enjoyed the project?

Want more details about this and other DIY projects? Check out my blog post!
Published November 18th, 2016 2:31 PM
Comments
Join the conversation
3 of 109 comments
-
What a great job you did. It looks really good. So does the rest of the room.
 Shelley Spellman
on Feb 22, 2017
-
Thank you Shelley!
 Jennifer | CrazyDiyMom
on Feb 22, 2017
-
-
-













Frequently asked questions
Have a question about this project?
Hi....we have a very similar home. Older, mountain home, old lava rock fireplace and the original 60's paneling, that I cannot remove. They nailed AND glued it on, hence I already ruined one wall taking off paneling. I'll paint the rock fireplace and ask... What kind of paint did you paint your walls with?