Clothes Hanger Side Table

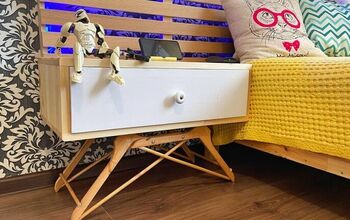
Transform 12 wooden clothes hangers and 2 cake boards into a mid-century side table.
Hometalk Recommends!
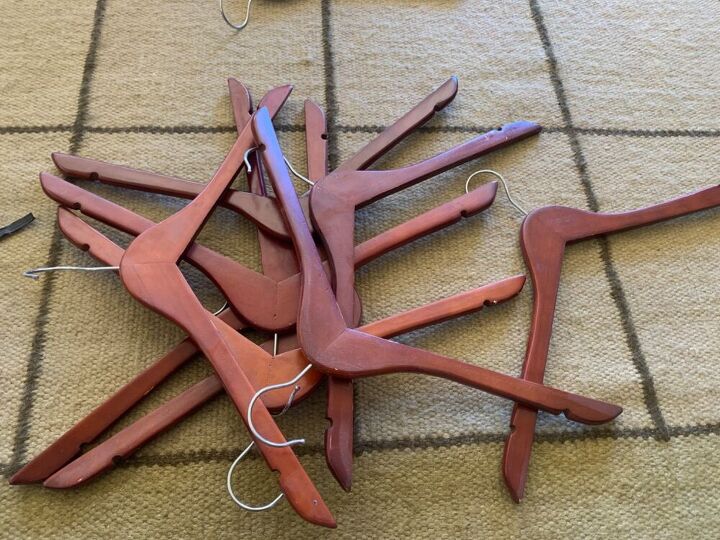
I am drowning in secondhand clothes-hangers! I bought about 20 from a rubbish re-cycler and then my husband bought about 50 more home. I had this idea of transforming (some) of them into a table. Just a warning: I am not a woodworker so I would love to hear your comments or suggestions if there are any design improvements to be made.
I removed the hooks, some just screwed off and others had to be forced off. In retrospect I would have left them on until later stage because they come in very handy when you need to paint the hangers without touching them. As it was, I had to insert them temporarily again later.
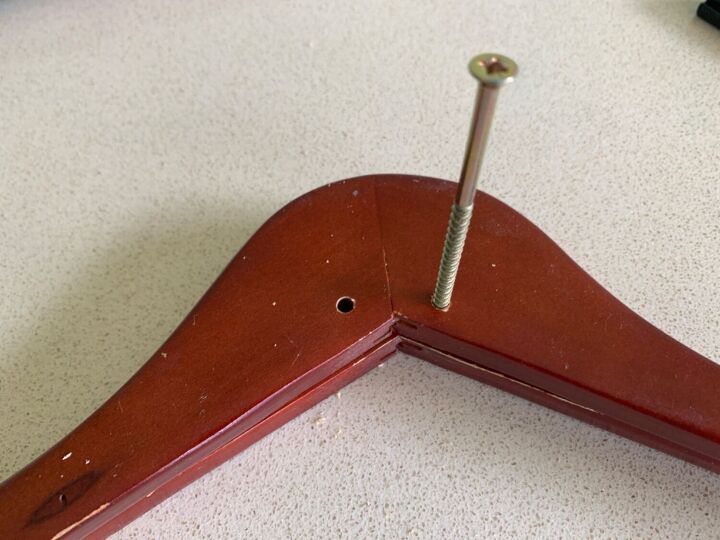
I marked and drilled 2 holes as shown above and then used this as a template for the holes of the other 11 hangers. The screw you see in the picture was just to scratch a mark on the bottom hanger to mark the position of the holes.
That is, 12 marks per cake plate, like numbers on a clock. The cake plates are small supawood ones, not polystyrene (tried that and failed!) and not cardboard. The easiest way to do this is to measure the circumference of the cake plate (with a soft sewing tape-measure or with a child of school-going age that can still remember the formula involving the diameter of a circle... ) and divide the circumference by 12. Then make one mark anywhere on the rim of the circle with pencil; then measure the distance of your division sum answer from that mark with a measuring tape and make a second mark. Repeat, starting from the second mark until you are back at the starting point. If the last distance back to the very first mark is correct, you have a win. I mention all this because initially I tried to eyeball it and divide it like I would cut a pie...it was a mess.
Working in one direction from the original marks, trace the width of the hanger at all 12 marks. I am assuming your hangers don't taper towards the ends. Also draw a circle about a pinky finger's width smaller than the circle circumference, as pictured above. If you struggle to do this, just measure from the rim inwards at each of the marks and make a horizontal mark. In the photo below in the next step I used this method.
I used a rotary tool to sand gaps the width of the hanger. I tested each gap to make sure that the hanger fitted. It should fit quite snugly but ultimately mine weren't very precise because the shape of the gap doesn't quite correspond to the shape of the hanger. I think the biggest mistake would be to make the gaps much too wide so that the surfaces were too wide apart to stick together.
I spray-painted the completed disks on both sides with some Rustoleum Chalked and sealed them with a matching spray.
I put back the hooks and painted the hangers with chalk paint and sealed them as well.
As you can see the hooks were very handy, both for holding onto whilst painting as well as hanging to dry. I worked in batches and took off the hooks once done.
Threading the 2 strands of beads and twine should be simple if you use the correct thickness of twine and your beads are good quality. Maddeningly, I struggled because my twine was of uneven thickness, had lots of loose strands and the holes in my beads were untidy. I wrapped a piece of tape around the end of the twine to make it easier to push through the holes.
I started with a bead then alternated between hangers and beads. I made loose knots on both ends but kept some twine to spare on both sides. This meant that I could still fiddle around and adjust things.
As you can see above, I completed two parallel strands.
Tie the hangers together in a tight circle. It helps to have an extra pair of hands with this. Make sure that the hangers are evenly but tightly spaced but not crowded out like on the bottom one in the photo above. They need to be as close as possible.
Still don’t cut the extra twine quite yet, just in case something happens and you need to adjust the taughtness.
Hangers usually have two gaps on either side to prevent spaghetti strap items from sliding off. I used this gap on each of the hangers to fit over the corresponding disk gap so that the disk was laying horizontally and snugly. Once again, it helps to have two sets of hands because the hangers still move around quite a bit at this stage.
Then, using a glue gun, we placed a large blob of glue into the gap on the hanger and slid it into place on the disk. You need to use a fair amount of glue so that you fill the gap between the two parts but you also have the problem of the glue squelching out, as can be seen below. Fix this however you think best, either whilst the glue is still wet or when it has set. We worked slowly and waited for each join to set before moving on to the next.
Here's the glue squelching out. There are some imperfections on the paint and holes in the wood that I just left.
This is what the disk and hangers should look like. Once we were done with the top one we flipped the table over and did the same with the other disk but instead of having the 'spaghetti strap' niche to work with, we used whatever place on the hangers the disk fitted to.
Add a top
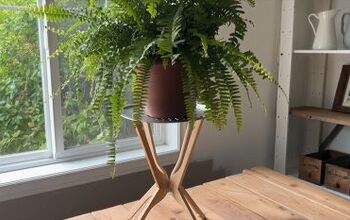
Although the table would work nicely as a plant stand if you put the pot plant directly on the disk, I had a nice salvaged indigenous yellowwood tray to increase the surface of the table. I sanded it to get rid of the greasy spots and oiled it with light Burmese teak oil. It has little rubber stops on the reverse which works nicely to prevent it from sliding. You could use a metal tray and add some hot glue blobs to get the same effect.
More Hanger Craft Ideas!
Once the tray was placed on top, the table was ready to be used. It is the perfect height for a side table. Now there are only about 58 hangers to go...
Enjoyed the project?
Resources for this project:
See all materialsComments
Join the conversation
-
 Emily Harris
on Nov 13, 2024
I love DIY projects like this because they’re affordable and make such unique conversation pieces. When I was working on a similar project, I struggled to find the right materials at first. If you run into any issues finding what you need, don’t hesitate to contact stores like Ledge Lounger customer service for advice, they’ve helped me track down items before.
-
-
 Cara Larey
on Aug 27, 2025
Looks good but I think the high priced paint is worth here.
-











Frequently asked questions
Have a question about this project?
clever Idea, and well done. How tall it the table, or better use perhaps a plant stand maybe. Very ingenuitive.
That is a very cool project. Awesome table!! Great job!!
Super clever, kudos!