Castle Bookshelf

I wanted to put a bookshelf in my daughter’s room and I figured why not get creative and make something fun with multiple purposes!
After some brainstorming, I decided on a large bookshelf/jewellery hanger in the shape of a castle.
Hometalk Recommends!
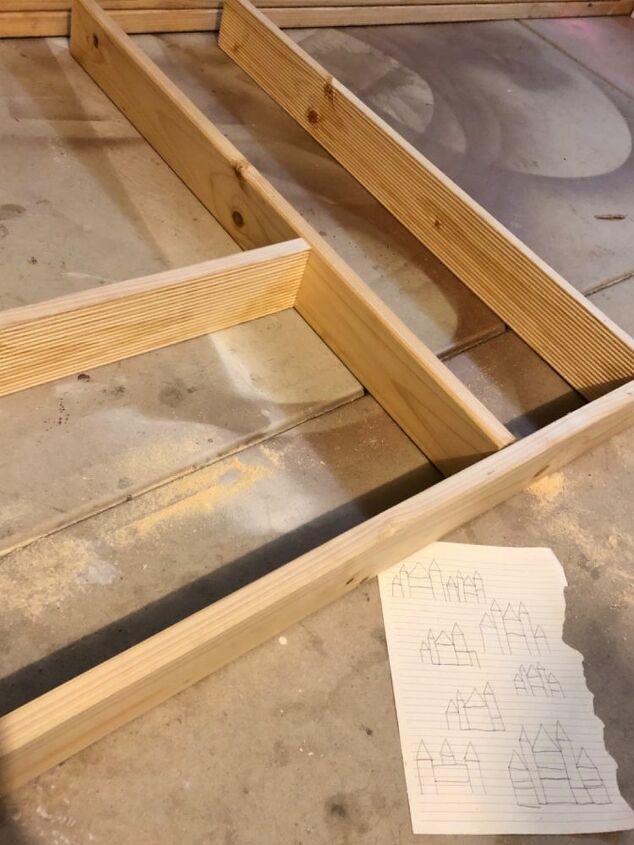
I had some pine boards laying around which were the perfect size for my project.I drew up a few rough sketches of what I had in mind, and then just started experimenting, cutting sections of the boards at a time, laying them out & moving them around until I was happy with the layout.
Once all the pieces were cut to square, I screwed the structure together and then sanded all the rough edges and corners.
Now it was ready to paint! I chose to use Rust-oleum chalk paint in all hope that I could then avoid priming (big mistake - read on to see why).
Once the paint (two coats) had dried, I positioned it against the wall and attached it using some small wall brackets to keep it in place.I then added some little hooks for jewellery.Next I wrote the words ‘Madison’s Castle’ on the front centre using a metallic gold marker and some glitter paint.
I thought I was now finished, the bookshelf looked great and my daughter LOVED it, but unfortunately a couple days later I noticed some ‘marks’ appearing in some sections of the paint. I soon discovered that is was wood stains bleeding through the paint.
To fix this, I had to sand back the paint, apply a stain blocking primer and then repaint. (I won’t be skipping that step ever again. 😅)Finally it was finished, a castle shaped bookshelf with multiple purposes. 👌🏻
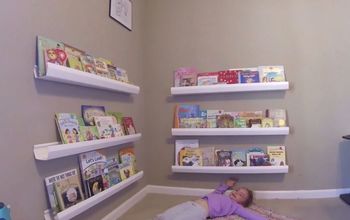
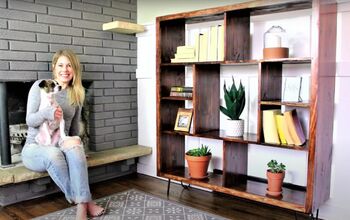
Check out my other projects for the bookshelf I made for my son 💙









Frequently asked questions
Have a question about this project?
Is there a link for the cut list and how to assemble? Great idea!
What are the measurements for this project?