Refurbish Wood Furniture Without Sanding or Stripping

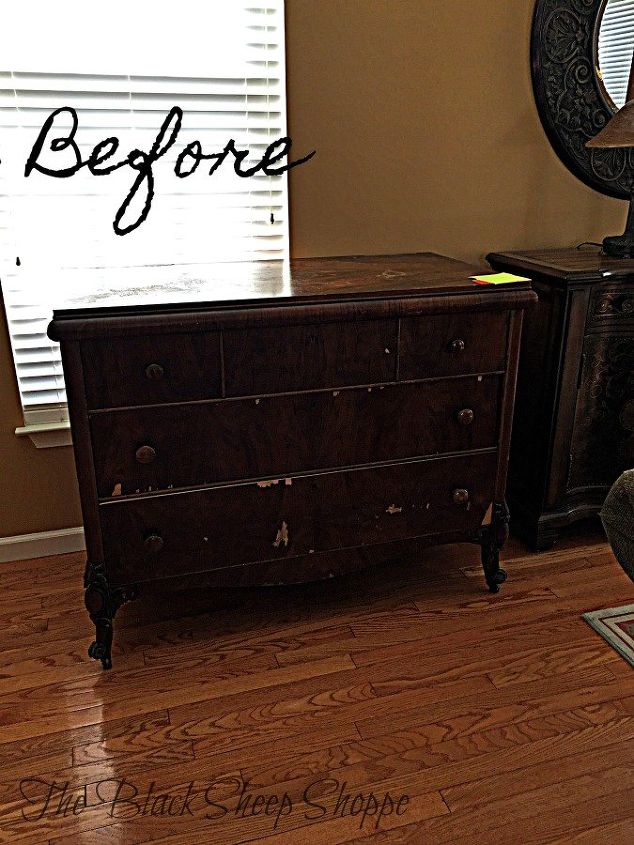
Today I am sharing an easy method to refurbish wood furniture without sanding or stripping the old finish. The dresser I am working on is from the early 1900's and is in very rough shape.
I eventually plan to paint this piece, but while I was working on repairs I thought it would be a good project to demonstrate how to refurbish the wood top in case you prefer a stained wood finish instead of paint. If you have a piece that is valuable then it is best to have it professionally restored, so do some research first. But a professional restoration can be expensive, so if you need an easy fix then this method might work for you.
As you can see in the photo above the finish on the top of the dresser is in poor condition. First I cleaned the top with soap and water to make sure it was free of dirt and oils.
For this project and for best results I recommend using a gel stain. Find a color that best matches the piece you are working on. For my dresser I used General Finishes Antique Walnut Gel Stain (affiliate). Before you jump in you might want to test the stain in an inconspicuous area first. The stain is easy to work with, but to be safe I put a drop cloth underneath the dresser to protect my floor.
I used a disposable foam brush to apply the gel stain and spread it over the entire top of the dresser.
After I spread the stain over the entire surface, I wiped away the excess stain with a blue shop towel (folded in quarters). The shop towels are disposable, absorbent, and basically lint free so they work well for this project. I wear disposable gloves for this part of the project. The gel stain isn't as messy as other stains, but it's best to protect your hands.
Sweep the shop towel across the piece following the pattern of the wood grain. Refold the towel when it becomes saturated. I keep a roll of towels nearby in case I need more.
Wipe on, wipe off. It's that easy! Here it is above after one coat.
I can still detect hints of a couple of water rings, although I don't think it's too noticeable. A second application of stain would make it even less noticeable. But I plan to paint this piece, so I will leave it with one coat.
If you don't plan to paint then once you are satisfied with the finish it can be sealed to assure a lasting finish. I typically use GF High Performance Top Coat in either the flat or satin finish. Let the stain dry thoroughly (at least 24 hours) before applying the sealant coat. I usually apply 2-3 top coats with a foam brush (let dry between coats). For the smoothest finish you can lightly sand in between coats.
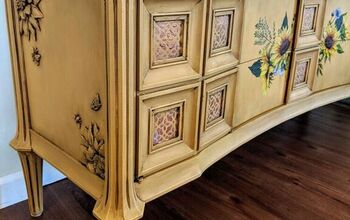
The restored finish looks pretty darn good, so you might be wondering why I plan to paint the dresser. First, because I am a furniture painter, but secondly because there is significant damage to the wood veneer on the front of the dresser. But don't worry it looks beautiful with its painted finish which if you're interested you can see HERE.
Enjoyed the project?
Resources for this project:
See all materials
Comments
Join the conversation
-
 Sylvia Packer McClain
on Dec 03, 2020
You really know your stuff. I went to the link with the dresser you did. My breath caught and I ooed and aahed over it. I could see a fantasy tale being created in that room. Calm, serene, other worldly. I like the way the wood filler finish on the bottom drawer. You may have had props to hide yourself but they were the perfect props. I want to pin your dresser. Gotta go back and see if I can. My hat is off to people like you who see a creative vision and make it real.
-
-
 Daw80216716
on May 18, 2023
Great job! I like it a lot! I was thinking about doing it too but then I decided to save my time and just order a new table. I found it really nice at this store https://aarons.pissedconsumer.com/review.html. But now if I need to replace something, I'd use your methods.
-










Frequently asked questions
Have a question about this project?
I have an antique walnut dining room table and matching buffet that is not only in dire need of refinishing, but also intricately carved. Your idea seems perfect for me, but am wondering how to apply and wipe the gel stain to the carved areas. A foam brush? Q-tips? Thanks for any help you can offer. (BTW, your piece is beautiful!)
What would happen if I used a gel stain that's a completely different color than the original piece?
The dresser came out beautiful. So, you didn’t need to sand down the top to bare wood? I checked out the dresser on your blog but I’m confused. Why does the top not look the same dark walnut as in these pictures on this post?