


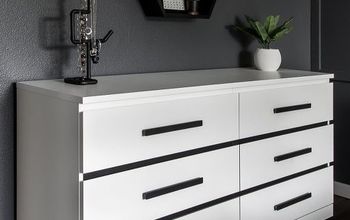
Ikea Rast Dresser Hack
Turn two cheap Ikea Rast chest of drawers into a beautiful custom dresser!
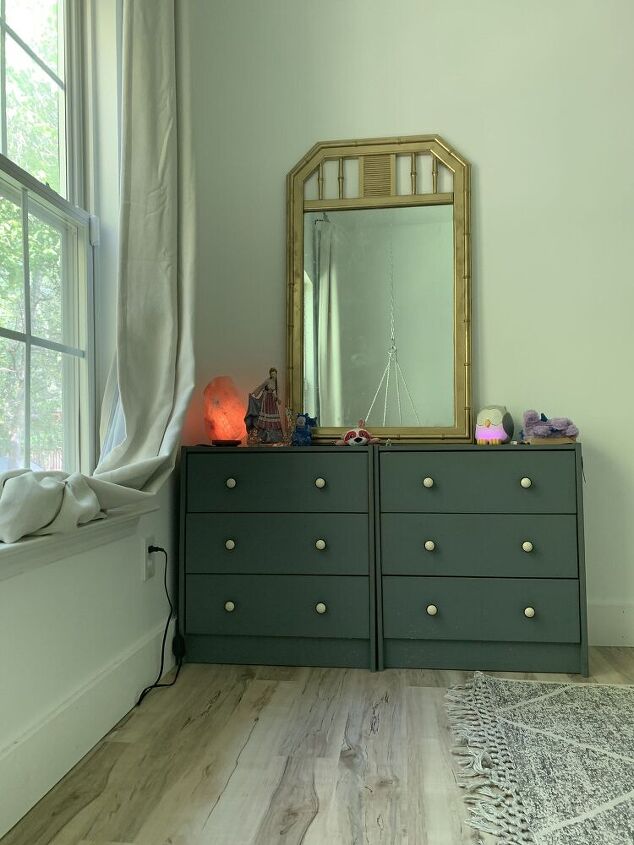
We originally painted these Ikea Rasts and swapped out the knobs. They were used as nightstands in our main bedroom, then moved to the girls' bedrooms as nightstands, and eventually were pushed together to create a faux dresser for our five year old.
I recently completed a room makeover for her as part of the Spring One Room Challenge, and in the process I transformed these sad chest of drawers into a beautiful, vintage inspired dresser - perfectly sized for our little girl.
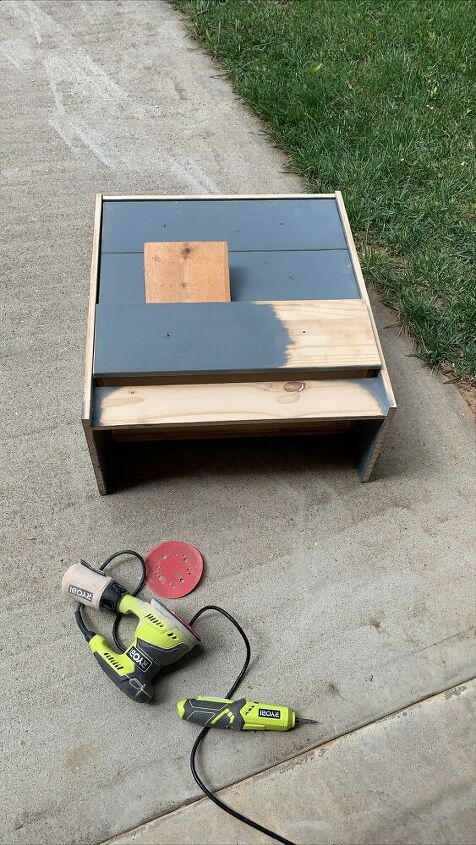
I started by sanding off the old paint to get back to a blank canvas. I used my orbital sander starting with 80 grit sanding pads, then working my way up to 220 for a smooth finish. I only sanded the parts that would be seen.
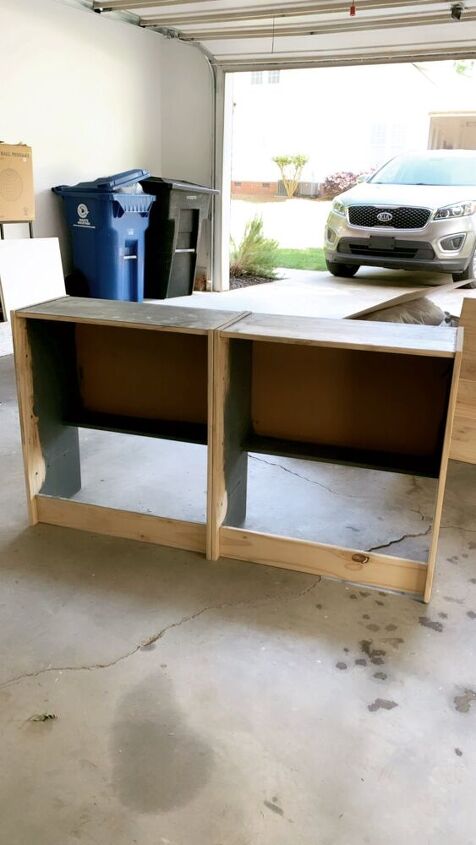
I used screws and finish nails to attach the two chest of drawers together to create the frame for the dresser.
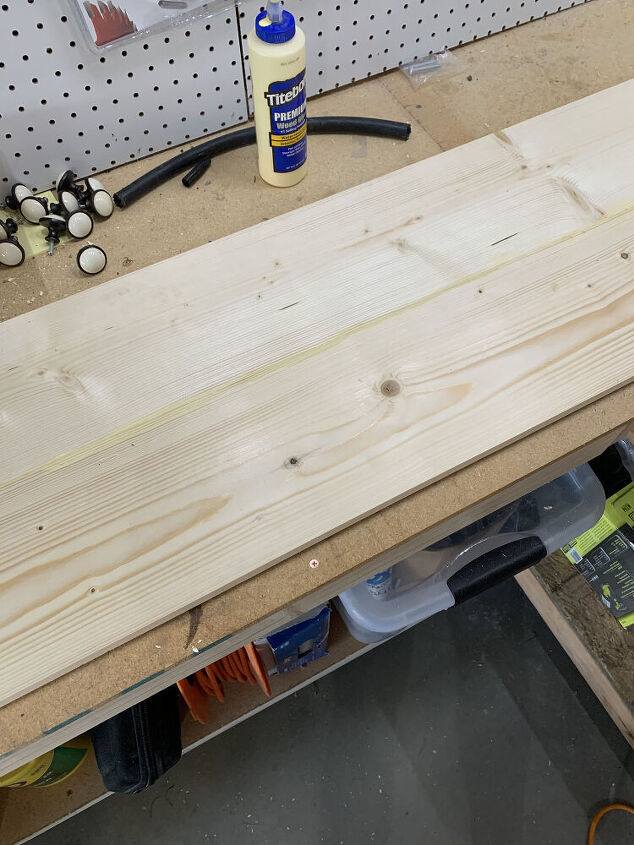
I wanted to create a more substantial and solid top, so I attached two pine boards together using wood glue and pocket holes. Then I cut it to size and sanded it until smooth.
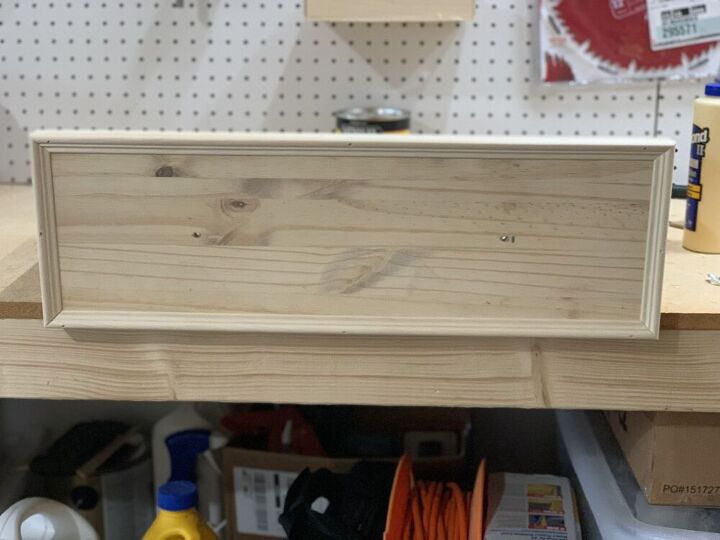
To add some custom detail and spruce up the design, I used dental moulding to trim out the drawer fronts. I attached it using wood glue and finish nails.
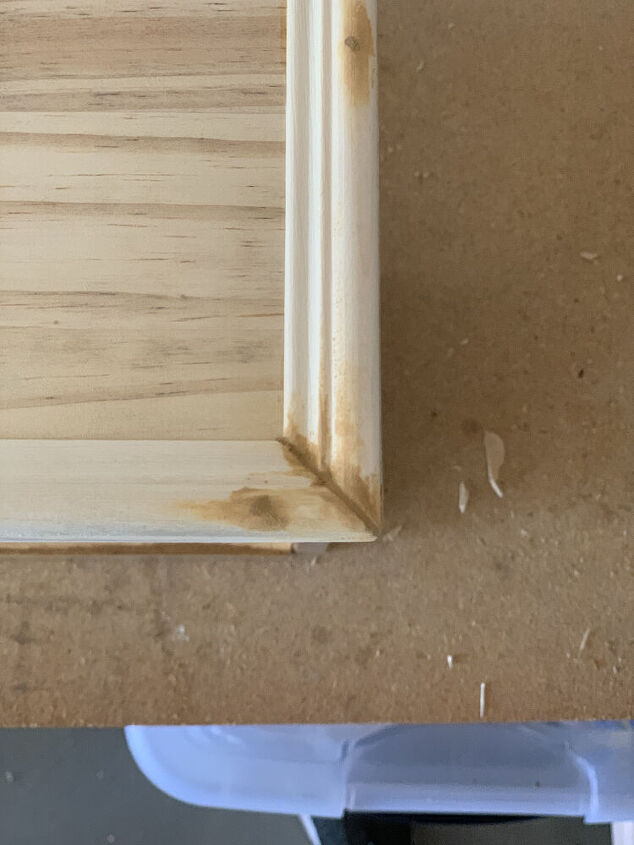
Then I filled all the gaps and imperfections with wood filler and sanded it smooth.
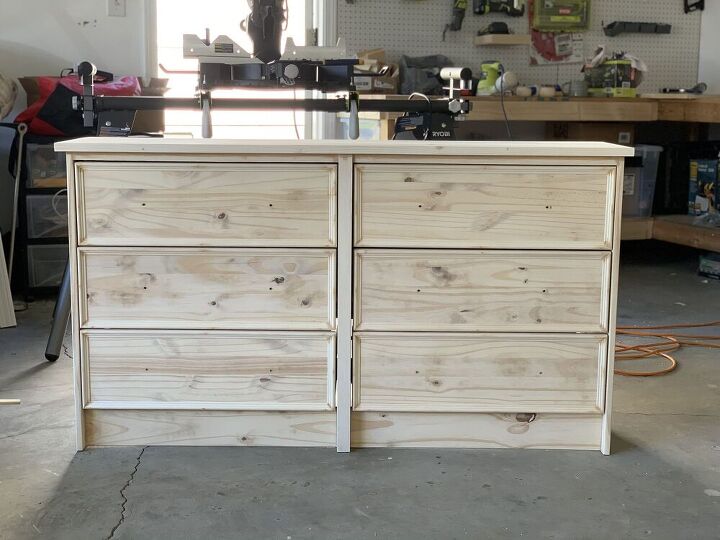
I used 1/4" plywood to cover where the two chest of drawers met, and to hide the gap between the new top and the original top. I attached the with wood glue and just a few finish nails.
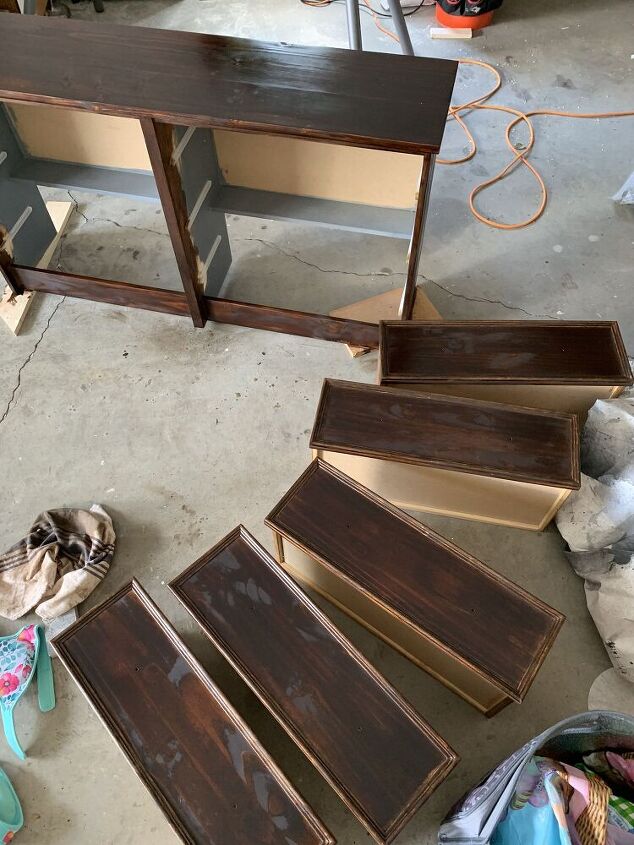
I used my favorite stain color, English Chestnut, to give the dresser a rich, vintage feeling finish. I applied three coats of stain, then finished with Polycrylic to protect it from moisture.
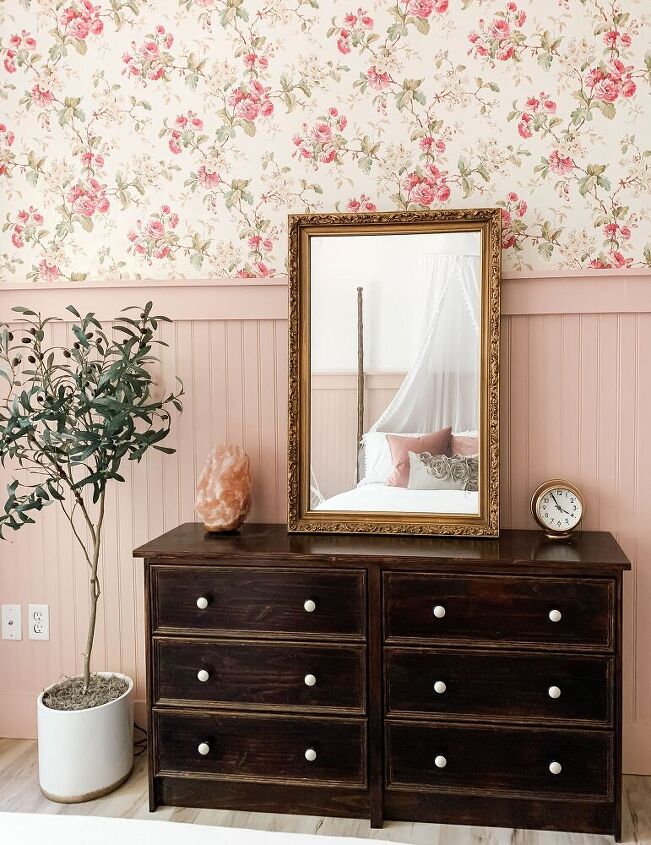
I used the knobs we had on them previously to complete the dresser. It looks like an expensive custom piece and she loves it!
For more details on this project and this room makeover visit my blog The Barn Collective, and don't miss out on the play by play action on my Instagram!
Resources for this project:
See all materials


Comments
Join the conversation
-
Wow! It's beautiful!!
-
Wow!


Frequently asked questions
Have a question about this project?