IKEA Malm Dresser Hack

by
Amanda Garvin
(IC: blogger)
10 Materials
$200
2 Hours
Medium
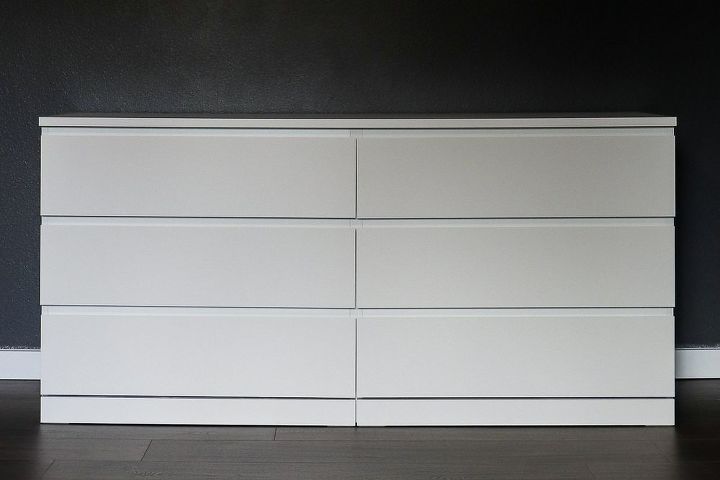
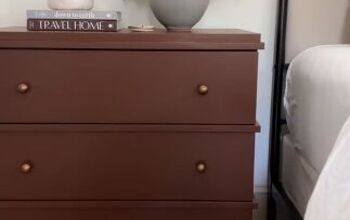
Makeover a simple IKEA Malm dresser into a modern dresser perfect for your bedroom. This before and after is incredible and so easy!
If you like this project, you can see more simple DIY projects ideas on my blog, A Crafted Passion.
Let me show you how I transformed this simple IKEA Malm dresser into a sleek, modern black and white dresser.
Since the bottom of the IKEA Malm dresser is open, first we need to add support pieces to the underside of the dresser that the legs can attach to.
1. Prepare Wood Supports
Start by cutting your wood blocks to size. They need to be able to fit under the back brace, tucked right up against the front corner, and be just wide enough that the screw will go into the side, but not out through the other side.
2. Drill Leg Hole
Measure an equal distance on the front and back of your support piece and drill a hole a bit smaller than the size of the leg screw.
3. Attach Side Supports
Attach your support pieces using Torx screws because these are super secure will be able to handle the weight of the dresser.
Pre-drill four holes on the side of the wood making sure they won't overlap with the leg bolts. You don't need to drill all the way through the wood, just enough so your screw will be on the straight and narrow path and won't split the wood.
Repeat these steps on the other side of the dresser.
4. Attach Legs
Once both support pieces are attached, lay your dresser on its side and twist your dresser legs into the holes you've already made.
5. Add Mid-Base Support
Once the legs are secure, flip your dresser right side up and you might notice that the middle sags a bit. (It might not be too noticeable until you add the drawers and the middle shadow is wider at the bottom than the top.)
Place 5" wood support about 1/4 of the way back from the front right in the middle.
6. Add Vinyl
Next, I added some black wood contact paper to the middle supports on the front face of the dresser. I cut some strips of contact paper that were about 4" wide and covered the length of each support piece for the drawers.
Use an x-acto knife to trim the edges to match perfectly and then fold the top and bottom to wrap around the full piece of wood.
7. Add Drawer Pulls
Lastly, add black drawer handles to each drawer. I used these drawer handles from IKEA and matching 4" ones at IKEA to go on our nightstands.
I love how this dresser turned out, but I might be a little bias, so let me know what you think in the comments!
What do you think of this IKEA hack?
If you missed the whole bedroom transformation, check out how we transformed our boring, beige bedroom into a monochrome modern master bedroom at A Crafted Passion.
Want to create a family-friendly modern home on a budget? Grab this free guide right here to get started!
Enjoyed the project?
Resources for this project:
See all materials
Any price and availability information displayed on [relevant Amazon Site(s), as applicable] at the time of purchase will apply to the purchase of this product.
Hometalk may collect a small share of sales from the links on this page.More info

Want more details about this and other DIY projects? Check out my blog post!
Published September 9th, 2018 11:08 AM
Comments
Join the conversation
3 of 19 comments
-
 Cindy
on Sep 20, 2018
I love IKEA furniture really love the way you changed the look of it. Great job! Time to do the same to mine. Thank you for posting!
-
 Amanda Garvin
on Sep 20, 2018
Thanks Cindy!
-
-
-












Frequently asked questions
Have a question about this project?
looks very nice, but why put legs on if you can’t see them? And the supports, was that just to sturdy the piece?
Looks great but would have loved to see more pics about the underneath supports, the mid supports, and clearer instructions. Why the contact paper? Why not just paint it? Or did I miss something? Was this a pecuniary dresser from Ikea or did you paint it?