Bathroom Makeover for Under $2000

Slowly, my husband and I redid our master bath. The total cost was around $2000!! That’s for everything. I made some sacrifices, we took our time, saved up, did a little here and there, and I bought things among the way and saved them until we started (like the vanity). My husband did all the work. I made all the decisions, gave orders, changed my mind, yelled, cursed, and finally styled the finished bathroom. Luckily, my spouse is patient, mechanically gifted (he can build, fix, install, plumb, electrical, tile, and do ANYTHING), and he doesn’t care about decor a bit. His motto is “whatever you want.” Maybe that’s why we’ve been together for over 30 years?
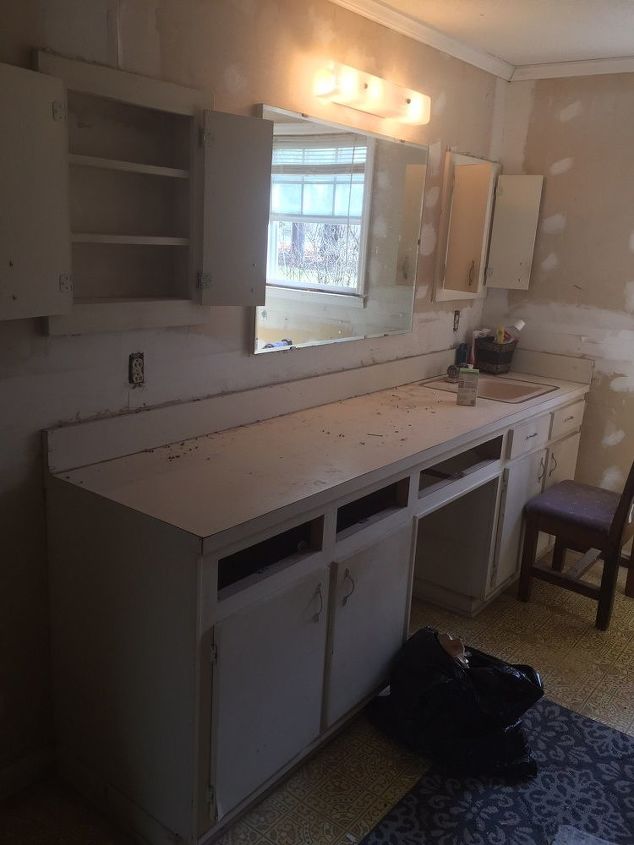
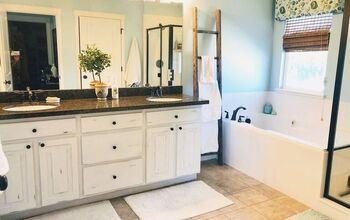
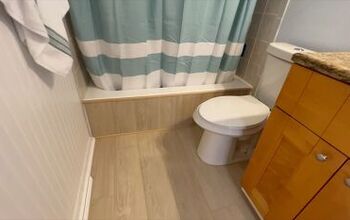
Before the medicine cabinets, mirror, and vanity were ripped out. The medicine cabinets left huge holes in the wall; that’s also why we added the shiplap.
The new tub/shower
The window is the only thing that stayed the same.
We put up wood shiplap because the house (being older) had walls that were uneven and warped and this helped hide the imperfections. We could not afford to rip out every wall and put up new ones. I’m not a fan of the whole farmhouse look but sometimes you have to make do. FYI, I learned the hard way to PRIME before painting wood like this. The knots bled through terribly and I had to go back and prime all of the bleeding spots and repaint them twice.
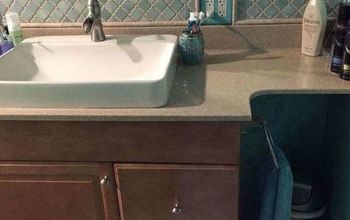
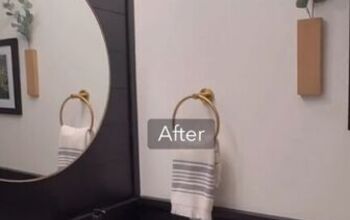
We first stained the vanity but I HATED it. I saw a beautiful dark gray color on Instagram and used it to repaint the vanity. Also, the wall color is the BEFORE; I also HATED the beige. You’ll see the painted vanity and different wall color in the after (below) photos. ***Do you like the before (wall & vanity) or after better?***
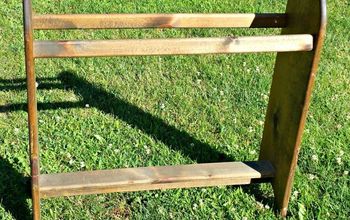
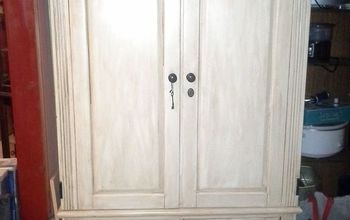
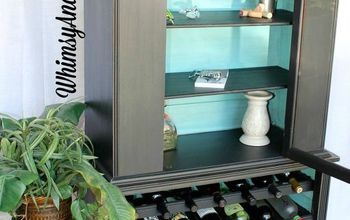
I bought that cabinet for $60. It’s what is called a “pie cabinet.” I don’t care that’s it’s not what’s technically a storage piece. Using our imagination and creativity is what fuels inspiration and makes things reimagined! Right????
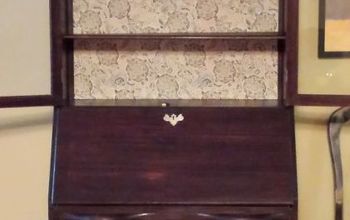
The cabinet was filthy and ugly black. I painted it.
The tile in the shower is real cement stone. I LOVE it. This is the 2nd tile job. The first we ended up ripping out because we couldn’t find a thing to frame it. We got fed up and started over. Lesson learned: have your end /trim tile pieces before you begin. Here, we didn’t need any! And this tile was super cheap!
I wanted lots of texture and different and organic elements: wood, stone, natural elements, etc. Notice I also have different fixtures. They don’t have to match! You CAN have various colors BUT keep them all the same finish. Mine are all rubbed finish. The brass lights are from eBay (also changed my mind and replaced the first set), the facets are rubbed bronze, the cabinet pulls (Etsy -
the BEST place to find anything unique) are rubbed brass. Mirrors are from Hobby Lobby ($30 each- cheap!), macrame wall piece from the clearance section at Cracker Barrel ($10), valance ($10), shower curtain ($13), rug ($8), & wooden stool ($40) are from TJMaxx, white stool from Target ($35).
The addition of the stone “backsplash” above the vanity was last minute. We had a lot of leftover tile and I didn’t want to waste it. I didn’t like it at first and actually took a family vote. I lost the vote and so glad I did. It looks awesome. The blue soap dispenser is Target’s Opalhouse line.
The paint color was an original! 😬 I originally had a beige and hated it. I told my husband to take the paint to our local hardware store and tell them to add green. I didn’t care what it looked like to be honest. This is what he came home with. 🤷🏼♀️
Side Note; any paint store/department can customize a paint color. For example, if there’s a shade of blue you like but want it darker or lighter and /or you want more or less gray undertone vs a purple or green undertone, just ask.
I thought I’d throw in a picture of the cabinet before I painted it. I did this many years ago and I’d never done a project like this before. I winged it and was very happy with the it.
Not real keen with the inside color but I wanted a bright contrast.
I used 3 paints, and 2 waxes. Not too bad for my first piece. There’s a lot of depth and dimension!
Enjoyed the project?
Resources for this project:
See all materialsComments
Join the conversation
-
 Cheryl Rambo
on Feb 26, 2019
Here's a thought....if you don't like clear glass you can use a frosted removable film or use spray glass etching. It will hide your things somewhat while still being semi see through.
-
 Kelly J. Tinney
on Feb 28, 2019
That’s a great idea. I never thought about etching, or the frosted film. Thanks so much for the ideas!!!
-
-
-
 Kris | Beautymark Furniture
on Mar 31, 2020
I absolutely love that cabinet!! I paint furniture and have been dying to get my hands on one like that for a while now. Great job with everything, it all turned out beautifully!
-








Frequently asked questions
Have a question about this project?
where did you buy the cement tiles for your shower?
Didn’t you say you painted the vanity a dark gray?
I don’t see a pic of that.
These projects seem to have mixed baseboard, wall moldings and door colors
Is there a rule to how to cohesiveness of baseboard, molding and doors? Thank you.