DIY Powder Bathroom Makeover: Easy Tips for a Stylish Refresh

Our powder bathroom DIY renovation is finally complete, and we couldn't be more thrilled with the results.
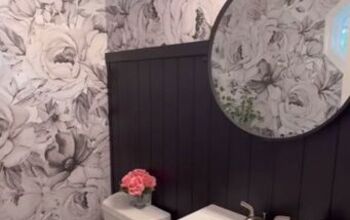
With the addition of shiplap, wainscoting, shelves, and wall vases, the bathroom now boasts a clean, modern look.
Here's how we transformed our space, step by step!
Table of contents
Disclaimer: Hometalk may receive a small affiliate commission from purchases made via links in this article but at no cost to you.
Hometalk Recommends!
Tools and materials:
- 1/8" MDF
- Nickels (for gap spacing)
- Deep blue paint
- Paint primer
- 1x4 boards
- Paintbrushes
- Paint rollers
- Measuring tape
- Saw
- Level
- Nails or screws
- Hammer or drill
- Sandpaper
- Shelving brackets
- Shelves
- Wood scraps for the wall vases
- Greenery or faux plants
- Mounting hardware for vases
1. Create shiplap
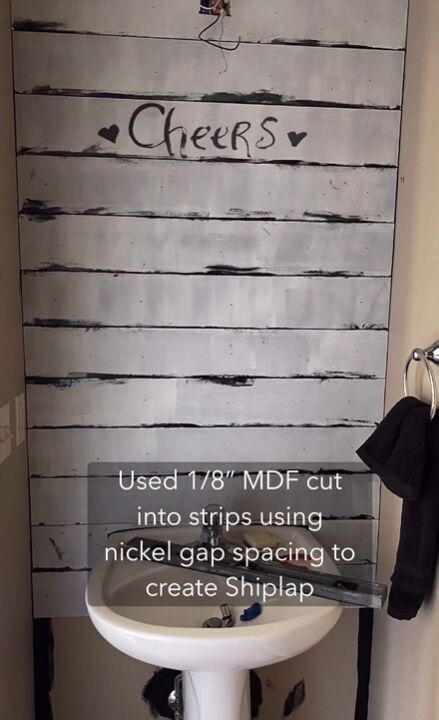
First, we created shiplap using 1/8" MDF. To do this, we cut the MDF into strips, ensuring each strip had a nickel gap spacing.
This method provided a consistent and professional look to the shiplap.
Once the strips were ready, we installed them on the walls, ensuring they were evenly spaced and securely attached.
2. Paint the walls
Next, we painted the walls a lovely deep blue color. This bold choice added depth and character to the room, making the shiplap pop even more.
The deep blue provided a perfect contrast to the clean lines of the shiplap and created a sophisticated atmosphere.
3. Install wainscoting
For the wainscoting, we used 1x4 boards. These boards were primed and painted to match the shiplap and walls.
We carefully measured and cut each board to fit the lower portion of the walls.
After installing the wainscoting, we touched up the paint to ensure a seamless and polished finish.
4. Make DIY wall vases
Finally, we made DIY wall vases to add a touch of greenery and life to the room.
These vases were mounted on the walls, adding an element of nature and freshness to the space. The wall vases were a simple yet effective way to personalize the bathroom and make it feel inviting.
5. Add shelves
In addition to the structural changes, we also added some decorative elements to enhance the overall look.
We built and installed shelves to provide additional storage and display space. These shelves were painted to match the deep blue walls, creating a cohesive look.
Powder bathroom makeover
By following these steps, we were able to achieve a beautiful, modern makeover for our powder bathroom.
The combination of shiplap, wainscoting, shelves, and wall vases resulted in a stunning transformation that we absolutely love.
What do you think of this DIY powder room makeover? Leave a comment below.
Follow @a_bit_unexpected_diy on Instagram for more DIY ideas.
Enjoyed the project?
Comments
Join the conversation
-
 Angela Brandon
on Jun 15, 2025
Very nice! A+
-
-
 Hcb166960216
on Jun 17, 2025
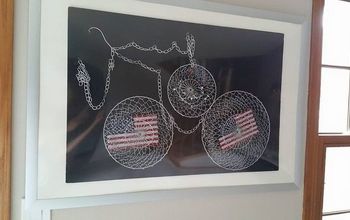
The powder bath looks great, but I really wanted to comment on your Chiefs Flag - GO CHIEFS!!
-
 Mic109192108
on Jun 17, 2025
Me too
-
-









Frequently asked questions
Have a question about this project?