DIY Faux Roman Shade

A step by step tutorial on how to make a high end looking window treatment, with a few materials, and in under an hour.
Hometalk Recommends!
Before you start, measure your window
-Measure the length of the window and the width. Add 2 inches to the width and three inches to the length. This will allow for the seam and for a pocket at the tip.
-Cut your fabric
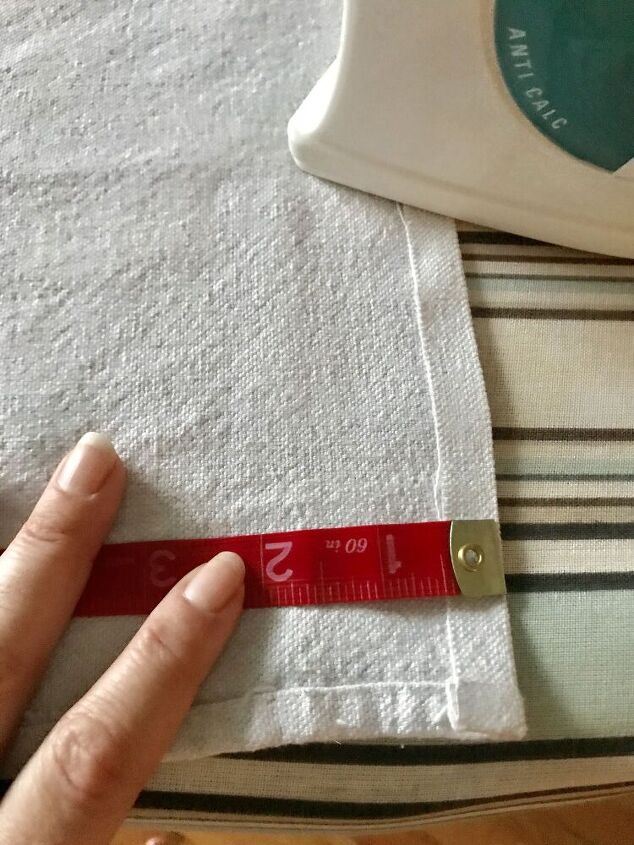
-Using your iron and measuring tape, measure 1/2" fold and iron on each of the sides, and the top and the bottom of the material.
-Fold the material over 1/2" again and iron. This will encase the raw edge of the fabric.
Sew the sides first
After everything is folded over 1/2" and ironed on the sides, top, and bottom, Line up the fabric so the wrong side is facing up and the right edge is lined up against the edge of the sewing machine foot. (as pictured below)
\
Sew
For the sides only, sew a few stitches forward, then if your machine has a back stitch button, sew backward a few stitches to lock the thread in place. Using a straight stitch, sew along the side. When you get to the end, again back up the stitch a few stitches and move forward to lock in the stitch.
After you have sewn the sides, repeat the same instructions for the bottom.
For the top, fold the material over one inch to allow for a pocket. This is where you will insert the tension rod. With the material folded over, align this to the left of the sewing machine foot, and sew.
Add tension rods
Add a tension rod through the top pocket, and place at the top of the window.
In front of the material, add three more tension rods.
Create folds
Starting at the top tension rod, pull up the material to create a fold that hides the tension rod.
Work top down
This part doesn't have to be perfect, but continue to work down pulling up a bit of the material and draping it over the tension rod. When you get to the bottom, there should be a couple inches of material hanging down.
Adjust the spacing accordingly.
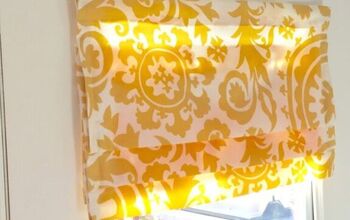
You just created a faux roman shade!
Just like that you have created a custom window treatment that was inexpensive. Change it out for seasons, holidays, or as your decor changes.
Enjoy!
Affordable Ways to Update Your Home
Enjoyed the project?

Comments
Join the conversation
-
 Lisa Tetlow
on Aug 21, 2024
I love this!!! Looks great!!!
-
-
 Che68378900
on Apr 09, 2025
I would like you to show us you making an adjustable one using the same style! If I made this one I would use wooded dowels probably cheaper and if you arent using the lasr 3 extention rods to secure it in place. Wooden dowels would work just as well. Great look and idea!!! Thank you!
-













Frequently asked questions
Have a question about this project?
I just need more pictures. I'm not sure if you sewed a place to put the curtain rod in/through.....I am a visual person. Thanks!
Wondering if you could use red made sheer curtains?
When you made the subsequent folds (after the top fold you sewed as a permanent fold) did you SEW them to make more permanent folds or just fold it loosely over each rod? If the latter, how does the fold stay put in place? I don't understand if this is just one long piece of fabric with a permanent fold for a rod insert on top and then just a loose piece of fabric hanging down that you folded over each rod. Would appreciate clarification.